 Pin it
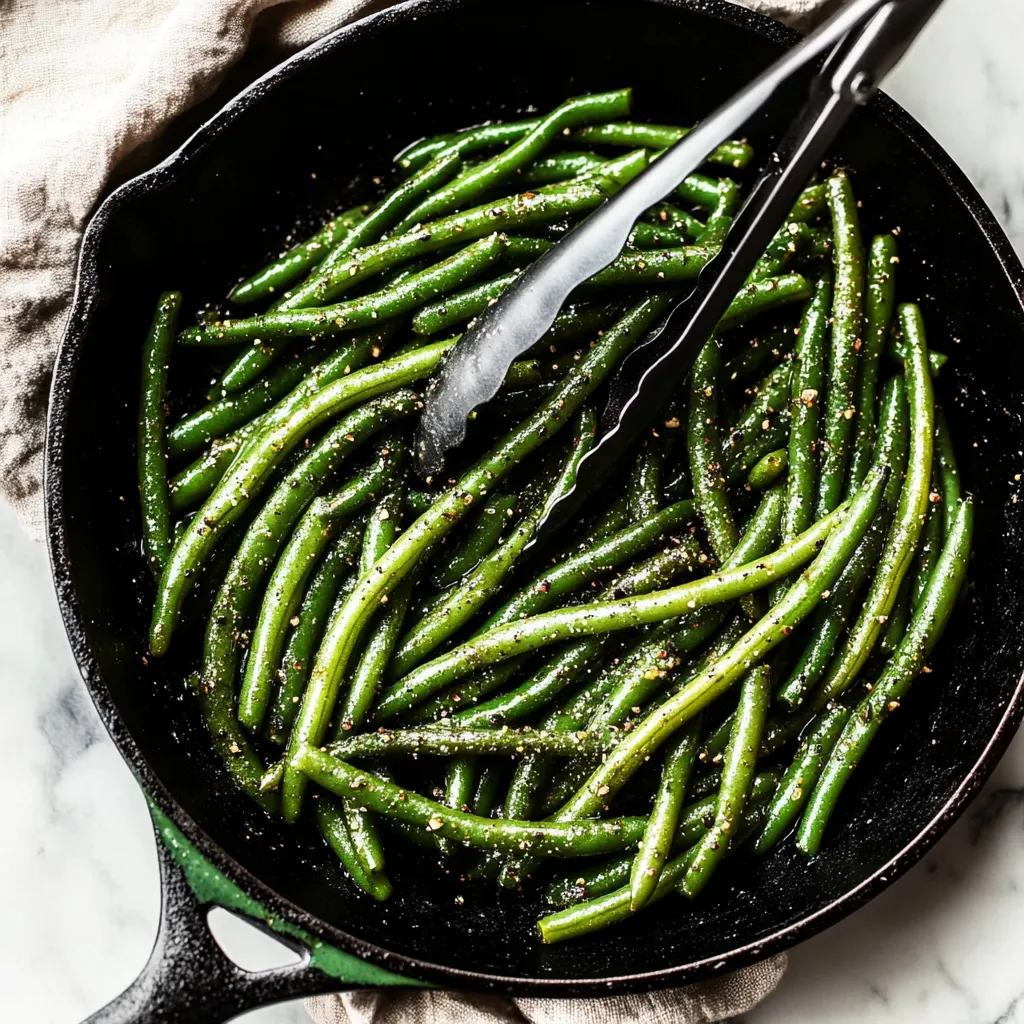
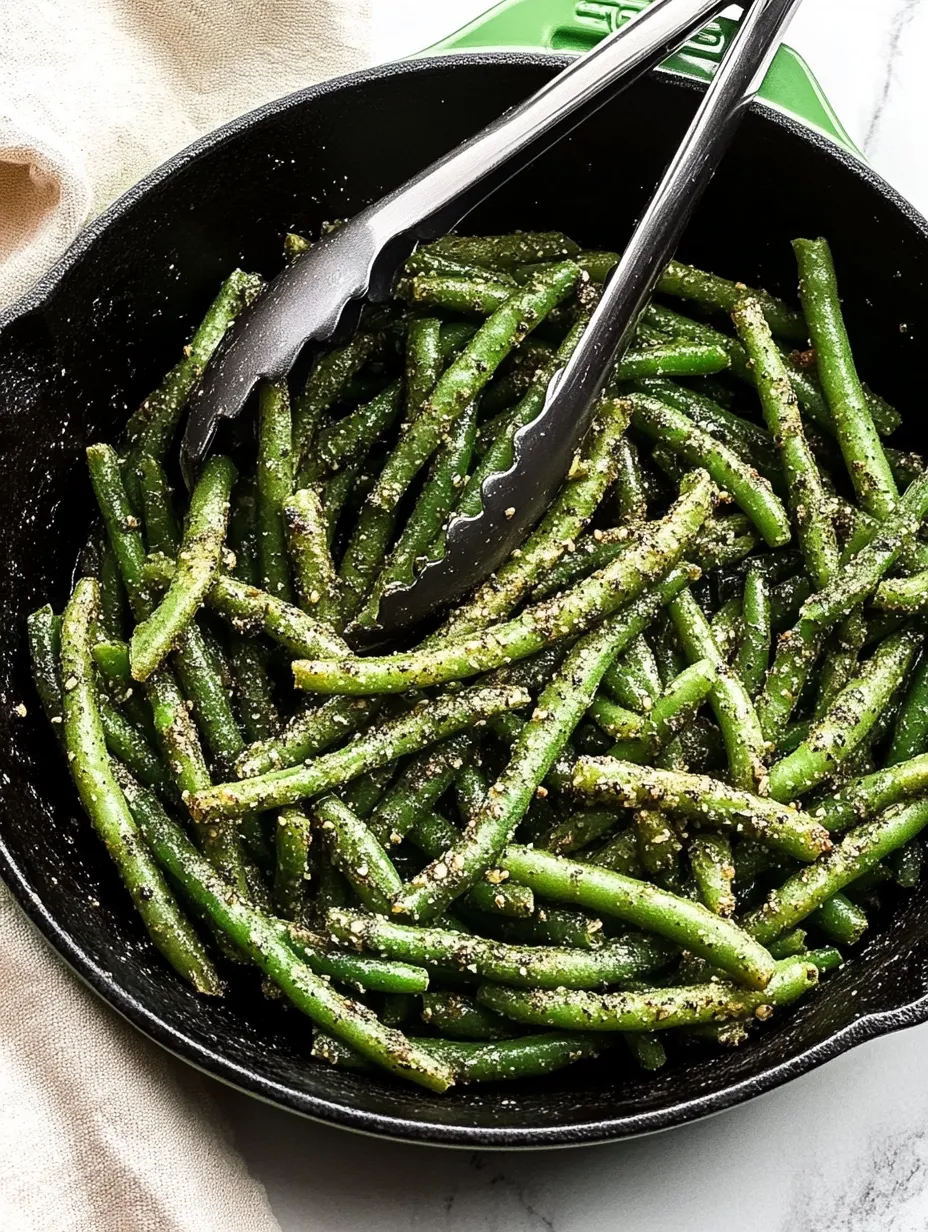
Vibrant green beans become irresistibly tender-crisp and buttery with this effortless stovetop method. Simple seasonings enhance their natural flavor without overwhelming it, creating a versatile side dish that complements practically any meal. This straightforward technique transforms an everyday vegetable into something special while requiring minimal ingredients and effort, making it perfect for both weeknight dinners and holiday feasts.
I learned this technique from my grandmother, who somehow always managed to serve perfect vegetables despite feeding a large family with minimal fuss. When I first lived on my own, her green beans were one of the first dishes I called home about. The secret, she explained, wasn't fancy ingredients but rather careful attention to cooking time. My first attempt turned mushy when I got distracted by a phone call, but with practice, I mastered the tender-crisp texture that makes these beans so special. Now this dish appears on my table at least weekly, providing reliable freshness alongside almost any main course.
Perfect Ingredients
Vegetable Base
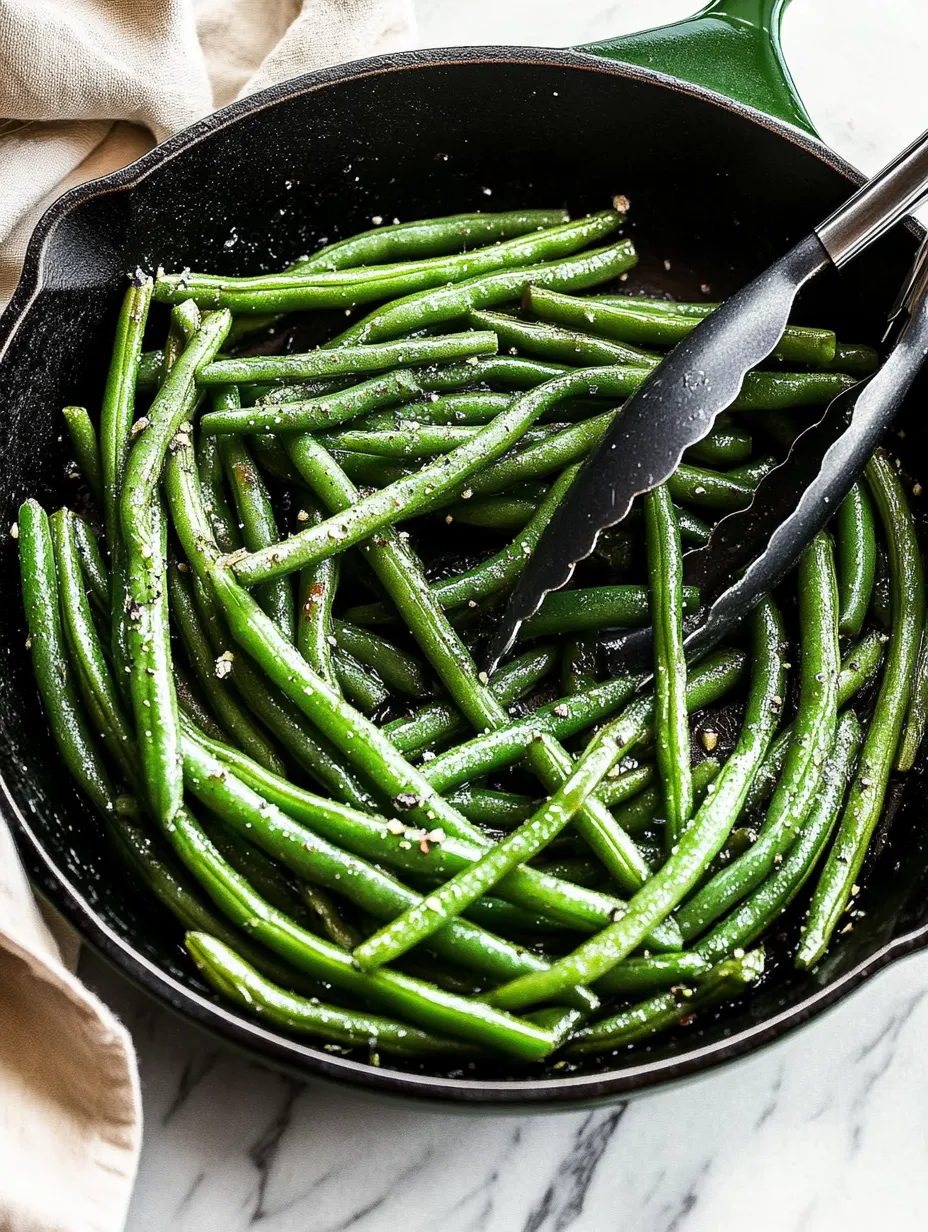
- Fresh Green Beans: Select beans that are bright green with firm, smooth pods that snap crisply when bent. Avoid any with brown spots, limpness, or rubbery texture as these indicate age and will never achieve ideal tenderness.
- Uniform Size: Look for beans of similar thickness throughout your selection to ensure they cook evenly. Very thin haricots verts cook faster than standard green beans, while thicker ones require slightly longer cooking.
- Proper Preparation: Trim only the stem ends where the bean attached to the plant, leaving the pretty tapered tips intact for visual appeal and textural interest in the finished dish.
 Pin it
Flavor Elements
- Butter: Creates the foundation of flavor while adding richness that enhances the beans' natural sweetness. Its golden color also adds visual appeal to the finished dish.
- Garlic Powder: Provides aromatic depth without the risk of burning that comes with fresh garlic. Its subtle presence complements rather than dominates the green beans.
- Onion Powder: Adds savory notes that round out the flavor profile without adding moisture or texture that would interfere with the beans' crisp integrity.
Finishing Touches
- Salt: Enhances all other flavors while bringing out the natural sweetness of the beans. Proper salting is the difference between bland and brilliant results.
- Black Pepper: Contributes subtle warmth and complexity that elevates this simple side dish beyond the ordinary. Freshly ground provides superior flavor if available.
- Optional Garnishes: While perfect as is, these beans can be finished with a squeeze of lemon juice, sprinkle of toasted almonds, or shower of fresh herbs when you want to elevate them for special occasions.
Simple Preparation
Water Technique
Begin by selecting a large skillet with tall sides and a fitting lid, which allows the beans to cook properly without overcrowding. Fill this skillet with approximately one inch of water, then bring it to a rolling boil over high heat, creating the perfect environment for quickly blanching the beans.
Blanching Process
Once your water reaches a vigorous boil, add the trimmed green beans to the skillet, immediately cover with the lid, and reduce heat to medium-high. This covering traps steam that helps cook the beans evenly while maintaining their vibrant color, a crucial step for both visual appeal and textural perfection.
 Pin it
Timing Precision
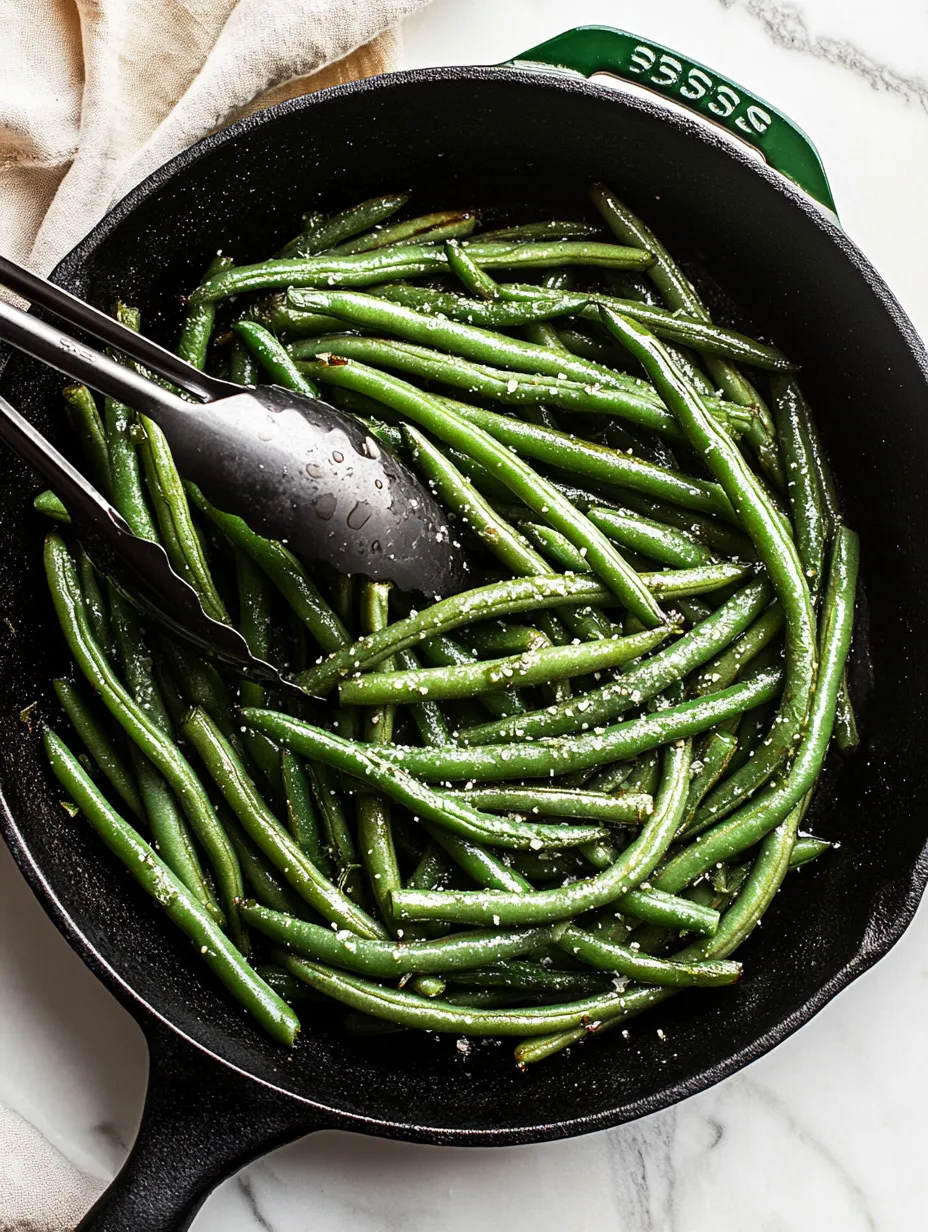
Allow the beans to cook for approximately 4-5 minutes for standard green beans, checking at the minimum time by removing a bean and testing its doneness. The ideal texture offers slight resistance when bitten while no longer tasting raw—what culinary professionals call 'tender-crisp,' perfectly balanced between too firm and too soft.
Thorough Draining
With the beans still in the skillet, carefully pour off all water while holding back the beans with the lid slightly ajar. This technique is safer and more efficient than transferring hot beans to a colander, allowing you to keep everything in one pan while minimizing cleanup.
Flavor Development
Return the drained skillet to medium heat and add butter, allowing it to melt completely while gently coating the beans. The residual moisture on the beans helps the butter create a light sauce rather than just a coating, enhancing flavor penetration throughout.
Season Integration
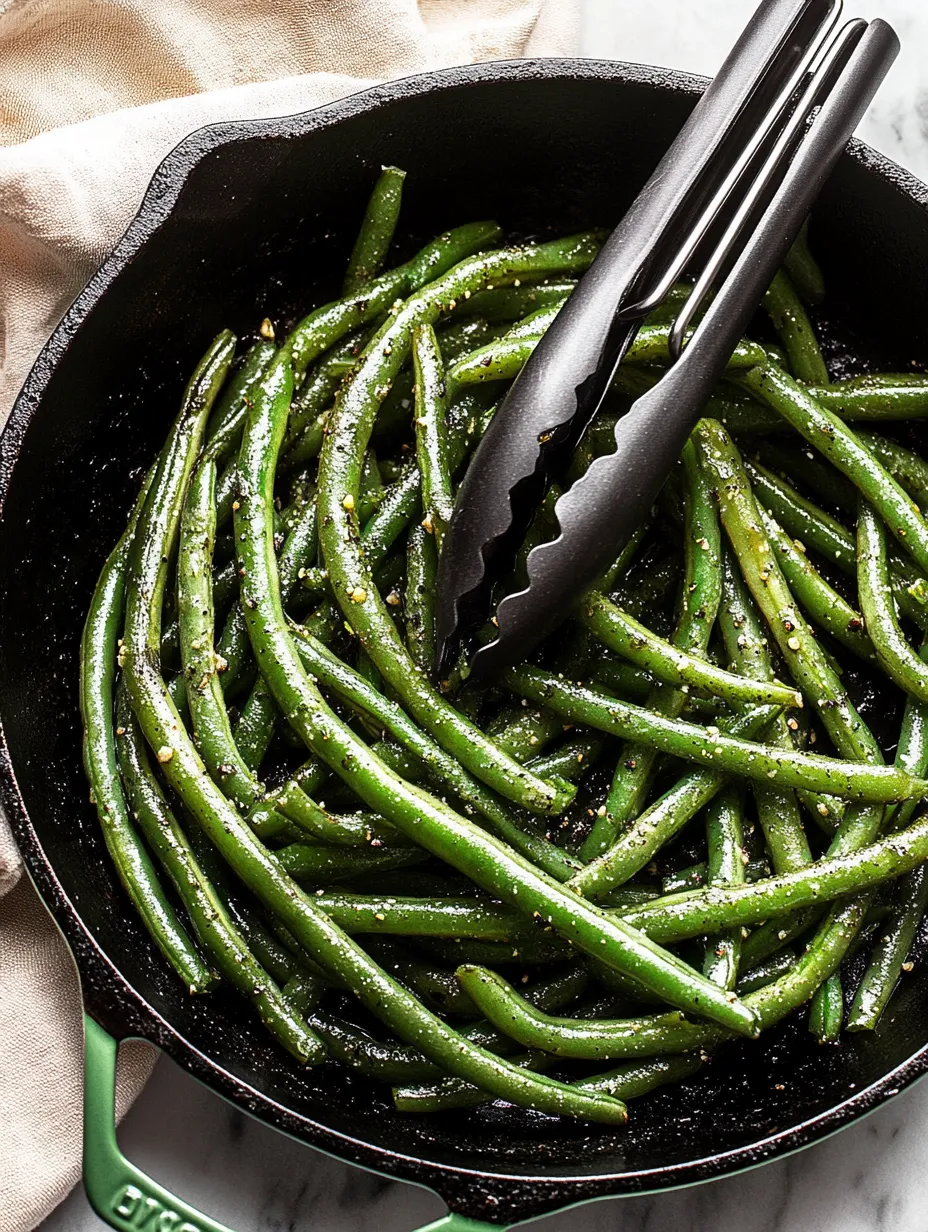
Sprinkle garlic powder, onion powder, salt, and pepper evenly over the beans, then use tongs to toss everything together, ensuring each bean receives an equal distribution of seasoning. This careful tossing prevents both under-seasoned and over-seasoned bites in the finished dish.
Final Sauté
Continue cooking for another 1-2 minutes while frequently tossing, allowing the seasonings to bloom in the butter while any remaining water evaporates. This brief final cooking creates the perfect marriage between beans and seasonings without sacrificing the desirable tender-crisp texture.
 Pin it
Taste Adjustment
Before removing from heat, taste a bean and adjust seasonings if necessary. This crucial step ensures perfect flavor, as the absorption capacity of beans can vary based on freshness and size, sometimes requiring slightly more salt or pepper than expected.
The first time I served these green beans to my vegetable-averse nephew, I worried they might be too simple to tempt him. To my surprise, he not only tried them but reached for seconds before finishing his chicken nuggets. When I asked what he liked about them, he thoughtfully replied, 'They taste like green beans, but better.' His innocent observation perfectly captured what makes this preparation special—it enhances rather than masks the vegetable's natural qualities. Now when he visits, he specifically requests 'the good green beans,' proof that sometimes the simplest preparations create the most memorable impressions.
Perfect Pairings
Create a classic comfort meal by serving these green beans alongside a perfectly roasted chicken and creamy mashed potatoes. The beans provide fresh, vibrant contrast to the richer elements on the plate while completing the traditional meat-and-potatoes dinner with necessary vegetable nutrition. This timeless combination satisfies everyone from children to grandparents with its familiar yet always pleasing balance.
Elevate a simple piece of seared fish by plating these bright green beans alongside, perhaps with a wedge of lemon for squeezing over both components. The buttery beans complement delicate seafood beautifully without competing with its subtle flavors. This pairing creates a light yet satisfying meal that feels both wholesome and slightly special without requiring complicated techniques.
Transform an ordinary weeknight dinner into something more interesting by serving these beans with a savory meatloaf and buttery rice pilaf. The combination creates a plate with varying textures and flavors while maintaining a cohesive overall profile. This approach works particularly well when you're looking for comfort food that still includes a nice serving of vegetables.
Flavor Variations
Create a Mediterranean-inspired version by adding a handful of halved cherry tomatoes during the final minute of cooking, then finishing with crumbled feta cheese and a sprinkle of oregano. The tomatoes warm through just enough to release some juices without falling apart, while the feta adds creamy, tangy notes that complement the beans beautifully.
Develop an Asian-influenced variation by substituting sesame oil for half the butter and adding a teaspoon of soy sauce instead of salt. Finish with a sprinkle of sesame seeds and sliced green onions for a side dish that pairs perfectly with teriyaki salmon or stir-fried chicken. This simple change completely transforms the flavor profile with minimal additional effort.
Transform these beans into a more substantial side by adding slivered almonds during the final cooking stage, allowing them to toast lightly in the residual butter. The nutty crunch creates textural contrast while adding protein and healthy fats. This variation feels slightly more special than the basic recipe while requiring just one additional ingredient.
Storage Solutions
Keep leftover beans in an airtight container in the refrigerator for up to four days, though they're best enjoyed within the first two days while their color remains vibrant and texture relatively crisp. Allow them to cool completely before storing to prevent condensation that could make them soggy.
Revitalize refrigerated beans by reheating them in a hot skillet rather than the microwave whenever possible. Add a small pat of fresh butter and heat them quickly over medium-high heat, tossing frequently until just warmed through. This method helps restore some of their original texture rather than pushing them further toward softness.
Transform yesterday's beans into something new by chopping them into smaller pieces and adding them to a frittata or grain salad. Their already-developed flavor enhances these dishes while giving leftover beans a second life completely different from their original presentation. This approach reduces food waste while providing variety in your meal rotation.
 Pin it
I learned about the importance of proper bean selection years ago when planning a dinner party. Rushing through the grocery store, I grabbed whatever green beans were available without checking their quality. That evening, despite following this exact recipe, the results were disappointing—some beans remained tough while others turned mushy. The next day, I returned to the store and noticed how vastly different the bean quality was at the farmer's market section compared to the pre-packaged options. Taking time to hand-select firm, bright beans made all the difference in my next attempt. Sometimes the most important cooking lesson isn't about technique but rather about respecting your ingredients enough to choose them carefully.
Frequently Asked Questions
- → Can I use frozen green beans instead of fresh?
- Yes, but reduce the steaming time to about 2-3 minutes since frozen beans are already blanched. Drain well before sautéing.
- → How do I know when the green beans are done?
- They should be bright green and tender-crisp - easily pierced with a fork but still have a slight crunch. Taste one to check!
- → What can I add to vary the flavors?
- Try adding lemon zest, red pepper flakes, slivered almonds, or a splash of soy sauce. You can also finish with fresh herbs like parsley or dill.
- → Can I prepare these ahead of time?
- You can trim the beans ahead, but for best texture and color, cook them just before serving. Reheated green beans tend to lose their vibrant color.
- → What main dishes pair well with these green beans?
- These green beans go with practically everything! They're perfect with roasted chicken, steak, pork chops, fish, or alongside pasta dishes.
