 Pin it
My Secret Recipe for Olive Garden Style Breadsticks
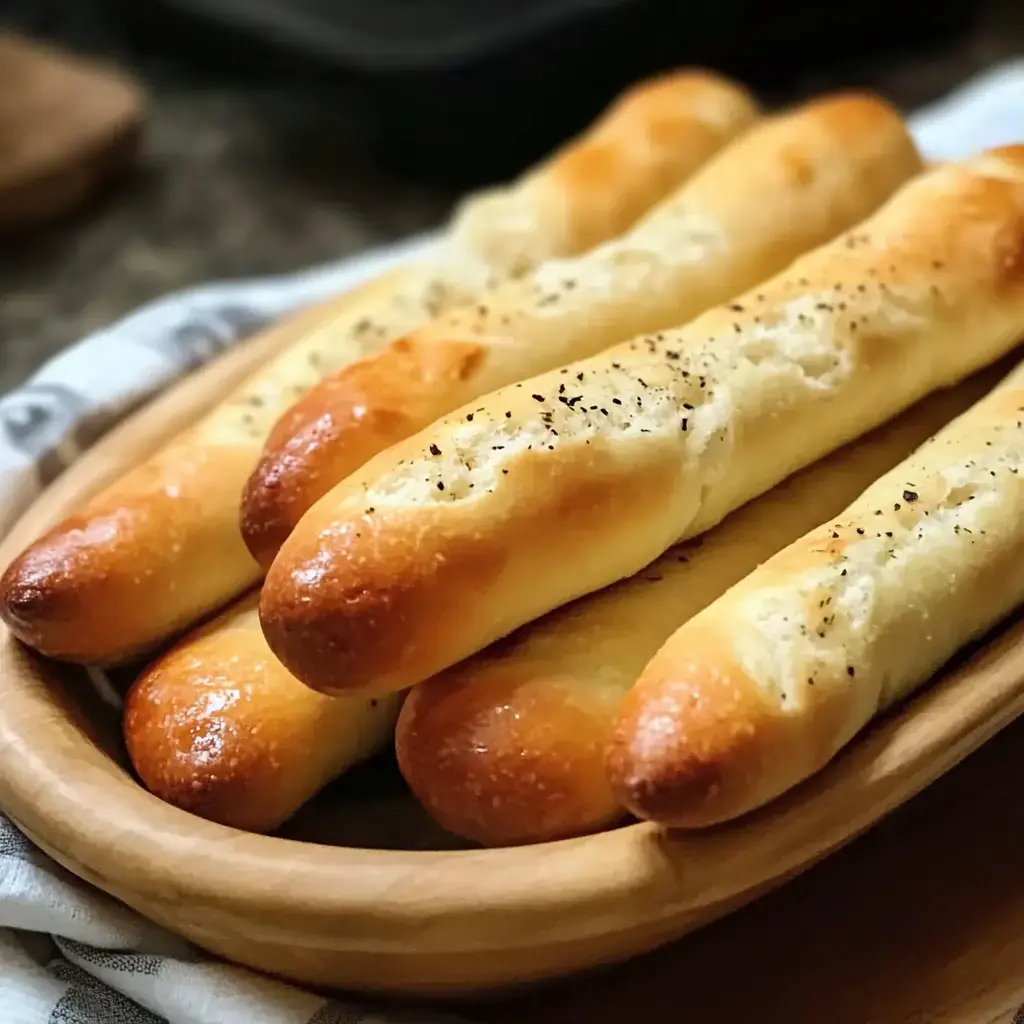
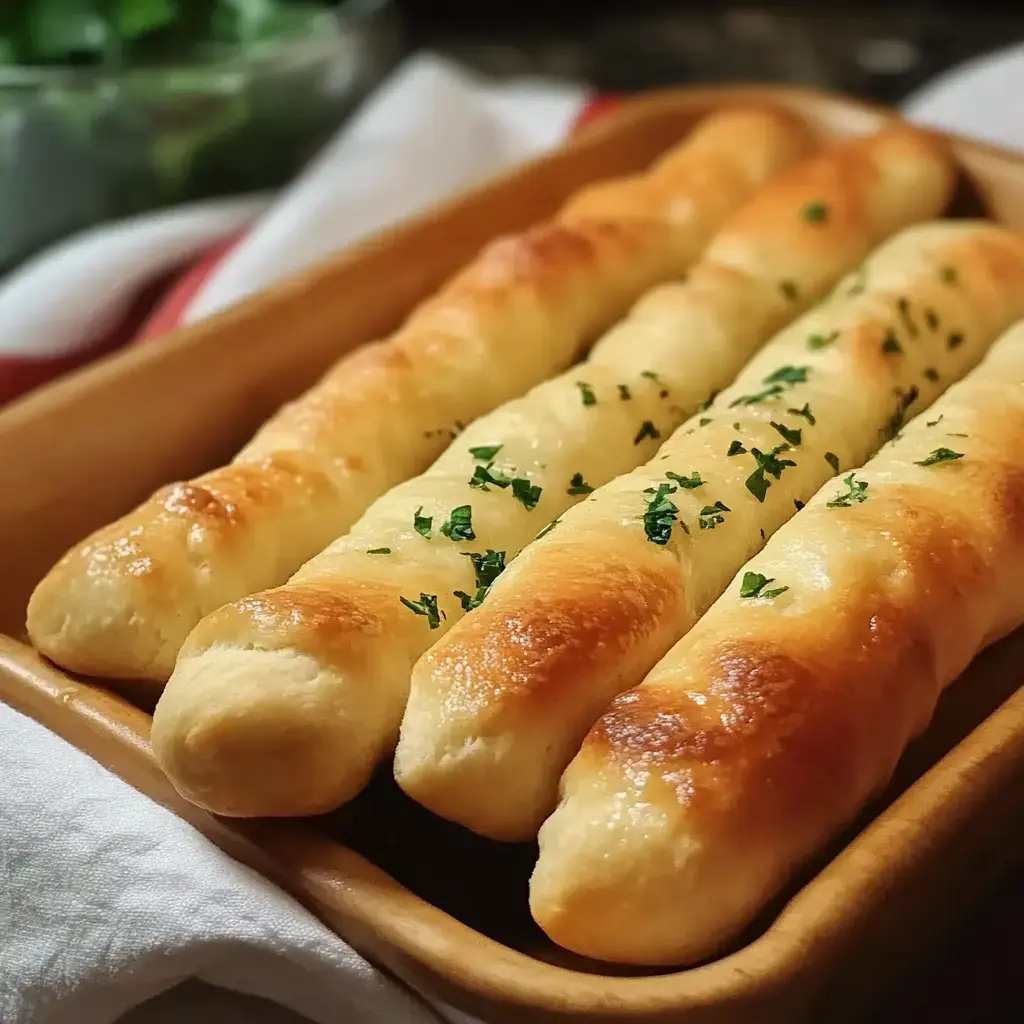
I finally cracked the code for those amazing Olive Garden breadsticks we all love so much. After countless attempts in my kitchen I've perfected these buttery soft golden breadsticks that taste just like the restaurant version. The secret is in the perfectly balanced seasoning of butter salt and garlic powder that creates that unforgettable taste we keep craving.
Why I Started Making These at Home
Once I learned to make these breadsticks myself I never looked back. They taste exactly like the ones from Olive Garden but even better because they're fresh from my oven. I love that I can make them without any preservatives and serve them warm anytime my family wants them. They go beautifully with everything from soups to pasta dishes.
What You Need in Your Kitchen
- Yeast: Active dry yeast for the perfect rise.
- Sugar: A small amount to activate the yeast.
- Flour: All-purpose flour for a soft and elastic dough.
- Butter: Unsalted butter for the dough and topping.
- Salt: For flavoring the dough and seasoning the topping.
- Garlic Powder: Essential for the signature Olive Garden flavor.
- Water: Warm (110°F/43°C) for activating yeast and forming the dough.
 Pin it
Let's Make Some Breadsticks
- Prepare the Dough
- Activate yeast in warm water with sugar. Mix with flour, salt, and melted butter using a paddle attachment, then switch to a hook attachment for kneading until smooth and elastic.
- Shape the Breadsticks
- Roll dough into a log and divide into portions. Shape each portion into 6-inch breadsticks by rolling from the center outward with both hands.
- Let Them Rise
- Place breadsticks on a silicone-lined baking sheet, cover with a towel, and let rise until doubled in size.
- Bake
- Bake at 350°F (175°C) for 20–25 minutes, spraying the tops lightly with cooking spray to ensure a golden finish.
- Add the Topping
- Brush warm breadsticks with melted butter and sprinkle generously with garlic powder and salt for the signature Olive Garden flavor.
My Kitchen Tested Tips
The most important thing I learned while perfecting this recipe is making sure your yeast is alive and bubbly when mixed with warm water and sugar. I always use silicone baking sheets they make cleanup so much easier and help the breadsticks bake evenly. If you want smaller breadsticks just divide the dough into more portions.
What to Serve with Your Breadsticks
In my house we love dunking these breadsticks in homemade Alfredo sauce or marinara. They're absolutely perfect with a bowl of Zuppa Toscana or my version of Chicken Gnocchi Soup. Something about their soft buttery texture just makes every meal feel special.
Frequently Asked Questions
- → How long do these breadsticks stay fresh?
Store them in a sealed plastic bag at room temperature for up to 2 days. For the best taste and texture, warm them slightly before eating.
- → Can I freeze these breadsticks?
Yes, you can freeze them after baking. Cool completely, wrap well, and freeze for up to 3 months. Thaw and warm in the oven before serving.
- → Why do I need to let the dough rise twice?
The first rise develops flavor, while the second rise creates that light, fluffy texture Olive Garden breadsticks are famous for. Don't skip either rise for best results.
- → What's the best way to get the right shape?
Roll each piece from the center outward using both hands. Keep the thickness around ¾-inch for even baking and that classic Olive Garden look.
- → How do I know when the dough has risen enough?
The dough should roughly double in size during each rise. In a warm kitchen this takes about an hour for the first rise and 30-60 minutes for the second.
