 Pin it
These sugar cookies have been my saving grace through countless school bake sales birthday parties and holiday celebrations. I spent years perfecting this recipe to get that perfect balance of crispy edges and soft centers. Now my kitchen fills with the smell of vanilla and butter every time my kids ask to make cookies which happens more often than I'd like to admit.
What Makes These Cookies Special
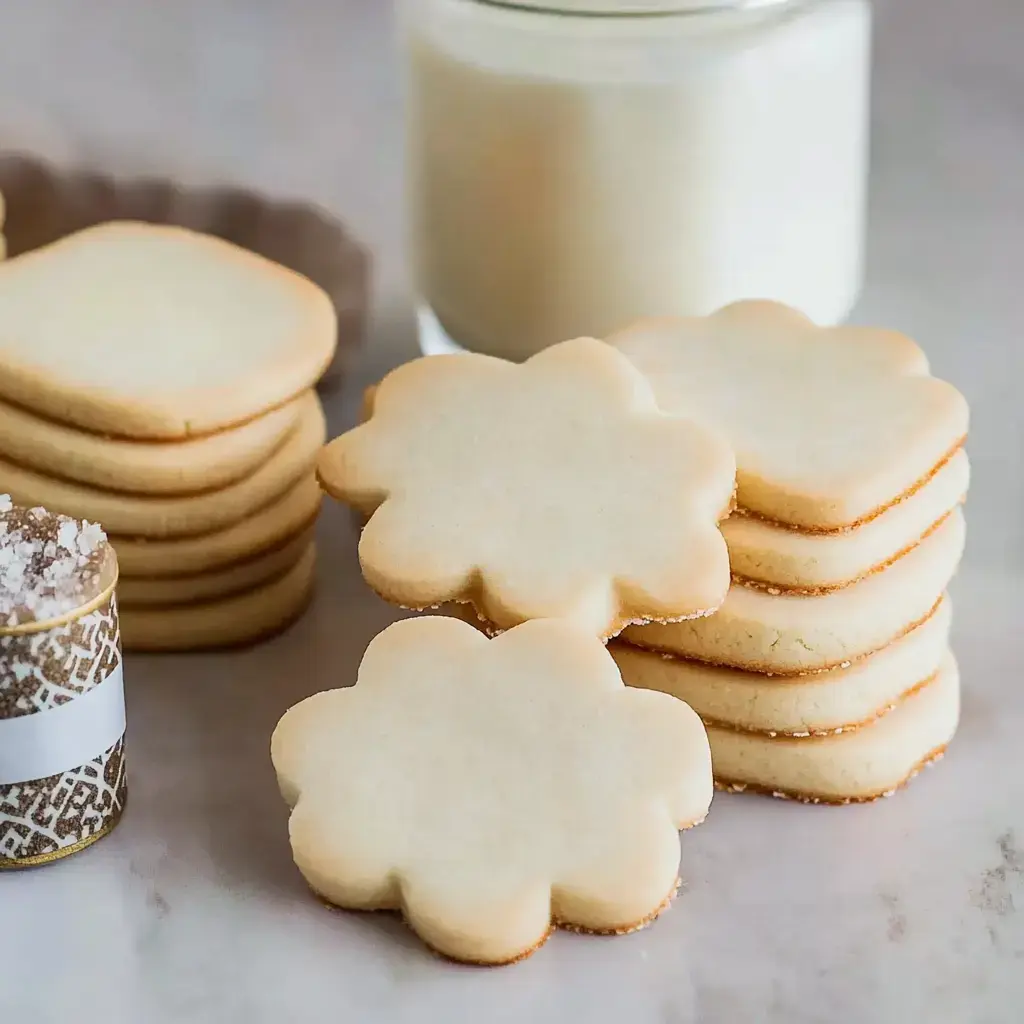
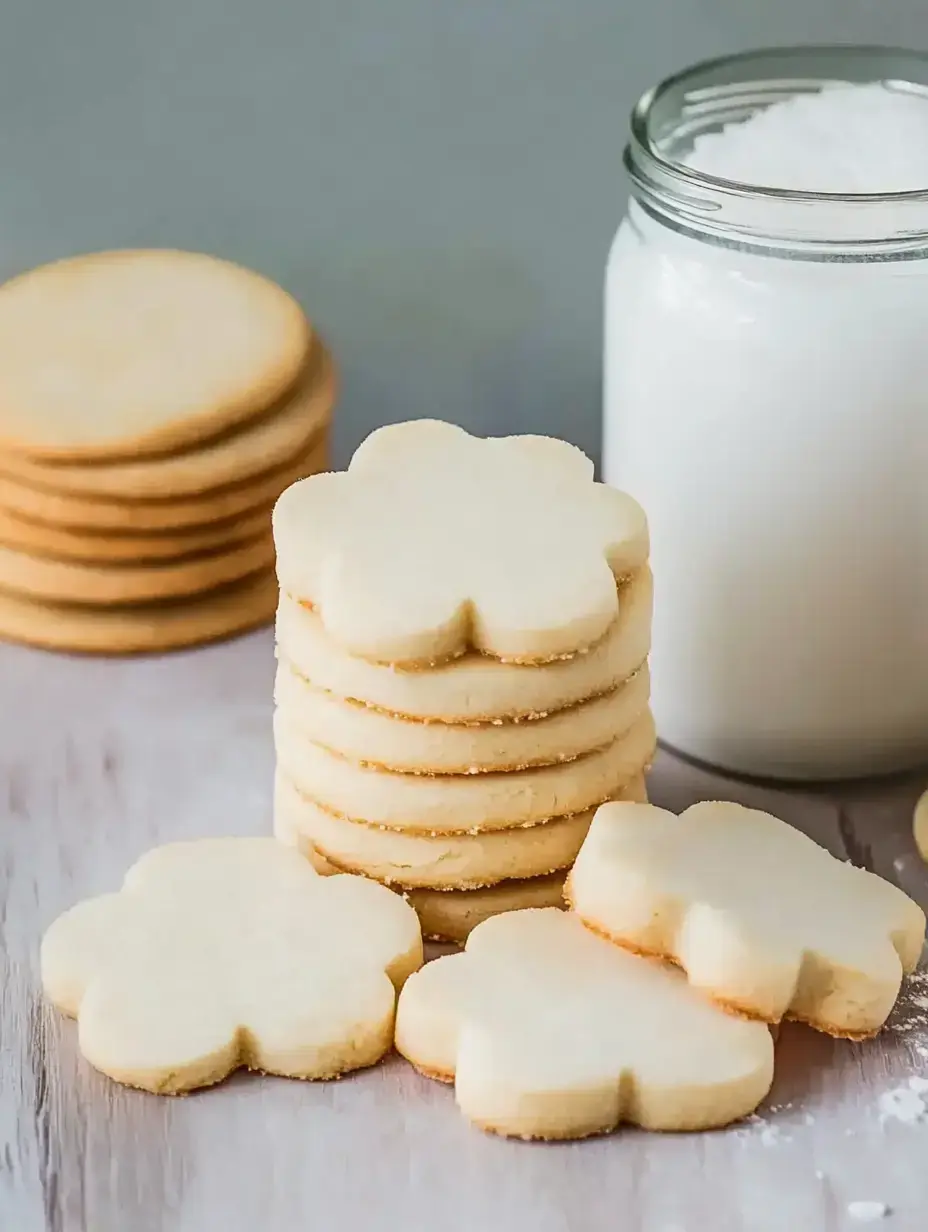
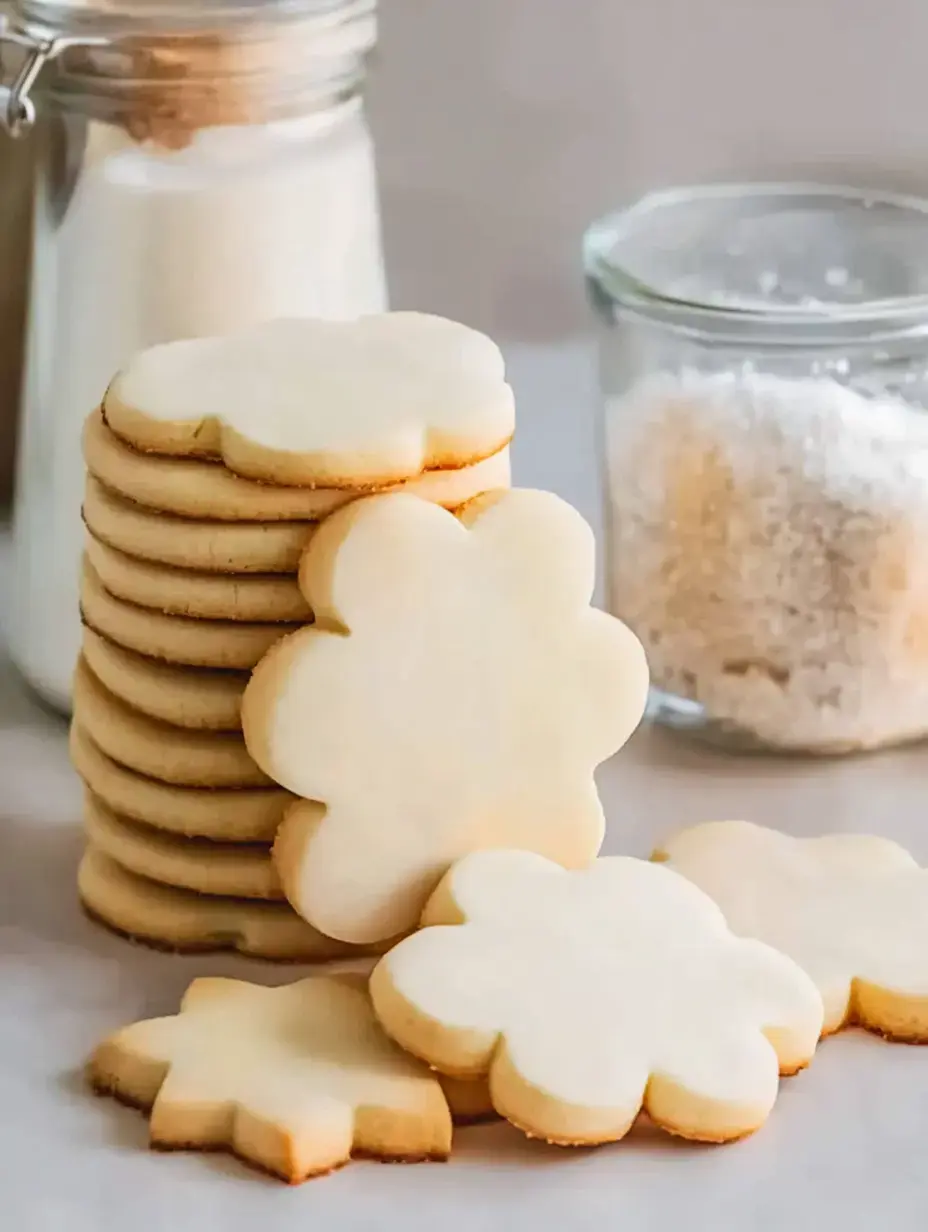
Every time I share these cookies at a party someone asks for the recipe. They're truly foolproof I've taught my youngest to make them and they turn out perfectly every time. The dough holds its shape beautifully whether we're making heart shapes for Valentine's Day or Christmas trees for the holidays. Plus they taste like those fancy bakery cookies but better because they're made with love at home.
Let's Gather Our Ingredients
- Butter: Use the good unsalted stuff straight from the fridge just let it soften on the counter first
- Powdered Sugar: Makes the cookies extra smooth and soft give it a quick sift if it's lumpy
- Egg: Pull it out when you grab your butter they mix better at room temp
- Vanilla: Pure vanilla extract makes such a difference I splurge on the good stuff
- Flour: Regular all purpose flour works perfectly
- Salt: Just a pinch brings out all the flavors
- Baking Powder: A tiny bit gives them the perfect lift
Mix It Up Your Way
Over the years I've tried every possible variation of this recipe. When I'm out of powdered sugar regular granulated works just fine. My sister swears by salted butter and just skips the extra salt. Sometimes I add a splash of almond extract alongside the vanilla it gives them a lovely subtle flavor. Want to make them chocolatey? Mix in some cocoa powder. The possibilities are endless and they always turn out delicious.
 Pin it
Let's Get Baking
- First Things First
- Grab your mixer and cream that butter with sugar until it's light and fluffy about 2 minutes. I usually check my phone while this happens. Add your egg and vanilla and keep mixing until everything looks smooth.
- Time for the Dry Ingredients
- Pour in your flour salt and baking powder. Mix just until it comes together don't overdo it or your cookies might get tough. The dough should feel soft but not sticky.
- Chill Out
- Wrap up your dough and pop it in the fridge. I usually let it rest for an hour but if you're in a hurry 30 minutes works too. This makes the dough so much easier to work with.
- Rolling and Cutting
- Dust your counter with flour roll out the dough to about 3mm thick. My secret trick? Pop it in the freezer for 5 minutes before cutting it makes the shapes super clean. Then go wild with your cookie cutters.
- Into the Oven
- Heat your oven to 340°F and line your baking sheets. Space out those cookies give them room to grow. Another quick trip to the freezer while the oven heats up then bake for 8 to 10 minutes. You want just a hint of gold around the edges.
- Decorating Time
- Let them cool completely before you start decorating. Royal icing sprinkles melted chocolate whatever makes you happy. This is where my kids get creative and our kitchen table turns into an art studio.
Make Them Extra Special
I love setting up a cookie decorating station especially during holidays. Set out bowls of sprinkles some melted chocolate and royal icing in different colors. My daughter's favorite is when we dust them with cocoa powder and drizzle with white chocolate. They're perfect with afternoon tea or as an after school treat with milk. During Christmas we make a whole evening of decorating them while watching holiday movies.
Tips From My Kitchen to Yours
- Room Temp Magic: Trust me on this one let your butter and eggs come to room temperature it makes such a difference
- Gentle Touch: Handle the dough like it's precious the less you work it the more tender your cookies will be
- Chill Time: Don't skip the chilling steps they help keep those pretty shapes intact
- Even Stevens: Try to roll the dough to an even thickness so all your cookies bake at the same rate
- Sharp Edges: Keep your cookie cutters clean between cuts for the crispest shapes
- Freezer Friend: That extra freezer time before baking is my secret weapon for perfect cookies every time
- Perfect Timing: Watch for those slightly golden edges but still soft centers they'll firm up as they cool
Keeping Them Fresh
Store your finished cookies in an airtight container and they'll stay fresh for a week though they never last that long in my house. Layer them with parchment paper to keep the decorations pretty. Want to prep ahead? The dough freezes beautifully for up to 3 months. I often make a double batch and freeze half for unexpected guests or last minute bake sales.
Fun Ways to Mix It Up
- Holiday Spice: Around Christmas I add cinnamon and ginger for a festive twist
- Citrus Bright: Lemon or orange zest makes them taste like sunshine perfect for spring
- Stained Glass: My kids love when we make window cookies with crushed hard candies
- Double Chocolate: Add cocoa powder to the dough and drizzle with melted chocolate chips
- Nutty Crunch: Sometimes I mix in finely chopped pecans or almonds
- Fancy Flowers: In spring we add dried lavender it's surprisingly delicious
- Tea Time: A bit of matcha powder makes beautiful green tea cookies
- Coffee Break: Instant coffee gives them a lovely mocha flavor
- Sandwich Style: Fill two cookies with jam or Nutella for an extra special treat
- Holiday Magic: Shape them into candy canes or snowflakes during winter
Common Questions From My Readers
- Help my dough is crumbly!
- This usually means we need a bit more moisture. Try adding a tiny splash of milk or cream until it comes together.
- Why use powdered sugar instead of regular?
- It makes the cookies extra tender and melts right into the dough. But don't worry if you only have granulated it works too.
- My cookies spread out and lost their shape!
- This is usually because the dough got too warm. Pop them in the freezer before baking and they'll keep their shape perfectly.
More Cookie Adventures
- Nutella Dreams: My chocolate hazelnut version has become famous at school bake sales
- Holiday Stars: Our Christmas cookie tradition includes stars with colored sugar
- Jam Surprises: Fill the centers with your favorite jam before baking
- White Chocolate Bliss: Dip half in melted white chocolate and add sprinkles
From My Family to Yours
These sugar cookies have become more than just a recipe in our house they're part of our family traditions. From Valentine's Day hearts to Halloween pumpkins to Christmas trees they mark our special moments throughout the year. I hope they bring as much joy to your kitchen as they have to mine. Remember there's no such thing as a perfect looking cookie as long as it's made with love.
 Pin it
Frequently Asked Questions
- → Why do I need to chill the dough?
- Chilling helps prevent cookies from spreading while baking. It also makes the dough easier to handle and cut into shapes without sticking.
- → Can I skip the freezing step before baking?
- Freezing the cut shapes helps cookies keep their shape during baking. Skipping this step might result in spread out, misshapen cookies.
- → How thick should I roll the dough?
- Roll dough to about 3mm thickness for best results. Too thin makes brittle cookies, while too thick makes them cakey and soft.
- → Why are my cookies too hard?
- Overbaking makes hard cookies. Remove them when edges are just turning golden but centers still look soft. They'll firm up while cooling.
- → Can I freeze decorated cookies?
- Undecorated cookies freeze well for up to 3 months. Decorate after thawing for best results, as some decorations don't freeze well.
