 Pin it
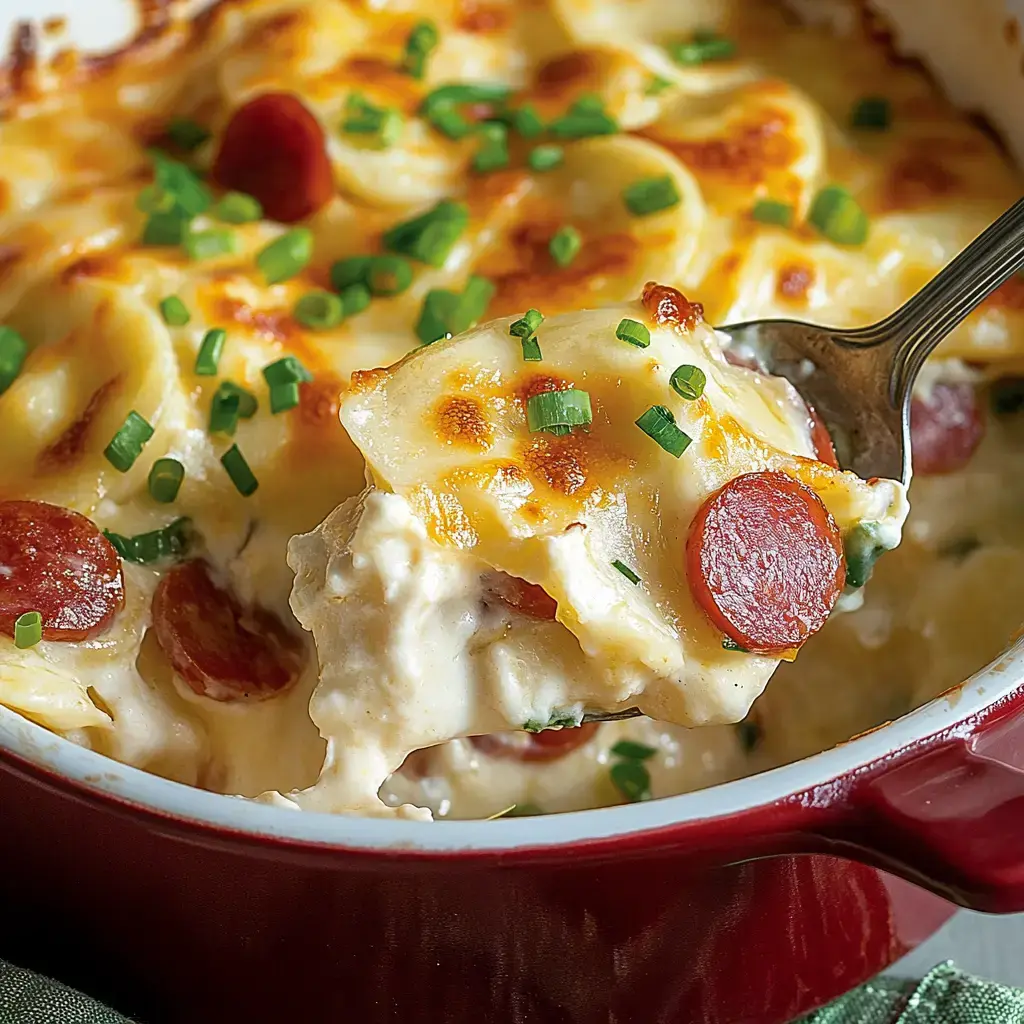
I came up with this cozy Pierogi and Kielbasa Casserole one busy evening when I needed something quick and filling for dinner. By combining frozen pierogies with sliced kielbasa and a creamy cheese sauce I created pure comfort food magic. Now it's one of our favorite weeknight meals ready in under an hour with barely any prep work.
Comfort Food Made Simple
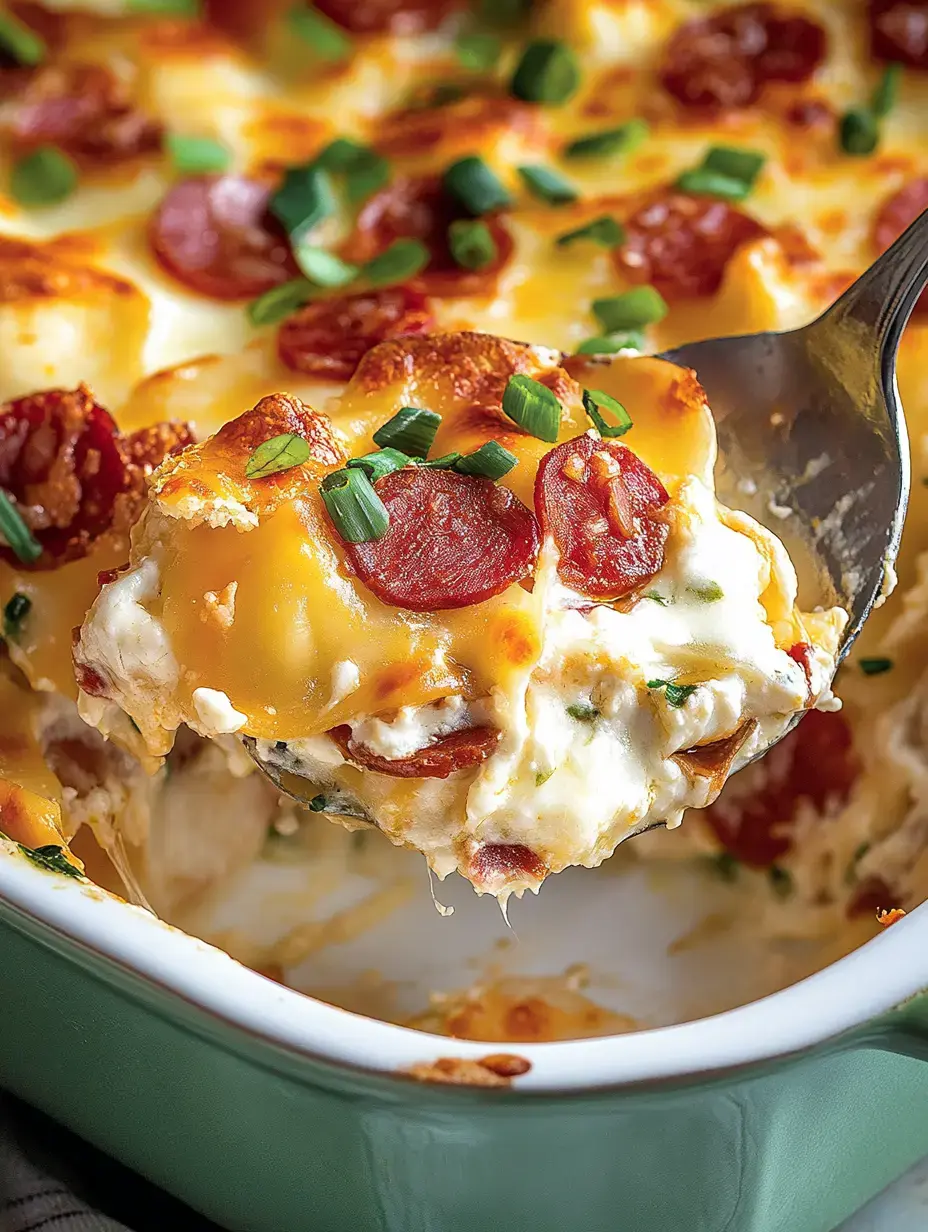
What makes this casserole so special is how those pierogies and kielbasa come together with a velvety sauce and melted cheese. The smoky sausage and tender pierogies create the perfect comfort food combination. Best of all it's so easy to throw together even on those hectic weeknights when cooking feels like too much work.
Let's Gather Our Ingredients
Here's everything you need to make this cozy dish:
- One bag of frozen pierogies any flavor you love
- 1 pound kielbasa sliced into rounds
- 1 cup chicken broth
- 4 ounces cream cheese softened
- 1/2 cup sour cream
- 1 cup shredded cheddar cheese
- 2 green onions chopped
- Fresh cracked pepper to taste
The quality of your kielbasa really makes a difference here.
Building Our Layers
Start by greasing a 9x13 baking dish then create your first layer with half the pierogies followed by half the kielbasa slices. Repeat those layers one more time. Now for the creamy sauce whisk together your broth cream cheese and sour cream until smooth. Add a bit of pepper then pour this mixture all over your layers making sure everything gets nicely coated. Cover the dish with foil to keep all that goodness inside.
 Pin it
Time to Bake
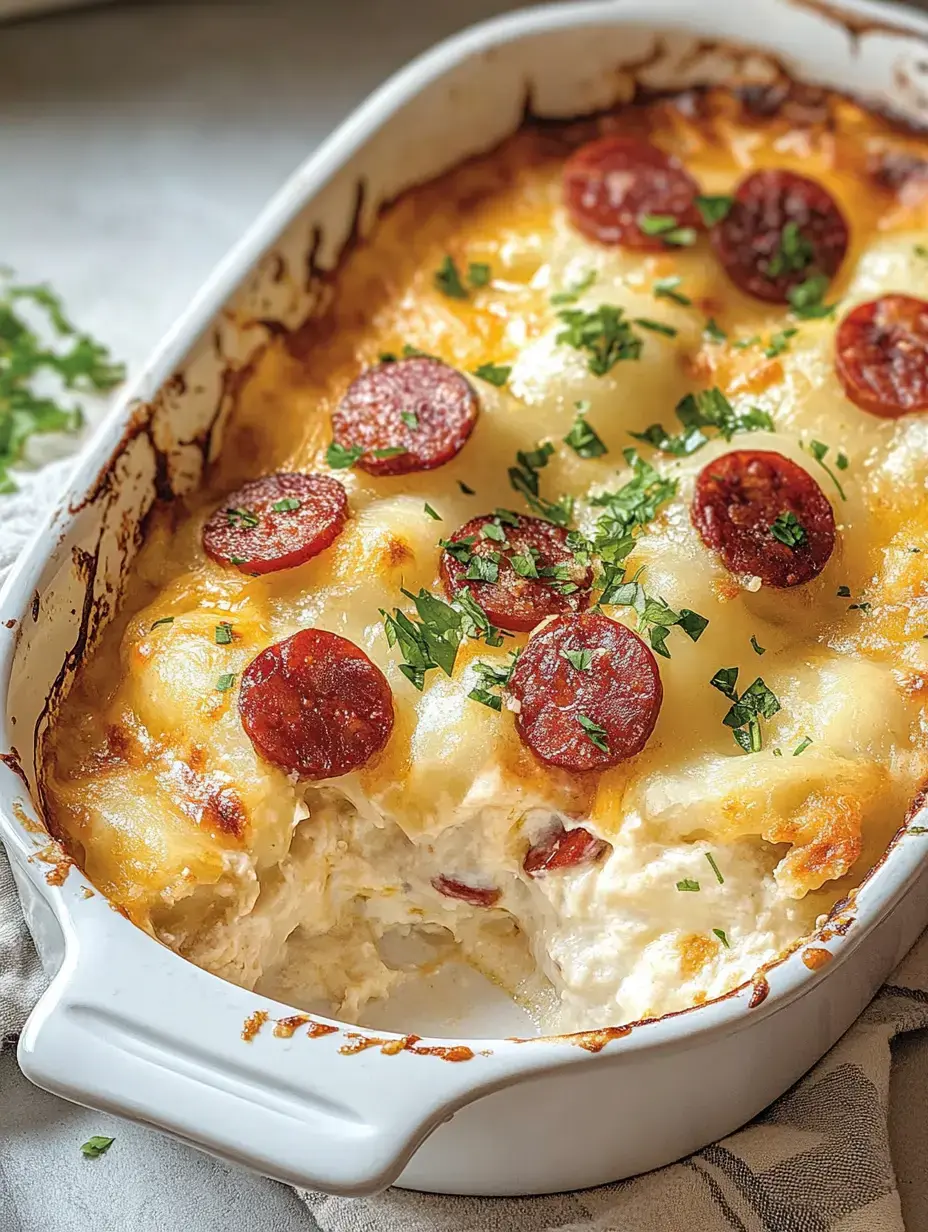
Get your oven nice and hot at 375°F. Pop your covered casserole in and let it bake for about 25 to 30 minutes. This gives those pierogies time to thaw and soak up all those amazing flavors. Then comes the best part take off the foil sprinkle that cheddar cheese over top and back it goes until everything's bubbly and golden.
Perfect Pairings
I love finishing each serving with a sprinkle of fresh green onions it adds such nice color and flavor. A simple green salad on the side helps balance out the richness. Sometimes I'll add some crispy bacon bits or fried onions on top for extra crunch my family goes crazy for that.
Making It Your Own
Feel free to play around with different cheeses mozzarella or pepper jack work beautifully. My spice loving friends add chopped jalapeños while others prefer extra smoky flavor with smoked kielbasa. It's such an adaptable recipe make it work for your family's taste.
Planning Ahead
One of my favorite things about this casserole is how make ahead friendly it is. You can assemble everything the night before cover it well and pop it in the fridge. Just add a few extra minutes to the baking time. Leftovers keep nicely in the fridge for 3 to 4 days though they rarely last that long in my house.
Tips From My Kitchen
Make sure to spread that sauce evenly so every bite is creamy and delicious. Fresh herbs like thyme or parsley add wonderful flavor. Try mixing different cheeses together my kids love when I combine cheddar and Monterey Jack for an extra gooey top.
A Family Favorite
This Pierogi and Kielbasa Casserole has become such a beloved part of our dinner rotation. It's the perfect blend of easy preparation and pure comfort food satisfaction. Whether you're feeding a hungry family or just craving something cozy I hope this recipe brings as much joy to your table as it has to mine.
 Pin it
Frequently Asked Questions
- → Do I need to thaw the pierogies first?
- No need to thaw them first. The frozen pierogies will cook perfectly in the casserole and help keep their shape better.
- → What type of kielbasa works best?
- You can use any smoked kielbasa or Polish sausage. Turkey kielbasa works too if you want a lighter option.
- → Why use block cheese instead of pre-shredded?
- Freshly shredded block cheese melts smoother because it doesn't contain the anti-caking agents found in pre-shredded cheese.
- → Can I make this ahead of time?
- You can assemble it ahead and refrigerate. Add a few extra minutes to the baking time if cooking from cold.
- → Why cover while baking?
- Covering helps the pierogies steam and cook evenly. Removing the cover at the end lets the cheese brown nicely on top.
