 Pin it
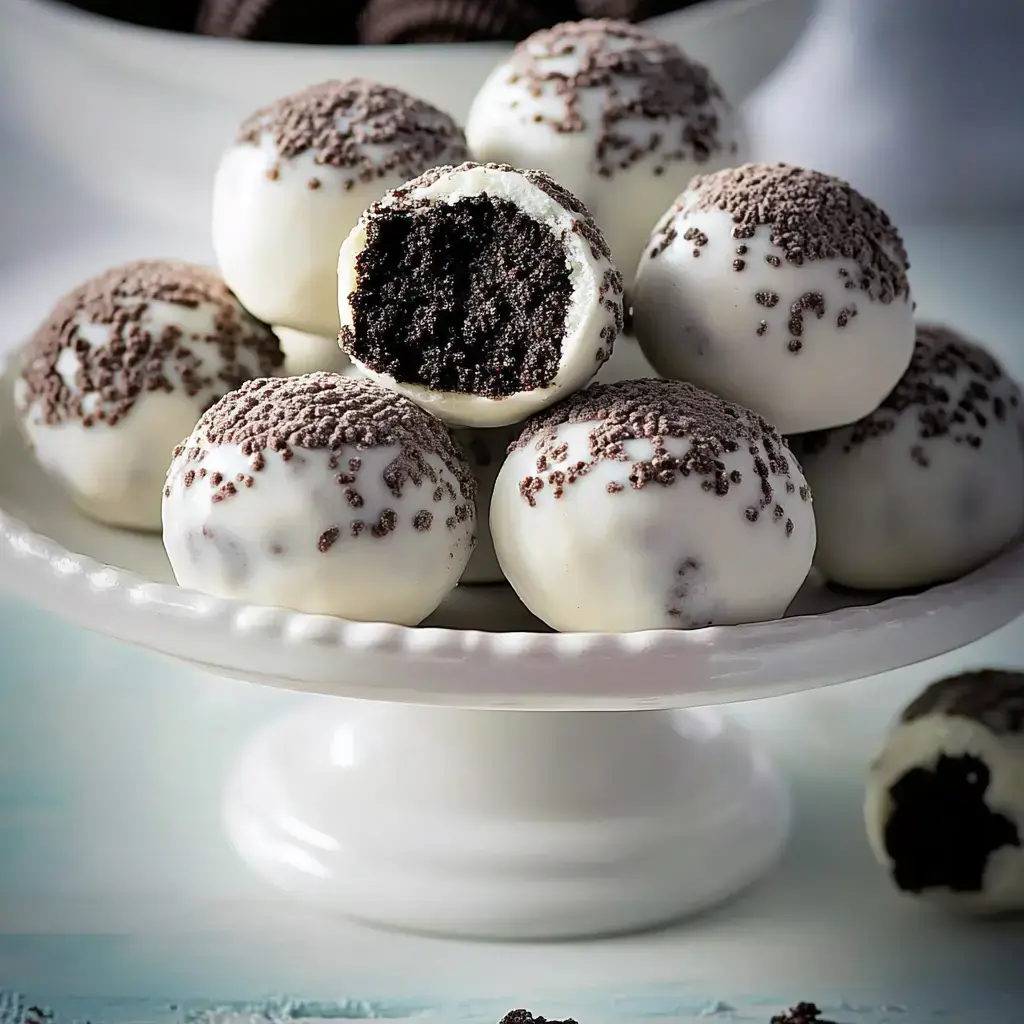
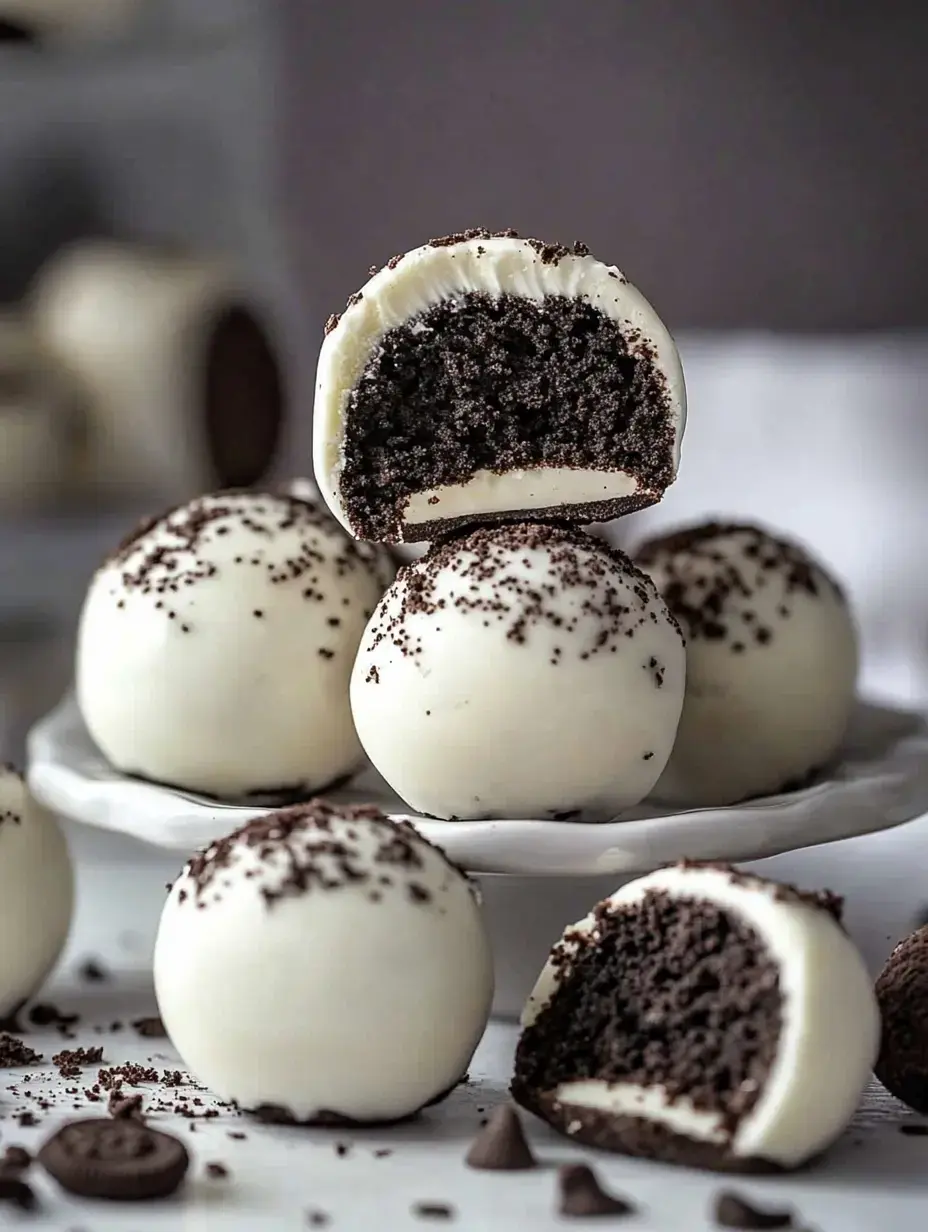
My kitchen counter is covered in chocolate right now and I couldn't be happier. These Oreo Cake Balls are my secret weapon for every party and gathering. The moment people bite into that crisp chocolate shell and discover the creamy Oreo filling inside their eyes light up. My daughter calls them chocolate truffles to make them sound fancy but really they're just pure joy rolled into little balls.
Pure Chocolate Magic
I love how simple these are to make. No oven needed just crush mix dip and chill. They're perfect for those summer days when it's too hot to bake. Last Christmas I packaged them in little boxes for teacher gifts. Now the teachers ask about them every year. That smooth creamy center wrapped in crisp chocolate it's impossible to eat just one.
What You Need
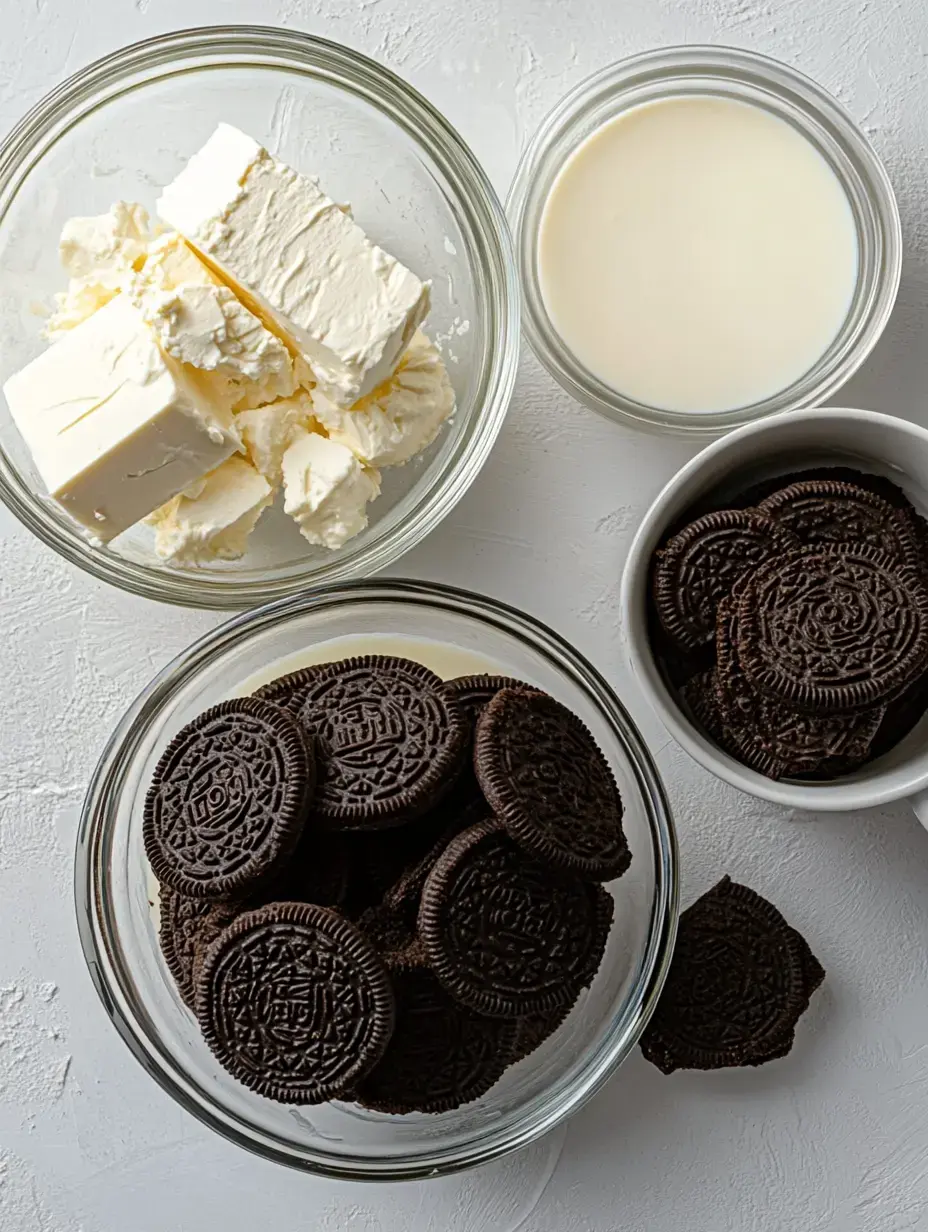
- Oreos: Grab 36 cookies I always buy extra because snacking happens
- Cream Cheese: One 8 oz block let it soften on the counter
- White Candy Melts: 12 oz for dipping get the good stuff it melts better
- Heavy Cream: Keep some handy in case your chocolate needs smoothing out
Let's Make Magic
- Cookie Time
- First crush those Oreos into dust. I use my food processor but a plastic bag and rolling pin works great too especially if you need to work out some stress.
- Mix It Up
- Blend in your soft cream cheese until everything looks like dark chocolate cookie dough. This is where my kids usually start stealing tastes.
- Rolling Fun
- Scoop and roll into balls about the size of a quarter. Pop them on a lined baking sheet.
- Chill Out
- Into the freezer they go for 15 minutes. This helps them keep their shape when dipping.
- Melting Magic
- Melt your candy coating slowly in the microwave. If it's too thick add a splash of warm cream.
- Dip and Drizzle
- This is the messy fun part. Dip each ball in the melted coating let the extra drip off then back on the sheet to set. Sometimes I sprinkle extra Oreo crumbs on top before they harden.
 Pin it
Keeping Them Fresh
These little treats stay perfect in the fridge for weeks if they last that long in your house. I keep mine in a container with a tight lid. When I'm planning ahead for parties I make a double batch and freeze some. Just remember to separate the layers with wax paper so they don't stick together.
Planning Ahead
Need to get ahead of the game? Make these up to three weeks before your party just keep them chilled. If you're super organized make the balls freeze them then dip them in chocolate closer to when you need them. That's what I do for big events like my sister's annual holiday party.
Kitchen Tips and Tricks
Regular chocolate chips work fine if you can't find candy melts just add a tiny bit of oil to help them melt smooth. Getting lumpy coating? A splash of warm cream fixes that right up. No food processor? No problem crushing cookies by hand works just as well. And always always chill your balls before dipping trust me on this one it makes the whole process so much easier.
 Pin it
Frequently Asked Questions
- → Why do the cake balls need to be frozen?
Freezing helps the balls hold their shape when dipping in warm chocolate. It also prevents the centers from melting or breaking during coating.
- → Can I use regular chocolate instead of candy melts?
Yes, but chocolate chips melt differently than candy melts. Use short microwave intervals and be careful not to overheat if using regular chocolate.
- → How long do these cake balls last?
Store them in an airtight container in the fridge for up to 2 weeks. They can also be frozen for up to 2 months.
- → Why isn't my coating smooth?
If the coating is too thick, try thinning it with a little hot cream. Also make sure the cake balls are well chilled before dipping.
- → Can I make these ahead of time?
Yes, prepare them up to several days ahead and store in the refrigerator. They're perfect for making in advance for parties.
