 Pin it
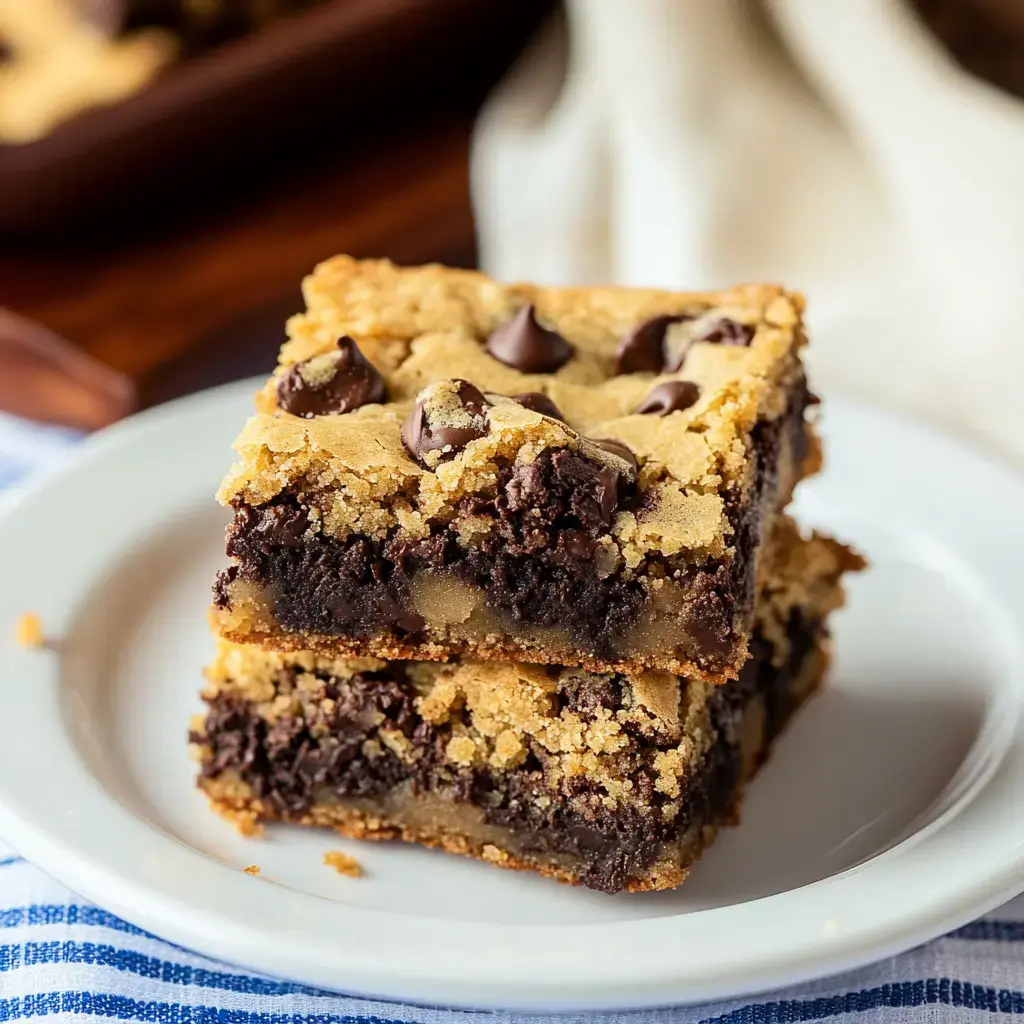
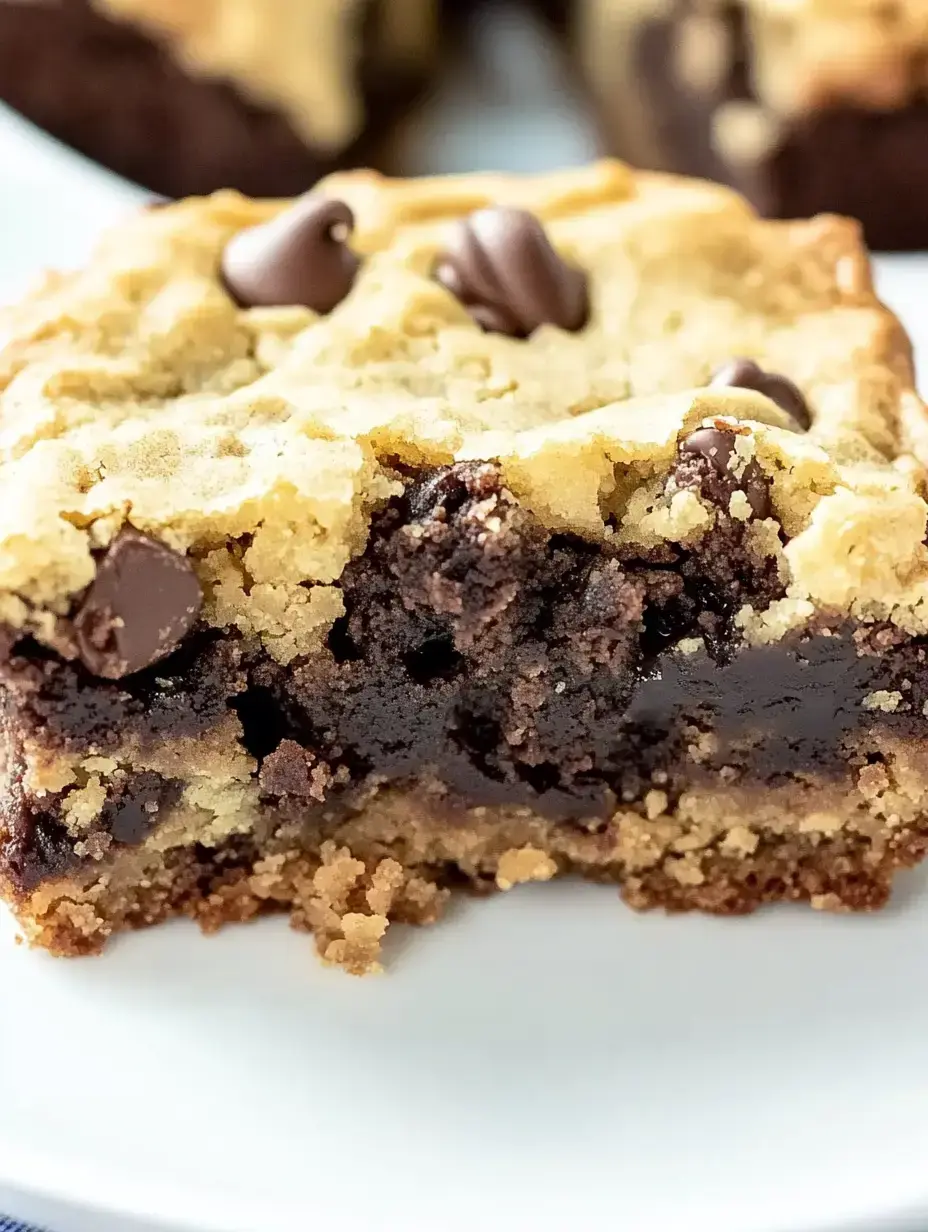
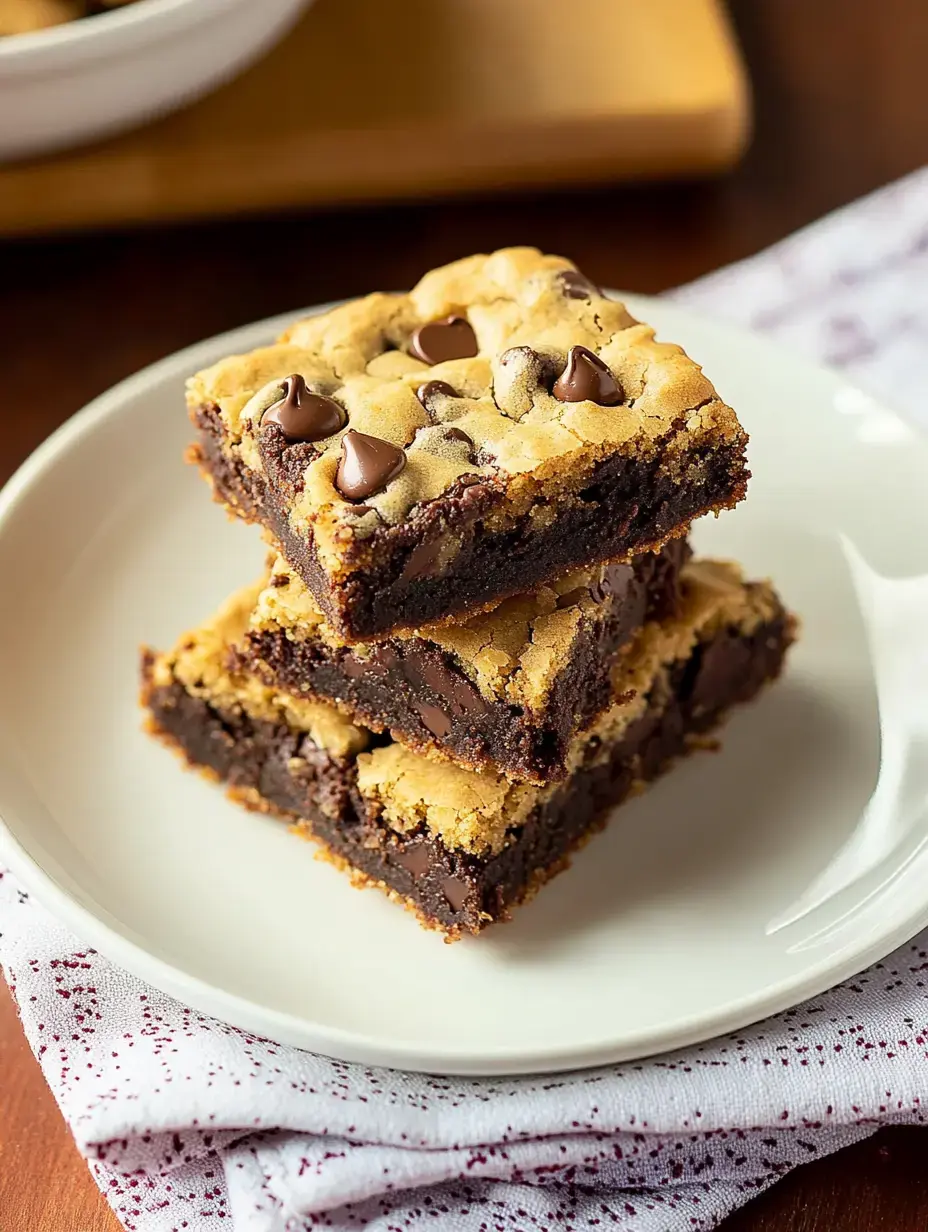
Let me share one of my absolute favorite creations from my kitchen these magical Chocolate Chip Cookie Brownies! I started making these when I couldn't decide between cookies and brownies one afternoon, and now my family begs for them constantly. Imagine biting into a perfect marriage of soft, buttery cookie dough and rich, fudgy brownie all in one heavenly square. Trust me, once you try these, regular brownies will never be quite the same!
Why This Recipe is Pure Magic
You know those desserts that make everyone's eyes light up? This is definitely one of them. I've perfected the balance between the chewy cookie layer and that decadent brownie bottom after countless test batches (my kids didn't mind being taste-testers!). These bars travel beautifully too I'm always asked to bring them to potlucks and school events. The best part? You can dress them up or keep them simple, and they're amazing either way.
Let's Gather Our Ingredients
Here's everything you'll need to make these dream bars:
- From your pantry:
- Our trusted all-purpose flour it's the foundation of both layers
- Two kinds of sugar (granulated and brown) this combo makes everything perfectly chewy
- My baking basics: baking soda and powder for the perfect rise
- A pinch of salt to make all those flavors pop
- From your fridge:
- Fresh eggs they're going in both layers
- Unsalted butter (if you've got salted, that's fine just reduce the extra salt)
- The stars of the show:
- Milk chocolate chips (though any kind works I've tried them all!)
- Good bittersweet chocolate for that rich brownie base
- Cocoa powder for extra chocolate goodness
- Pure vanilla extract trust me, it makes everything better
Let's Get Baking
I'm so excited to walk you through this recipe! First things first, crank that oven to 350°F. Here's my favorite pan prep trick: spray your 9x13 pan, line it with parchment (let it hang over the sides), then give it one more quick spray. This makes your bars pop right out later!
For our cookie dough magic, whisk the dry ingredients in one bowl. Now here's where the love happens in your big bowl, cream those butters and sugars until they're light and fluffy. Trust me, don't rush this step! Mix in your egg and vanilla, then gently fold in those dry ingredients. When you add those chocolate chips, try not to sneak too many (I always do!).
Now for the brownie layer my absolute favorite part. I melt the chocolate and butter together using a double boiler. If you don't have one, just put a heat-safe bowl over simmering water works perfectly! Once it's silky smooth, we'll whisk in everything else until it's glossy and gorgeous.
 Pin it
Putting It All Together
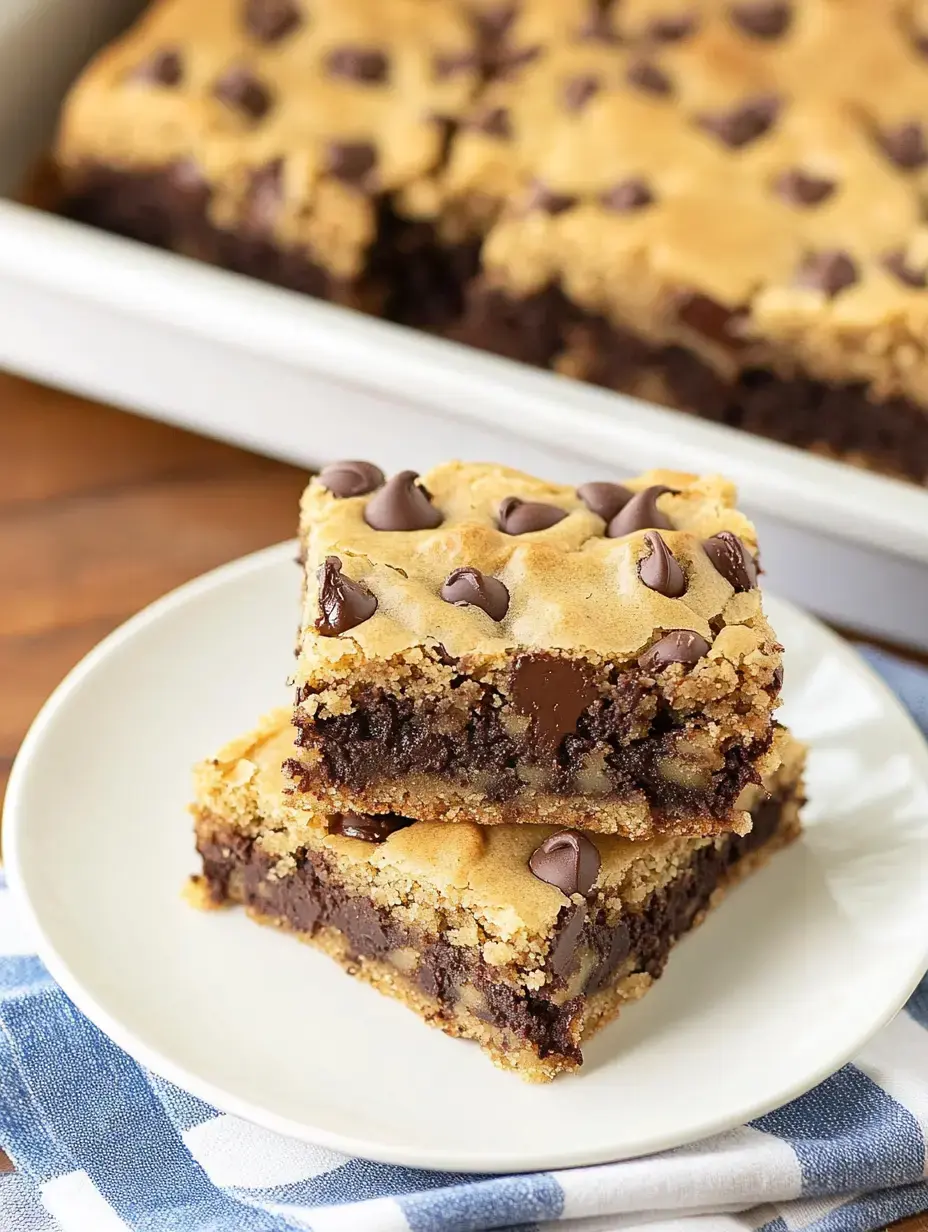
Here comes the fun part! Pour that dreamy brownie batter into your pan first get it nice and smooth. Then comes my favorite technique crumble that cookie dough all over the top. Don't worry about being too perfect here, those random chunks create the most amazing texture!
Cover it loosely with foil for the first 20 minutes of baking this is my secret for perfectly done layers. After that, let it finish baking uncovered until it's just right. When you pull it out, it'll be hard to wait, but trust me, letting it cool completely makes all the difference in the world!
Making These Your Own
Over the years, I've experimented with so many delicious variations of these bars! Here are some family favorites from my kitchen:
- Love nuts? Toss some chopped pecans or walnuts into either layer they add such amazing crunch.
- During the holidays, I add crushed candy canes and a drop of peppermint extract my kids go crazy for these!
- Try layering peanut butter cups between the brownie and cookie layers pure heaven.
- Want s'mores vibes? Crush up some graham crackers into the cookie dough and sprinkle mini marshmallows over the brownie layer before adding the cookie top.
- My personal favorite? Swap those regular chips for white chocolate in the cookie dough, then drizzle melted white chocolate over the finished bars. And if you're feeling extra indulgent, serve them warm with vanilla ice cream and hot fudge. Heaven!
Your Questions Answered
After sharing this recipe countless times, here are the questions I get asked most:
- Need these gluten-free? Just swap in your favorite cup-for-cup flour blend I've tested this myself!
- Feel free to play with different chocolate chips dark, milk, or white all work beautifully.
- These stay fresh for 3 days on the counter in an airtight container, or 5 days in the fridge (but honestly, they never last that long in my house!).
- Yes, you can freeze them! Wrap them well and they'll keep for 3 months. Perfect for surprise guests or late-night cravings.
- Want to prep ahead? Make both batters the day before, store them in the fridge, then bring to room temp before assembling.
Perfect for Every Occasion
These bars have become my go-to for everything from bake sales to birthday parties. They're fancy enough for special celebrations but easy enough for a random Tuesday night treat. Plus, they make the house smell absolutely amazing while they bake!
 Pin it
Serving Up Smiles
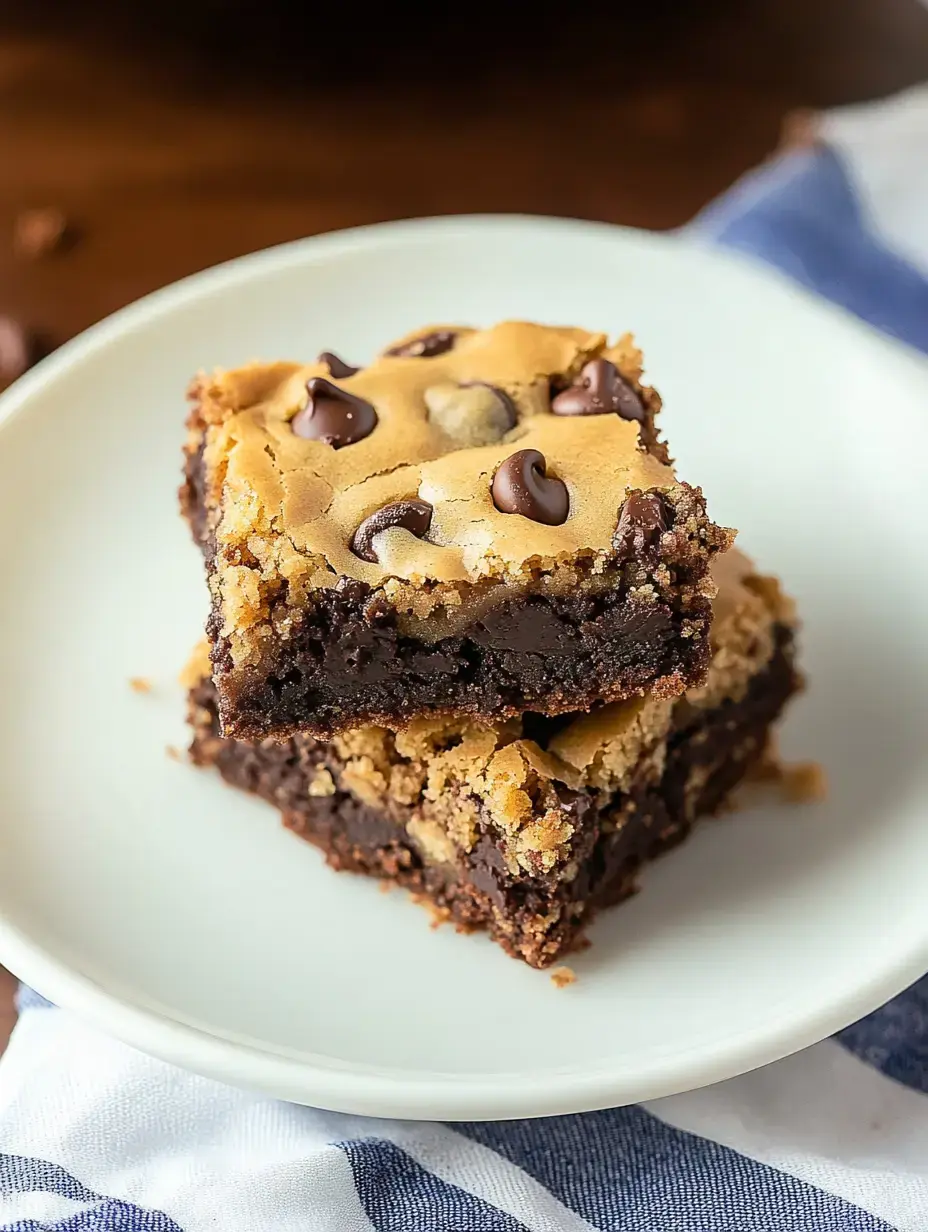
My favorite way to serve these? Still slightly warm with a cold scoop of vanilla ice cream. For potlucks, I cut them into bite-sized squares perfect for sampling. And don't forget napkins these beauties are deliciously messy!
What Makes These Extra Special
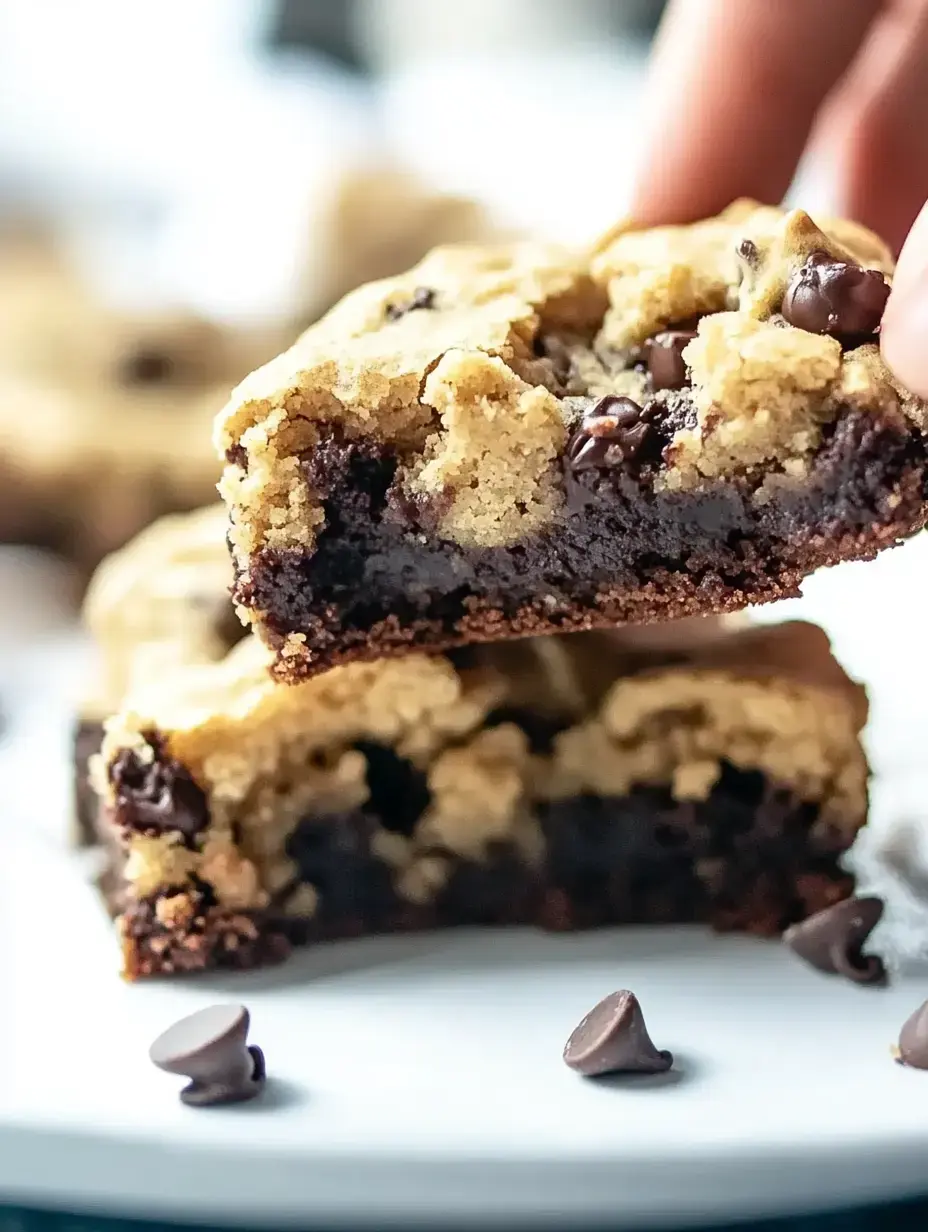
The magic of these bars is all in the contrast that fudgy brownie base with the soft, buttery cookie layer on top creates the most incredible texture in every bite. It's like getting two beloved desserts in one, and somehow they're even better together!
Keeping Them Fresh
Here's my tried-and-true storage method: keep them in an airtight container, with wax paper between layers if you're stacking them. They'll stay perfect at room temperature for three days, or pop them in the fridge for up to five. Though I have to say, leftovers are rarely an issue at my house!
Freezer Magic
One of my favorite mom tricks is keeping a stash of these in the freezer! Wrap them individually in plastic wrap, then store in a freezer container. They'll keep for three months, though they never last that long. Just pull them out the night before you need them.
 Pin it
The Perfect Party Treat
Whether it's a backyard barbecue or a birthday celebration, these bars always steal the show. I love watching people's faces light up when they take that first bite. They're always the first dessert to disappear from the buffet table!
Mix It Up
The beauty of this recipe is how versatile it is. Sometimes I add chopped nuts, sometimes I swirl in caramel, and during the holidays, I might add some festive sprinkles. Every variation has turned out delicious just follow your heart!
Pure Comfort in a Bar
There's something so special about combining two classic desserts into one. These bars remind me of childhood baking sessions, bringing together everything we love about cookies and brownies. They're like a warm hug in dessert form!
Topping Ideas
Let's talk toppings! A drizzle of caramel sauce, a dollop of whipped cream, or even a swirl of peanut butter can take these bars to the next level. My kids love helping decide what to add it's become our special baking tradition!
 Pin it
Easy Baking Success
Don't let the two-in-one nature of this recipe intimidate you! I've broken everything down into simple steps that even my teenage daughter can follow. It's actually a great recipe for building confidence in the kitchen.
The Perfect Gift
Looking for a thoughtful homemade gift? These bars are your answer! I package them in pretty boxes or mason jars for teachers, neighbors, and friends. They're always met with huge smiles and requests for the recipe!
A Match Made in Heaven
You know how some combinations just work? That's these bars! The dense, rich brownie layer perfectly complements the soft, chewy cookie top. It's like they were always meant to be together!
Pure Chocolate Heaven
These cookie brownies have brought so much joy to my kitchen and I know they'll do the same for yours. Every time I make them, they remind me why I fell in love with baking in the first place it's about creating something special that brings people together. Whether you're baking these for a special occasion or just because it's Tuesday, I guarantee they'll become a favorite in your recipe collection too!
 Pin it
Frequently Asked Questions
- → Why cover with foil for part of baking?
The foil prevents the cookie layer from browning too quickly while the brownie layer sets. This ensures even baking throughout both layers.
- → Can I use different chocolate chips?
Yes, you can use milk, semi-sweet, or dark chocolate chips in the cookie layer. Each type will give a slightly different flavor to the final bars.
- → Why line the pan with parchment?
Parchment paper makes it easy to lift the entire batch out of the pan for clean cutting. It also prevents sticking and makes cleanup easier.
- → Can these be frozen?
These bars freeze well for up to 3 months when wrapped tightly. Thaw overnight in the fridge before serving.
- → How do I know when they're done?
The cookie top should be golden brown and a toothpick inserted in the center should come out with a few moist crumbs. Don't overbake or they'll be dry.
