 Pin it
This Chocolate Peanut Butter Cake has become my signature dessert for good reason. I first created it when I needed something special for my daughter's birthday but was short on time. The way the chocolate and peanut butter swirl together in that beautiful fluted pan creates pure magic. Now my family requests it for every celebration and honestly I can't blame them.
What Makes This Cake Special
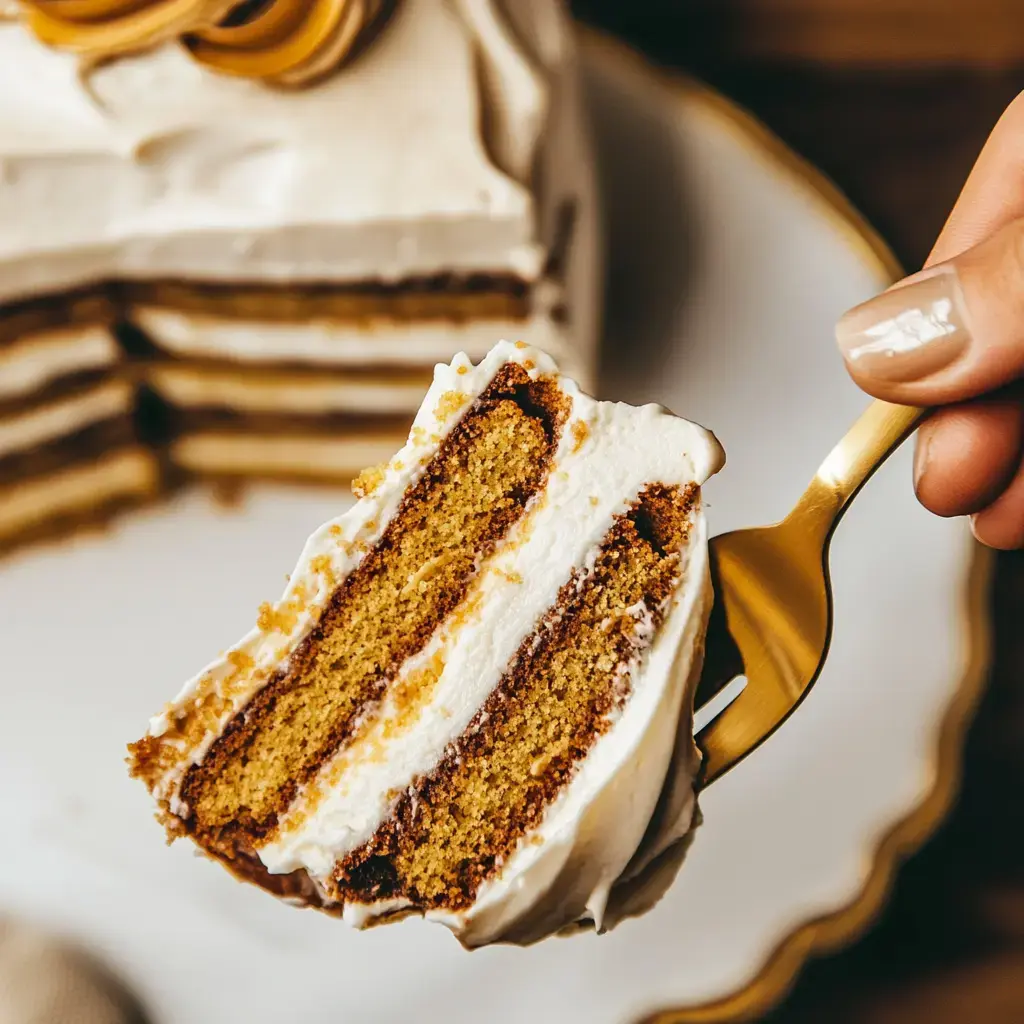
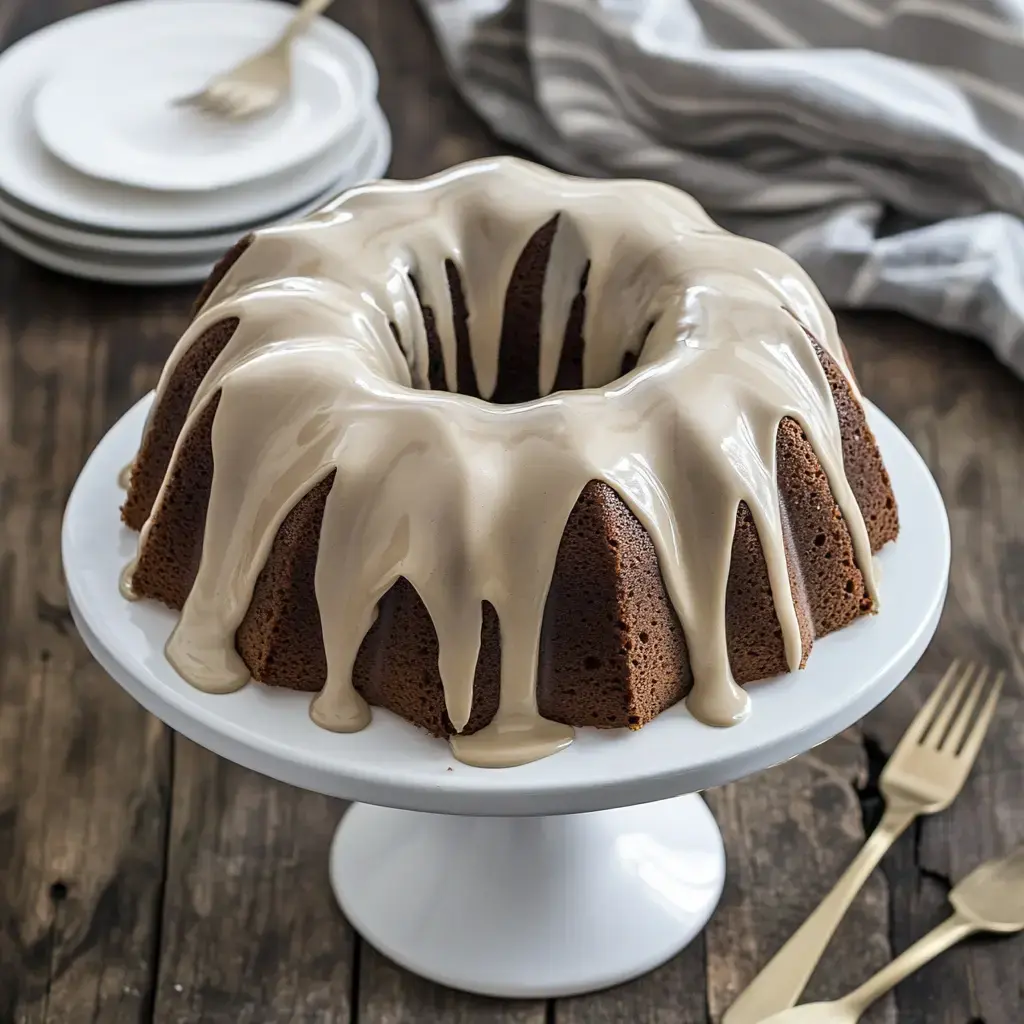
Every time I make this cake someone asks for the recipe. The chocolate base is perfectly rich while ribbons of peanut butter create these gorgeous swirls throughout. That final drizzle of peanut butter glaze makes it look like it came from a fancy bakery. The best part? It's so much easier than it looks perfect for those times when you want to impress without spending hours in the kitchen.
Everything You Need
- All Purpose Flour: 3 cups give it a quick fluff before measuring trust me it makes a difference.
- Sugar: 2 cups of granulated I like the superfine kind for extra smoothness.
- Eggs: 4 large ones set them out early so they're room temp.
- Sour Cream: 1 cup full fat is your friend here.
- Bittersweet Chocolate: 4 ounces the good stuff really shines through.
- Creamy Peanut Butter: 1/2 cup my secret weapon for perfect swirls.
- Baking Powder & Soda: 1 teaspoon each check those dates.
- Milk: 1/2 cup whole milk makes everything better.
- Salted Butter: 1 cup let it soften naturally on your counter.
- Season's Note: A splash of real vanilla extract takes it over the top.
Let's Bake Together
- First Things First
- Get your oven warming to 350°F and show that tube pan some love with butter and flour don't skip the corners.
- Mix Your Dry Team
- Whisk those dry ingredients together they need to become good friends before joining the party.
- Create the Base
- This is where the magic starts. Beat your butter and sugar until it's light and fluffy about 4 minutes. Add those eggs one by one then fold in the sour cream and vanilla.
- Bring It Together
- Now go back and forth with your flour mix and milk. Don't overdo it just mix until everything's happy together then split into two bowls.
- Time to Swirl
- One bowl gets melted chocolate the other gets peanut butter. Layer them in your pan then make those beautiful swirls with a knife. Remember to leave some room for rising.
- Into the Oven
- About an hour of baking then let it rest in the pan for 15 minutes before turning it out. The waiting is the hardest part.
 Pin it
The Finishing Touch
While the cake cools I whip up my quick peanut butter glaze. Mix 1 cup powdered sugar with 1/4 cup creamy peanut butter and just enough half and half to make it pourable. Sometimes I'll make extra batter into cupcakes for the kids to snack on. A sprinkle of chocolate shavings or crushed peanuts on top makes it extra special.
Helpful Tips
I learned the hard way that natural peanut butter just doesn't work here stick with the classic creamy kind. Keep an eye on those leaveners they're the secret to that perfect rise. And yes you can use Greek yogurt instead of sour cream I do it all the time when that's what's in my fridge.
Keeping It Fresh
This cake actually tastes even better the next day. Keep it in an airtight container on your counter for up to 3 days if it lasts that long. During summer I pop it in the fridge where it stays perfect for a week. We love it with cold milk or a scoop of vanilla ice cream when we're feeling extra indulgent.
 Pin it
Frequently Asked Questions
- → Why alternate adding flour and milk?
This technique prevents overmixing and helps create a tender cake. It also ensures ingredients incorporate evenly without lumps.
- → How do I achieve the marble effect?
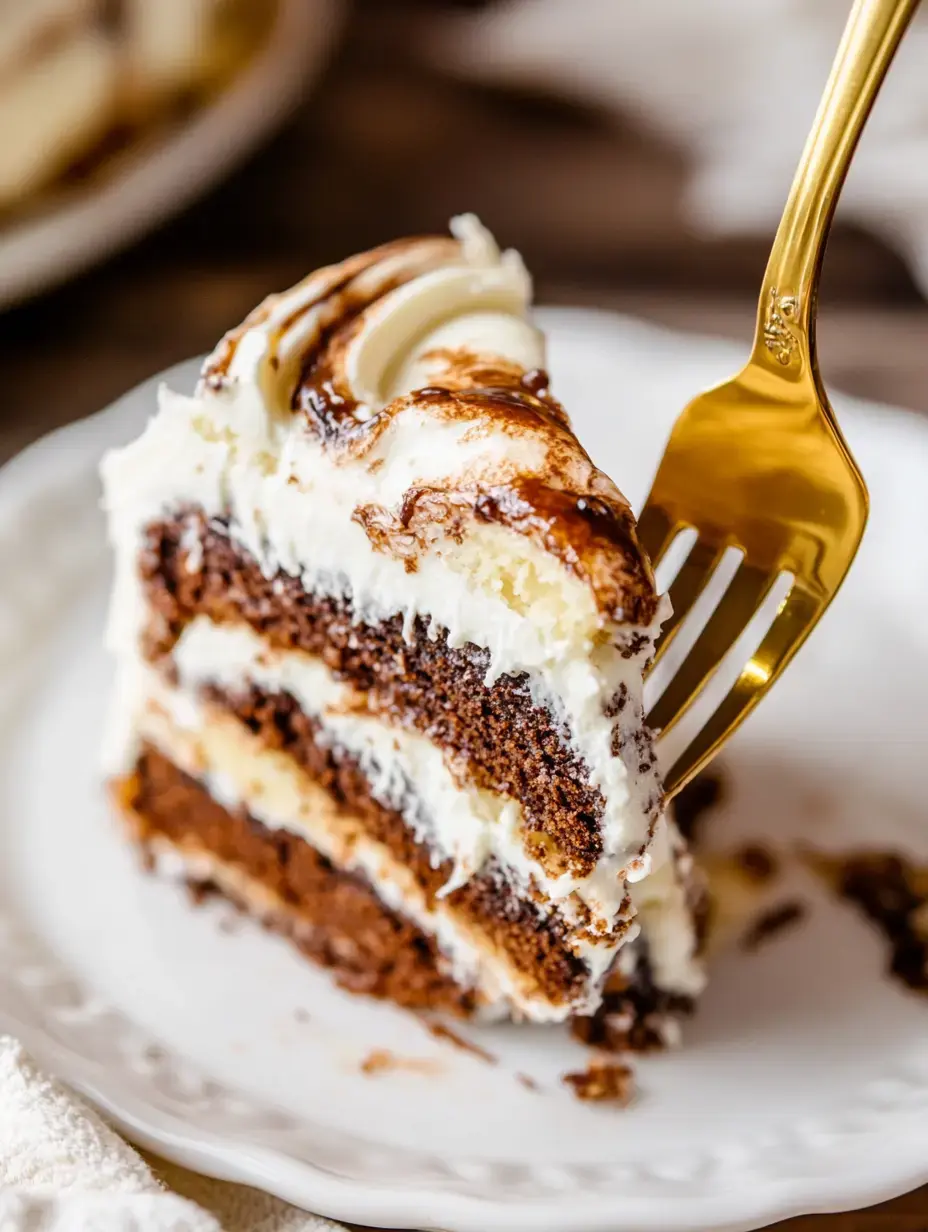
Alternate spoonfuls of each batter and swirl gently with a knife. Don't overmix or the distinct flavors will blend too much.
- → Why cool in the pan first?
Initial cooling in the pan allows the cake to set up and release cleanly. Too quick removal could cause breaking.
- → What makes the perfect glaze consistency?
Add half & half gradually until you achieve a thick but pourable consistency. It should coat the back of a spoon but still drizzle easily.
- → Can I make this ahead?
The cake can be made a day ahead. Add the glaze just before serving for best appearance and texture.
Conclusion
A decadent bundt cake that combines the rich flavors of chocolate and peanut butter in a stunning marbled design, topped with a creamy peanut butter glaze.
