 Pin it
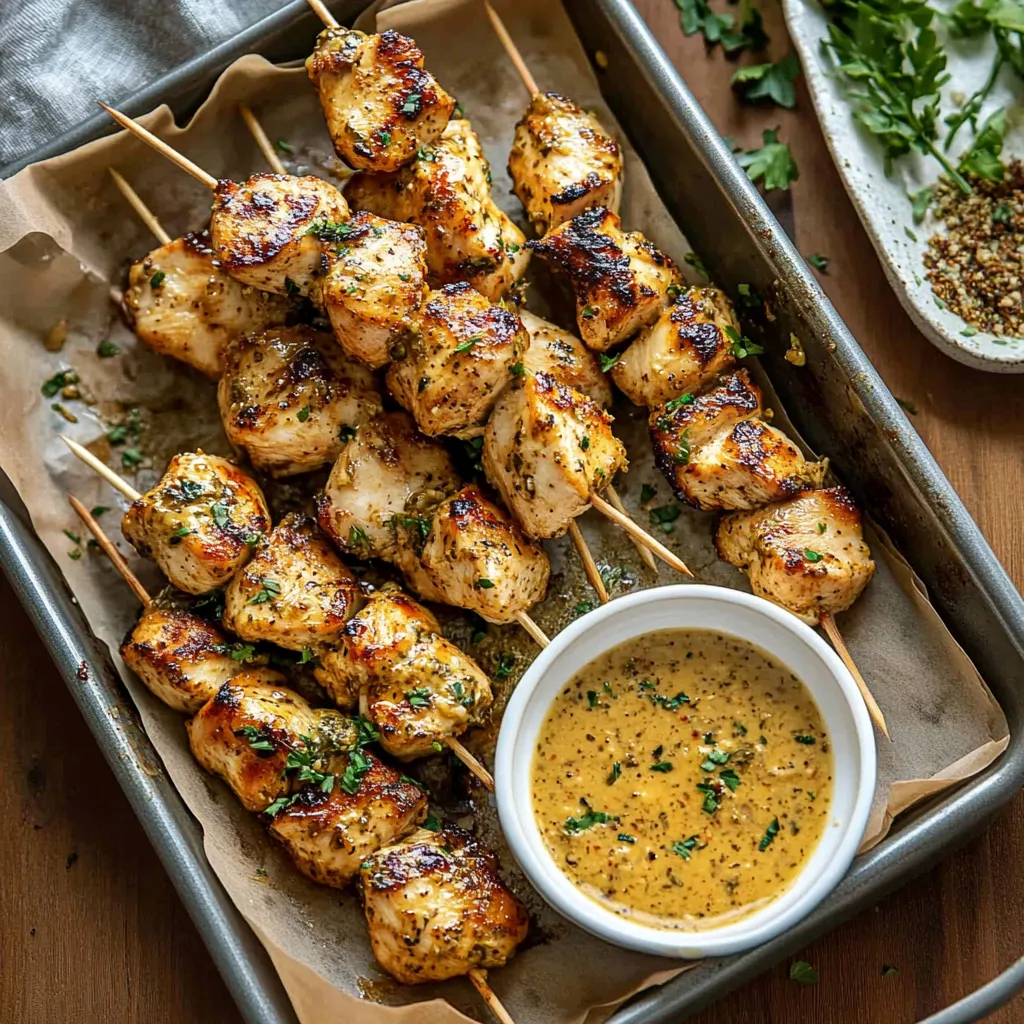
This dish came from my family's backyard cookouts and special get-togethers. When you mix well-seasoned chicken with that rich, herby cowboy butter, you get something folks can't stop eating. I've learned over time that taking simple stuff and treating it right makes food that's really special.
I've noticed whenever I bring these to parties, they vanish from the table first. Even kids who hardly eat anything new will gobble these up.
Must-Have Ingredient Breakdown
- Chicken Selection: Grab boneless chicken breasts without freezer burn
- Butter Quality: Stick with real unsalted butter, not margarine
- Fresh Herbs: Look for perky, green herbs with no brown spots
- Oil Choice: Go with good olive oil for better taste
- Wooden Skewers: Don't skip the water soak before cooking
 Pin it
Foolproof Prep Steps
- Chicken Cutting: Cut across the muscle lines for softer bites
- Seasoning Application: Work the spices into every part of the meat
- Skewer Threading: Don't pack pieces too tightly together
- Temperature Control: Keep an eye on how fast things cook
- Butter Brushing: Brush while chicken's hot so it soaks in better
- Final Garnishing: Sprinkle fresh herbs right before you serve
My grandma always told me good food can't be rushed. She showed me that giving each step enough time makes all the difference.
Controlling Your Heat
Getting the temperature right changes these skewers from just okay to amazing. Whether you're using your air fryer, oven, or grill, keeping the heat steady means juicy chicken every time. I've found that starting with chicken that isn't cold from the fridge helps it cook more evenly.
Making Perfect Sauce
Don't rush when making the cowboy butter sauce:
- Allow butter to reach room temp
- Mix in herbs completely
- Add salt little by little
- Sample as you go
- Add hot stuff bit by bit
What To Serve Alongside
These skewers really shine when you serve them with:
- Veggies cooked on the grill
- Rice mixed with herbs
- Potatoes with crispy outsides
- Green salads from the garden
- Bread with a crunchy crust
Keeping Everything Fresh
Make your skewers last by:
- Keeping chicken and sauce in different containers
- Using containers that seal tight
- Putting everything in the fridge promptly
- Warming up carefully
- Eating within the right timeframe
Creating Tasty Quick Soaks
While these taste great with just basic spices, I've come up with a quick soak that makes them even better:
- Lemon juice to soften the meat
- Garlic for rich flavor
- Honey for nice browning
- Dijon for a little tang
- Olive oil to bring it all together
Let the chicken soak for at least 30 minutes but no more than 2 hours - any longer and the acid starts breaking down the meat too much.
Changing Up Your Butter
I've played around and found some tasty butter options:
- Hot: Toss in red pepper and cayenne
- Super Herby: Use twice the fresh herbs
- Citrusy: Mix in orange and lemon peel
- Smoky: Pop in some smoked paprika
- Asian: Try adding ginger and soy
Cooking Times By Method
- Air Fryer Cooking:
- Heat it to 400°F first
- Cook about 6-7 minutes each side
- Check if it's done at 11 minutes
- Let sit for 5 minutes after
- Oven Cooking:
- Heat to 400°F before starting
- Put on top shelf
- Use broiler for last couple minutes
- Watch carefully so nothing burns
- Grill Cooking:
- Get grill medium-hot
- Make one side hotter than other
- Start on hot part for marks
- Move to cooler side to finish
Fixing Common Problems
If your skewers aren't turning out right, look for these issues:
- Dry Chicken: You're cooking too hot
- Uneven Cooking: Your chicken chunks aren't the same size
- Burning: You didn't soak wooden skewers long enough
- Tough Meat: You overcooked or cut wrong way
Prep-Ahead Game Plan
For stress-free cooking:
- Cut chicken day before
- Mix butter 2-3 days early
- Start soaking skewers morning of cooking
- Get prep area ready ahead of time
How Much To Make
For feeding groups, plan on:
- 2-3 skewers per person for dinner
- 1-2 skewers per person as starter
- More butter sauce for dipping
- Extra herbs to make it pretty
 Pin it
Stunning Presentation Ideas
Make your dish look amazing by:
- Laying skewers out like a fancy fan
- Pouring butter in a nice pattern
- Putting fresh herbs in just the right spots
- Adding lemon slices for bright color
- Putting extra sauce in a small dish
Staying Safe While Cooking
Don't forget these safety tips:
- Wipe counters really well
- Use different boards for raw meat
- Check that meat reaches safe temp
- Cool leftover food quickly
- Keep food at safe temps in fridge
Best Side Dishes To Try
These foods go great alongside:
- Corn on the grill with spicy lime butter
- Pasta salad with olives and feta
- Mashed potatoes with roasted garlic
- Thin sliced zucchini from the grill
- Fresh salad with tomatoes and cucumbers
I still get excited watching people enjoy these skewers. They've become my go-to dish when I'm hosting, and the way folks smile when they take that first bite makes me happy. Remember, cooking is about bringing everyone together, and these skewers do just that – they create those wonderful moments around the table.
Even after making this dish countless times, I keep finding little tweaks and new ways to enjoy it. Just stay curious and be willing to try new things while sticking to the basic steps that make these skewers so reliable and tasty.
Frequently Asked Questions
- → Why soak wooden skewers first?
- Soaking them for 30 minutes stops them from catching fire, which is crucial for methods like grilling or high-heat air frying.
- → Can I prepare these ahead of time?
- Absolutely! Get the chicken ready and skewered up to a day before cooking. Keep them in the fridge until you're ready to cook.
- → What's the easiest cooking way?
- All methods are great! Air frying is fastest, grilling adds char and smoky flavor, and ovens handle larger batches well.
- → When is the chicken fully cooked?
- The chicken’s ready once its internal temp hits 165°F, and the meat is completely white—no pink in the middle.
- → What sides go with these?
- Pair them with salads, rice, potatoes, or roasted veggies. They're a great match for many dishes!
