 Pin it
My Magical Snowflake Cookies
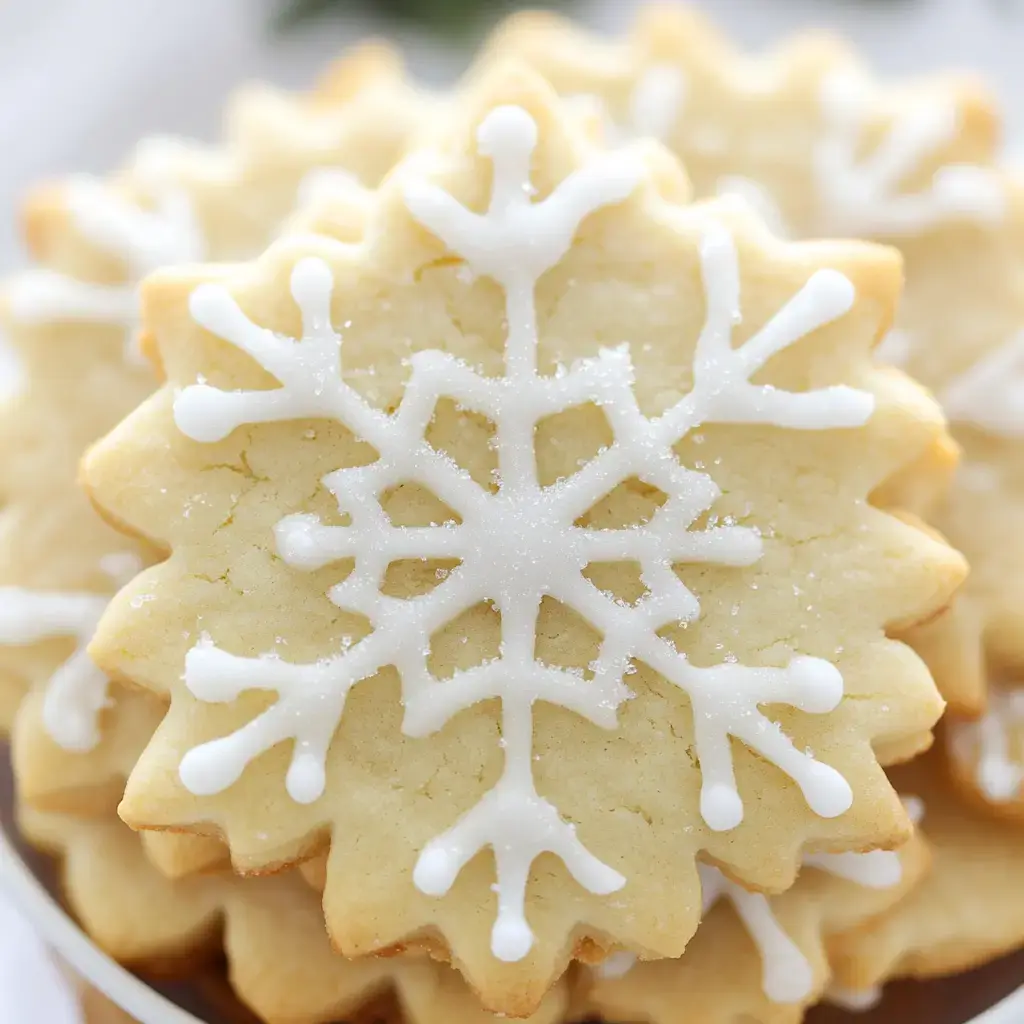
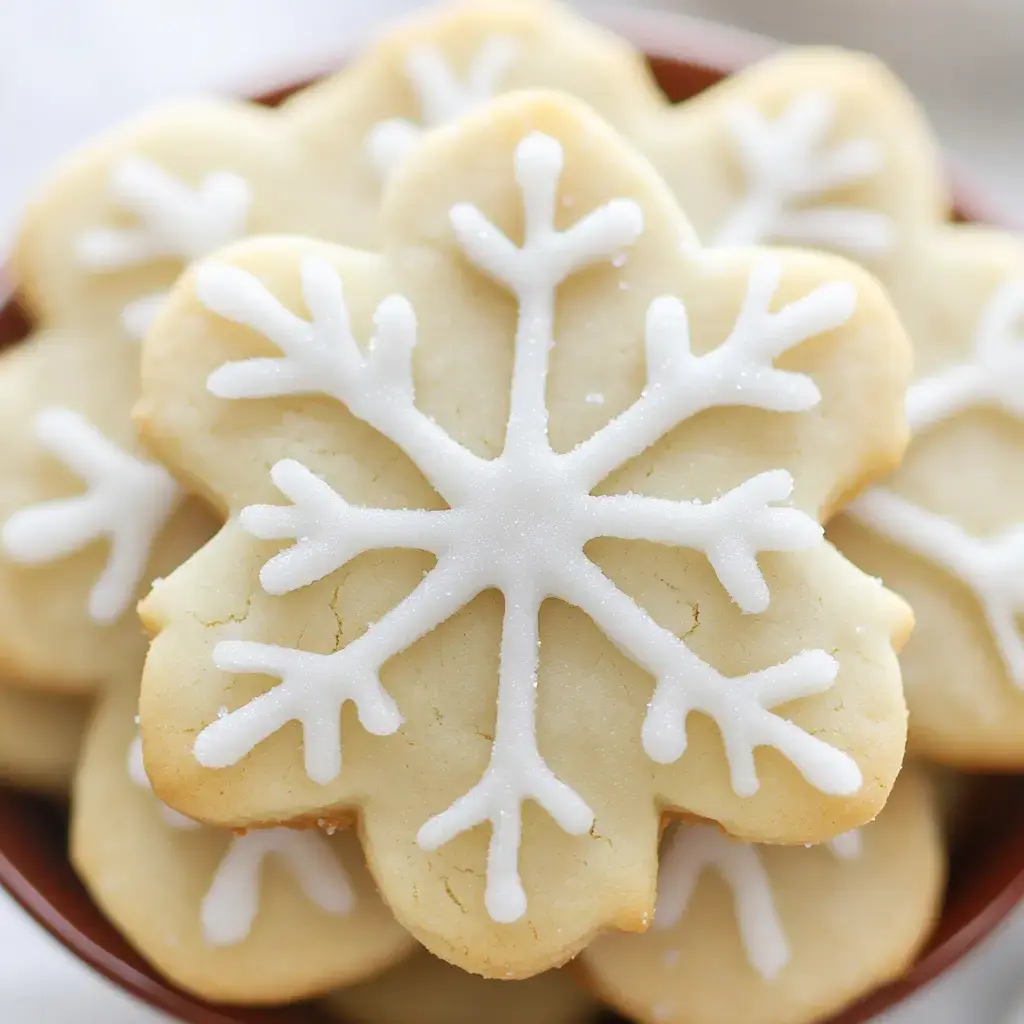
Every December my kitchen transforms into a winter wonderland when I make these cookies. They've become such a special part of our holiday traditions. My daughter says the sparkling sugar looks just like real snow and honestly watching everyone's faces light up when they see these beautiful snowflakes makes all the effort worthwhile.
What Makes These So Special
I love these cookies because they're truly foolproof. The dough holds its shape beautifully so each snowflake comes out picture perfect. They're soft and buttery with just the right amount of sweetness. My friends can't believe I made them at home they look so professional. Plus decorating them together has become one of our favorite holiday activities.
Everything You Need
- Flour: 3 cups; accurately measured using a digital scale or spoon-and-level method to avoid dense cookies.
- Butter: 1 cup, unsalted; at 67°F for perfect creaming consistency.
- Sugar: 1 ½ cups granulated; creates the ideal level of sweetness.
- Eggs: 2 large; at room temperature to ensure even mixing.
- Vanilla Extract: 1 tsp; high-quality for a rich flavor.
- Baking Powder: 1 tsp; check freshness to ensure proper rising.
- Decorating Supplies: Snowflake cookie cutters, frosting, and sprinkles for added festive flair.
Let's Start Baking
- Prepare the Dough
- In a large bowl, cream butter and sugar together until light and fluffy (2-3 minutes). Add eggs one at a time, followed by vanilla extract. Slowly mix in flour and baking powder until a soft dough forms.
- Chill the Dough
- Wrap the dough in plastic wrap and refrigerate for 30 minutes to 1 hour to ensure it's firm enough to roll out.
- Roll and Cut
- Preheat oven to 350°F (175°C). Roll dough on a lightly floured surface to ¼-inch thickness. Use snowflake-shaped cutters to create your designs.
- Bake
- Place cookies on a parchment-lined baking sheet and bake for 10-12 minutes, or until the edges are lightly golden. Let cool completely before decorating.
- Decorate
- Use frosting, sprinkles, or edible glitter to enhance the snowflake designs. Allow decorations to set before serving or storing.
 Pin it
My Best Cookie Tips
After years of making these I've learned a few tricks. Always chill the cut cookies before baking they hold their shape so much better. Fresh baking powder makes such a difference in how they rise. And definitely wait until they're completely cool before decorating otherwise your beautiful designs will just melt away.
Keep Them Fresh
These cookies stay fresh for about 10 days in an airtight container which makes them perfect for holiday gifting. When I'm planning ahead I often freeze a batch they thaw beautifully. Just remember to put parchment paper between the layers so they don't stick together.
Make Them Sparkle
Decorating these cookies is where the real fun begins. My kids love adding edible glitter to make them sparkle like real snow. Sometimes we use colored sprinkles to match our Christmas tree decorations. It's become such a joyful holiday tradition gathering around the kitchen table and letting everyone get creative.
Frequently Asked Questions
- → Why chill the dough twice?
- First chilling helps the dough firm up for cutting shapes, while the second freeze ensures cookies hold their shape during baking. This results in crisp, clean snowflake designs.
- → Can I skip the almond extract?
- Yes, the almond extract is optional. It adds an extra layer of flavor but the cookies will still taste delicious without it.
- → How do I store these cookies?
- Uniced cookies can be frozen for up to 1 month. Once iced, store at room temperature in an airtight container, with parchment between layers.
- → Why is my icing too thick or thin?
- The icing should be thick but pourable. Add water a few drops at a time if too thick, or more powdered sugar if too thin to get the right consistency for decorating.
- → Can I make the dough ahead?
- Yes, the dough can be chilled for up to 1 day or frozen for faster preparation. Just ensure it's well-wrapped to prevent drying.
