 Pin it
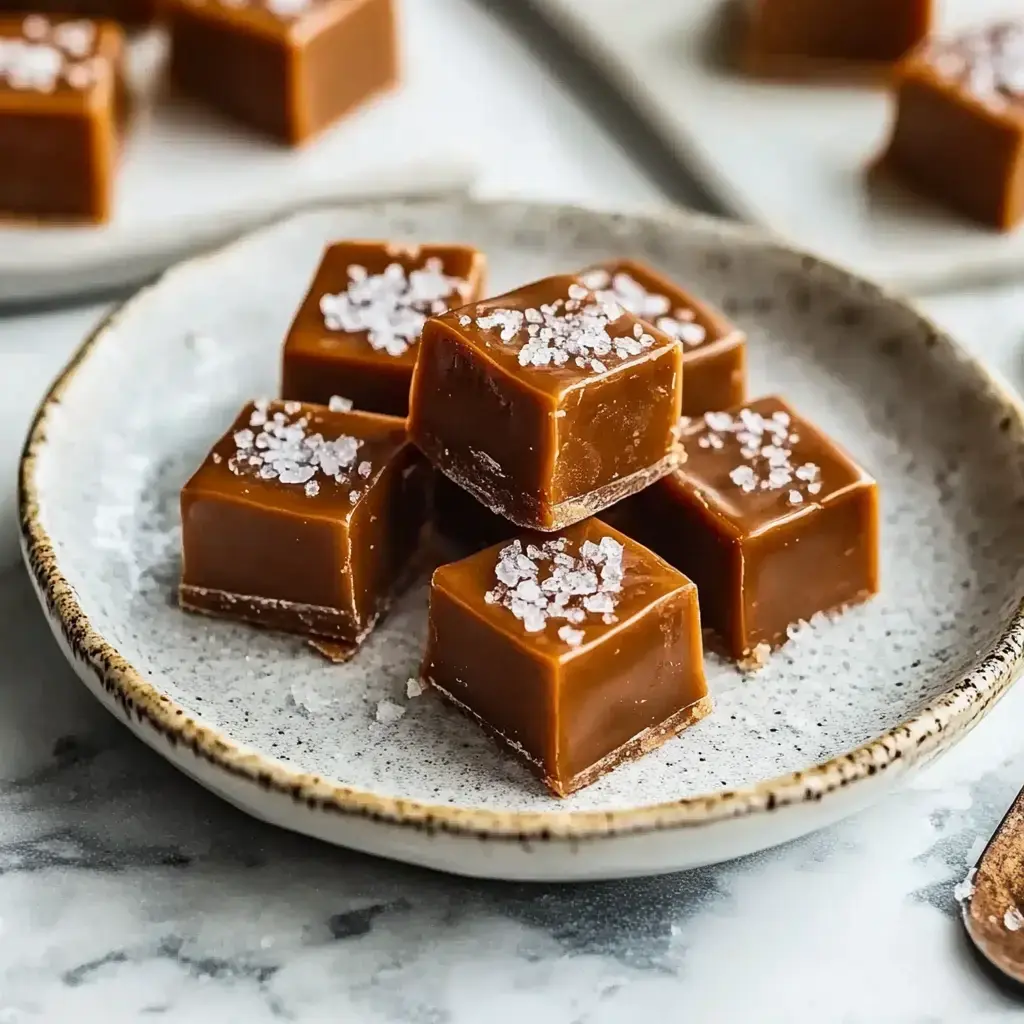
I've been perfecting these sea salted caramels for years and they've become my signature homemade gift. The buttery soft texture combined with that perfect balance of sweet and salty makes them completely irresistible. Every time I make a batch my kitchen fills with the most incredible caramel aroma. Fair warning though once you start making these you'll never want to buy store bought caramels again.
What Makes These Caramels Special
Let me tell you why these caramels steal the show every time I make them. First there's that amazing texture soft and chewy but not sticky. Then you get this rich buttery sweetness followed by little bursts of sea salt that make your taste buds dance. I love giving these as gifts during the holidays everyone's eyes light up when they take that first bite. Plus they're made from simple ingredients you probably already have in your pantry.
The Perfect Bite
Imagine biting into a piece of these caramels. The texture is velvety smooth melting slowly in your mouth. You first taste that rich buttery caramel then comes this lovely hint of sea salt that makes everything pop. It's like your favorite salted caramel dessert concentrated into one perfect bite. My daughter says they taste like happiness wrapped in wax paper.
Gathering Your Ingredients
Here's what you'll need to create these little bites of joy:
- 1 ½ cups granulated sugar
- ¼ cup light corn syrup
- ¼ cup water
- 1 cup heavy cream
- 4 tablespoons unsalted butter
- 1 teaspoon salt
- Flaky sea salt for sprinkling
Make sure your butter is at room temperature and your cream is fresh. The quality of your ingredients really shows in the final taste.
 Pin it
Essential Kitchen Tools
Before we start let's get our tools ready. You'll definitely want a candy thermometer it takes the guesswork out of getting that perfect chewy texture. I use my favorite heavy bottomed saucepan it helps prevent hot spots that could burn the caramel. Grab some wax paper for wrapping some parchment paper for lining your 8x8 pan and don't forget the cooking spray. Trust me that last one is crucial for easy removal.
The Magic of Caramel Making
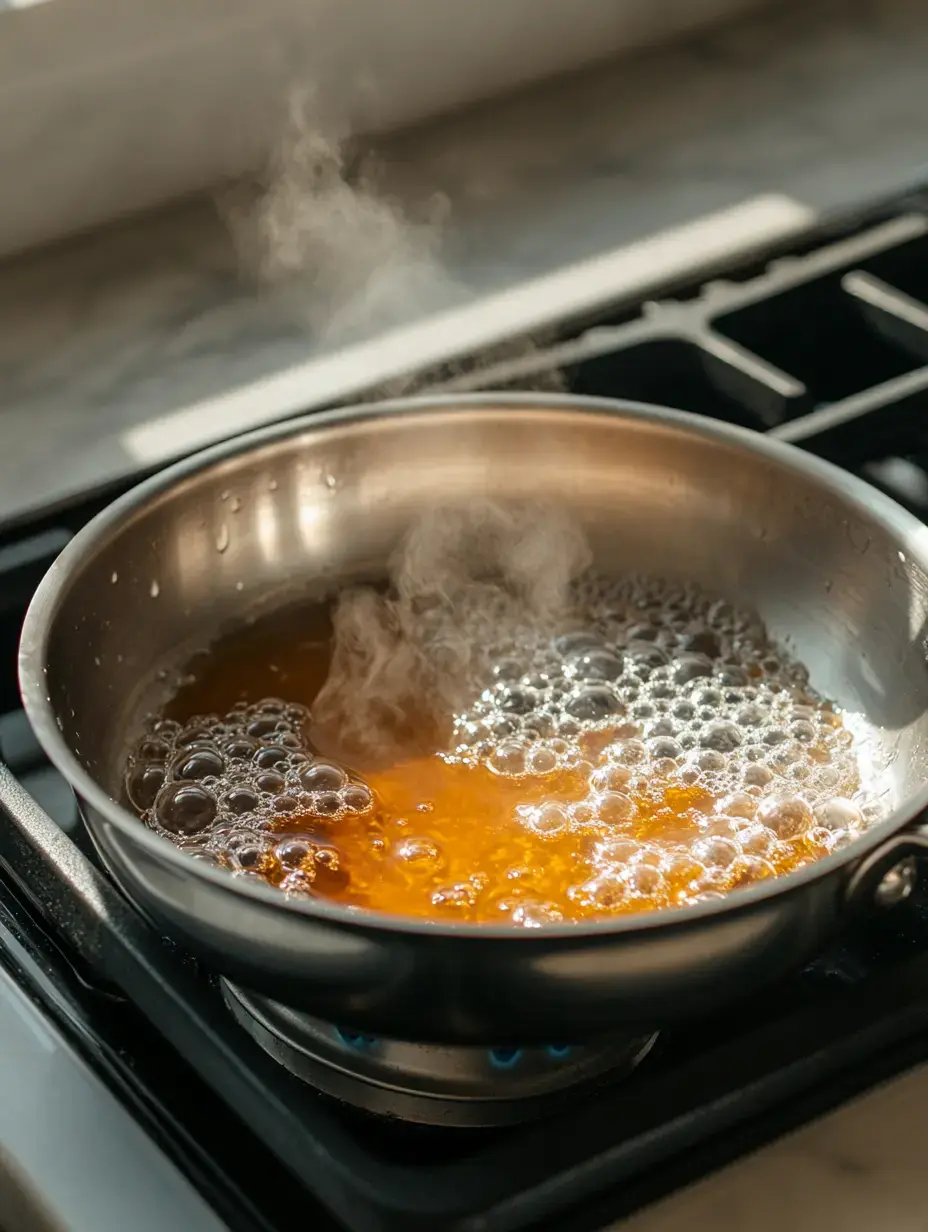
Here's how we transform simple ingredients into golden deliciousness. Start by combining your sugar corn syrup and water in that heavy bottomed pan. Once it starts boiling resist the urge to stir just let it do its thing until it turns a beautiful amber color. When it reaches that perfect golden shade carefully pour in your cream and butter. The mixture will bubble up dramatically this is normal just keep whisking. Cook it until your thermometer reads 250°F that's the sweet spot for perfect chewy caramels.
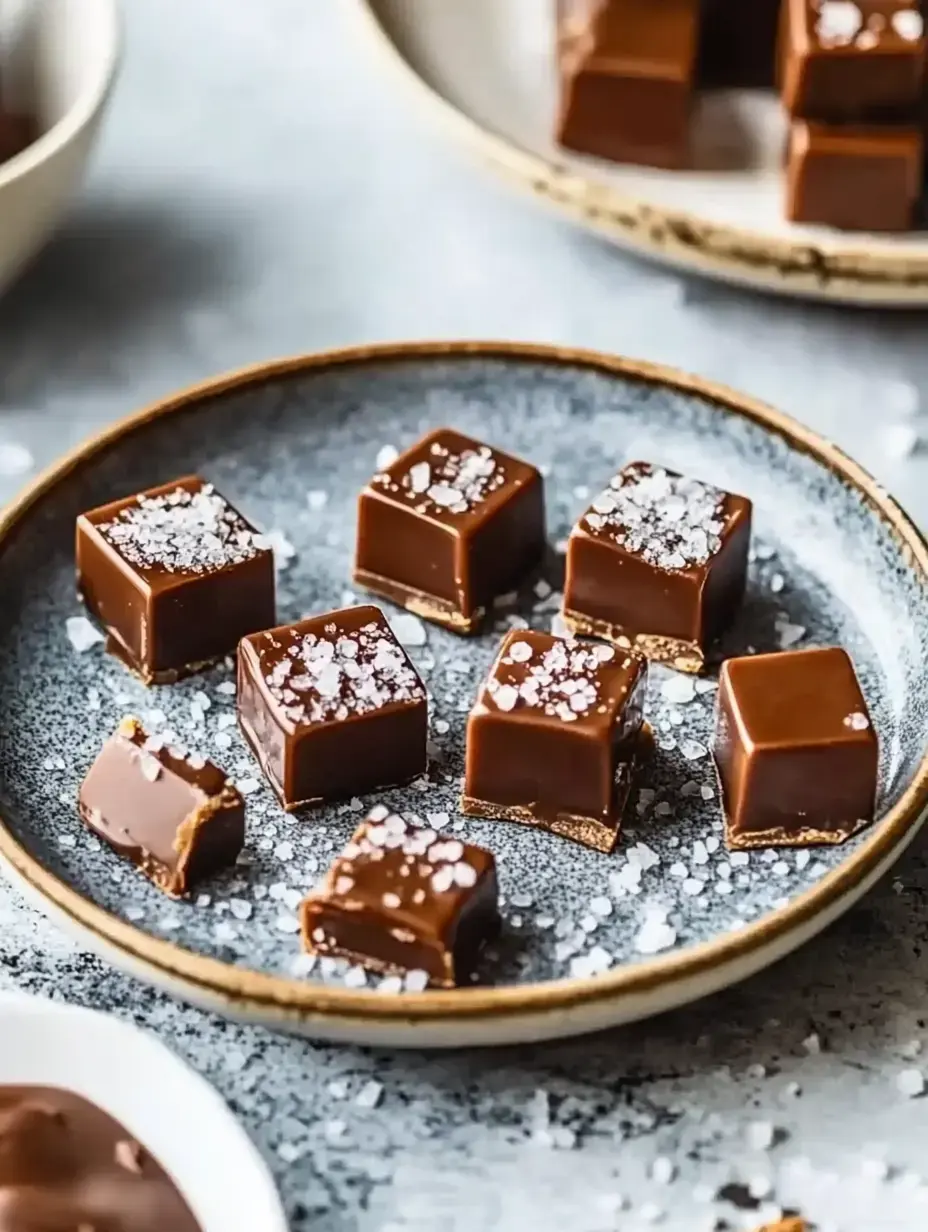
Pour your molten caramel into your prepared pan sprinkle with that flaky sea salt and let it cool completely. Then comes the fun part cutting and wrapping these little treasures.
Tips and Tricks From My Kitchen
After years of making these caramels here are my best tips. Never walk away from cooking caramel it can go from perfect to burnt in seconds. If you see sugar crystals forming on the sides of your pan don't panic just brush them down with a wet pastry brush. And here's my secret trick spray your knife with cooking spray before cutting it makes slicing so much easier.
Storing Your Caramels
These caramels keep beautifully at room temperature for about two weeks if you can resist them that long. Just make sure they're wrapped individually in wax paper and stored in an airtight container. I usually make a double batch one for giving and one for keeping though somehow the keeping batch always disappears mysteriously fast.
Common Questions Answered
Over the years I've gotten lots of questions about these caramels. Yes you can add vanilla or even a bit of bourbon for extra flavor. If your caramels turn out grainy it usually means some sugar crystallized during cooking try not to stir once the sugar dissolves. And absolutely you can double the recipe just make sure your pot is big enough to handle the bubbling when you add the cream.
A Sweet Finale
Making homemade caramels might seem intimidating at first but I promise once you try it you'll be hooked. There's something magical about transforming simple ingredients into these beautiful amber treats. Every time I make them I think about all the joy they've brought to family and friends over the years. I hope they bring the same sweetness to your kitchen.
More Sweet Adventures
If you enjoy making these caramels try my no bake chocolate bourbon balls next. My hot chocolate fudge is perfect for winter days and those chocolate raspberry cream cups never fail to impress. Sometimes the simplest recipes bring the most joy.
 Pin it
Frequently Asked Questions
- → Why did my caramels turn grainy?
- Grainy caramels usually happen when sugar crystals form during cooking. Avoid stirring the mixture after the sugar dissolves and use a clean pot without any sugar crystals on the sides.
- → Can I make these caramels without corn syrup?
- While corn syrup helps prevent crystallization, you can substitute it with honey or golden syrup. Keep in mind the flavor and texture might be slightly different.
- → How do I know if my caramels are cooked enough?
- The best way is using a candy thermometer to reach 250°F. If the temperature is too low, caramels will be soft and sticky, if too high, they'll be hard to chew.
- → Why should I wrap the caramels in wax paper?
- Wax paper prevents the caramels from sticking together and makes them easier to store. It also protects them from moisture and helps maintain their shape and texture.
- → Can I add different flavors to these caramels?
- You can experiment with vanilla extract, different types of salt, or even spices like cinnamon. Add extracts after removing from heat to preserve their flavor.
