 Pin it
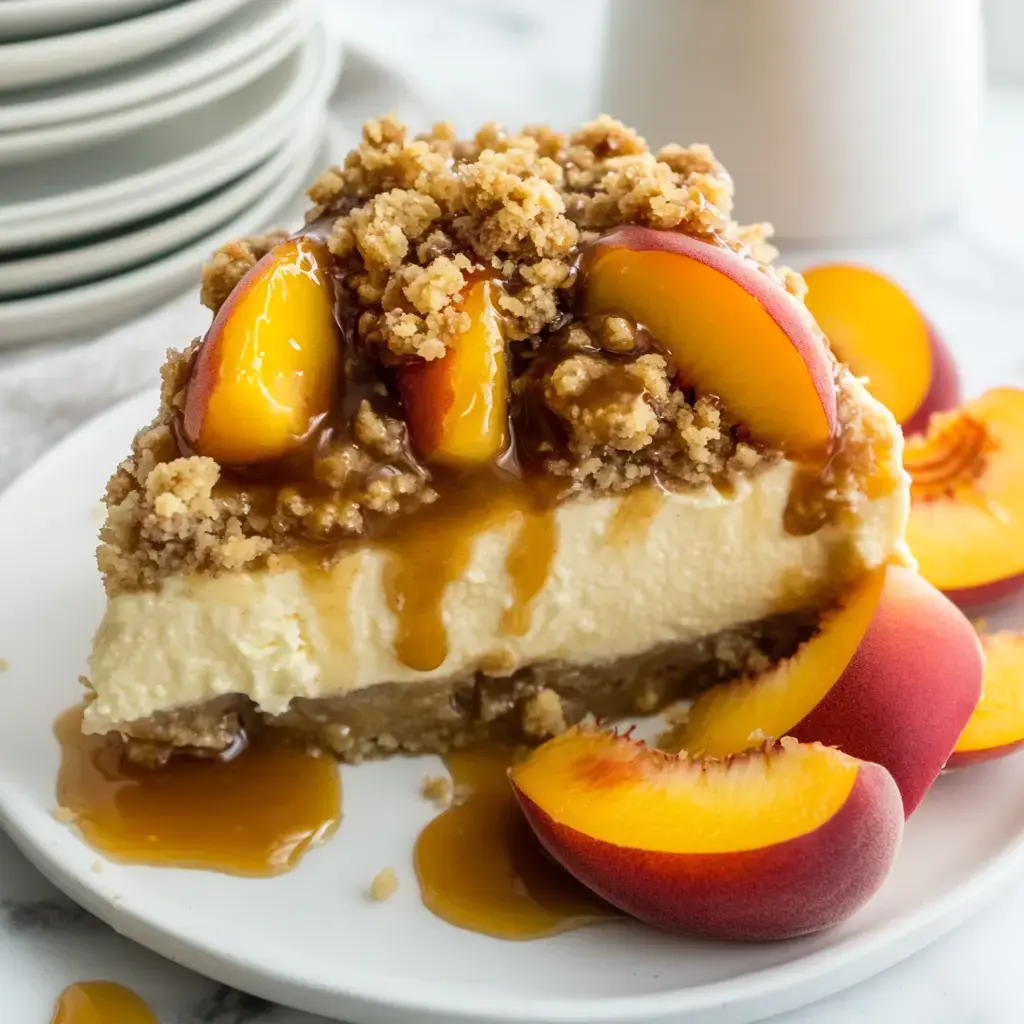
Get ready for what might be my most indulgent creation yet my peach cobbler cheesecake! I dreamed this up during peach season last year, wanting to combine my two favorite desserts into something extraordinary. Picture this: a velvety smooth cheesecake layered with cinnamon-roasted peaches and topped with the most irresistible buttery streusel. After countless test batches (my family didn't mind being taste-testers!), I've perfected every detail from the roasting method that makes those peaches sing to the water bath technique that ensures a crack-free cheesecake every time.
Why This Recipe Works Like Magic
Let me share why this recipe is pure heaven on a plate! First, we're roasting those peaches to bring out their natural sweetness my kitchen smells amazing every time! I've found that roasting with a touch of cinnamon and nutmeg transforms even slightly underripe peaches into pure gold.
And those layers? Oh my goodness! I spent weeks getting them just right. Each bite gives you creamy cheesecake, juicy peaches, and that perfect crumbly streusel crunch. Best of all, I'm sharing all my tricks for getting that professionally smooth finish no cracks in sight!
Let's Gather Our Ingredients
Here's everything you'll need to make this showstopper:
- For Those Gorgeous Peaches:
- ½ cup light brown sugar (this caramelizes beautifully!)
My perfect spice blend: 1 teaspoon cinnamon and ¼ teaspoon nutmeg
1 teaspoon vanilla (use the good stuff!)
2 teaspoons fresh lemon juice
6 cups fresh peach slices (about 2 pounds of peaches) - For That Irresistible Streusel:
- ⅓ cup light brown sugar
¾ cup all-purpose flour
¼ teaspoon cinnamon
6 tablespoons salted butter, melted until golden - For The Perfect Crust:
- 2 cups graham cracker crumbs
4 tablespoons sugar
6 tablespoons melted butter
Water for our bath - For The Dreamiest Cheesecake:
- 32 ounces cream cheese (four blocks, full-fat only!)
1½ cups sugar
1 tablespoon vanilla
6 large eggs (room temp is crucial!)
½ cup full-fat sour cream
And if you're feeling extra decadent, grab some caramel sauce for drizzling!
Let's Make It Your Own
You know I love when you make recipes your own! Here are some of my favorite twists:
- For the cobbler topping, I usually reach for cake mix (it's my busy-mom secret!), but feel free to use your family's favorite cobbler recipe instead.
- Want to spice things up? Add a pinch of nutmeg or allspice these warm flavors are gorgeous with peaches.
- And that caramel sauce? While store-bought is perfectly fine, I'll share my 5-minute homemade version if you're feeling ambitious!
 Pin it
Time to Bake!
Let's start with those gorgeous peaches! First, crank up your oven and line a baking sheet with parchment (trust me, cleanup will be so much easier).
In your biggest mixing bowl, toss those peach slices with brown sugar, cinnamon, nutmeg, vanilla, and a splash of lemon juice. I love watching the sugar start to glisten on the fruit!
Spread them out on your baking sheet not too crowded, they need space to caramelize! Into the oven they go for about 15-20 minutes.
PRO TIP:
Keep an eye on those peaches! They're done when a knife slides through easily but they still hold their shape. Nobody wants mushy peaches in their cheesecake!
Creating That Heavenly Streusel
While your peaches are roasting, let's make that incredible streusel topping. This is my favorite part! Turn down your oven temperature it's all about low and slow for this step.
Mix your brown sugar, flour, cinnamon, and that gorgeous melted butter until it looks like coarse crumbs. I love using my hands for this part it's like making sand castles but tastier!
BAKER'S SECRET:
Sometimes I use a fork or pastry cutter if I'm being fancy, but honestly? Clean hands work just as well!
Spread it out on a lined baking sheet and let it get golden and crispy. Your kitchen's going to smell amazing!
Building Our Foundation
Now for a crucial step - preparing our springform pan! This is where my years of cheesecake-making experience really pays off. First, give your pan a good spray with baker's spray, then line the bottom with parchment. Here's my non-negotiable trick: wrap that pan in two layers of heavy-duty foil. We're creating a watertight seal because nothing ruins a cheesecake faster than a soggy bottom!
For our crust, mix those graham crumbs with sugar and melted butter until it feels like wet sand. Press it firmly up the sides of your pan I like using a measuring cup for this, it gives you nice, even pressure. After a quick 10-minute bake, pop it right into your roasting pan while we make the filling.
BAKER'S NOTE:
Get that water boiling now! Trust me, a proper water bath is the secret to crack-free cheesecake. I learned this the hard way!
The Star of the Show - Our Cheesecake
Here comes the fun part! Let's make that silky-smooth filling. Beat your cream cheese and sugar until it's perfectly smooth no lumps allowed in my kitchen!
Now, add those eggs one at a time, mixing gently. Here's my number one tip: keep your mixer on low. We're not making a fluffy cake here we want dense, creamy cheesecake. Those air bubbles are not our friends!
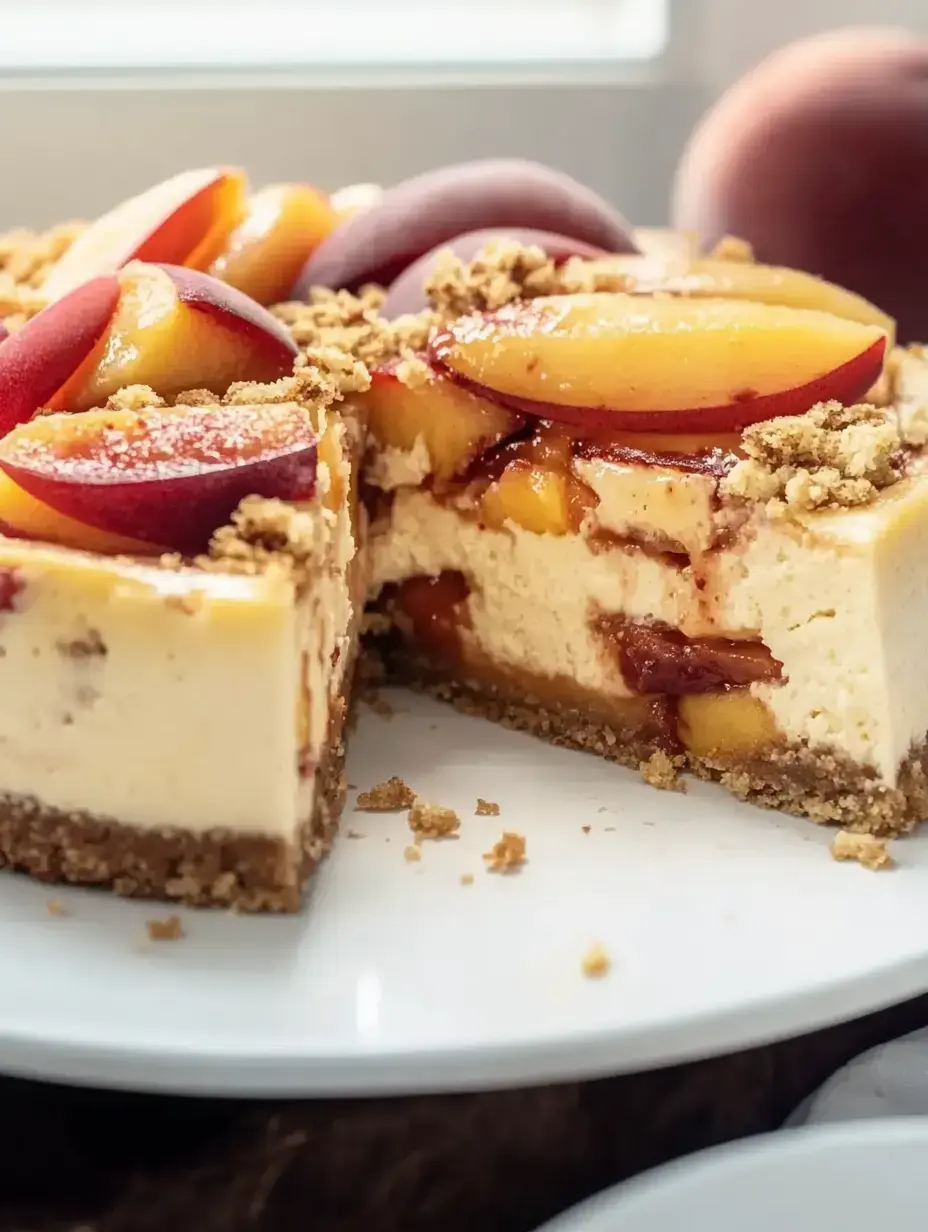
Then comes your sour cream for that perfect tang. Pour half your batter into the crust, then layer on those roasted peaches like you're creating a work of art. A sprinkle of streusel, the rest of the batter, and we're ready for baking magic!
 Pin it
Making It Pretty
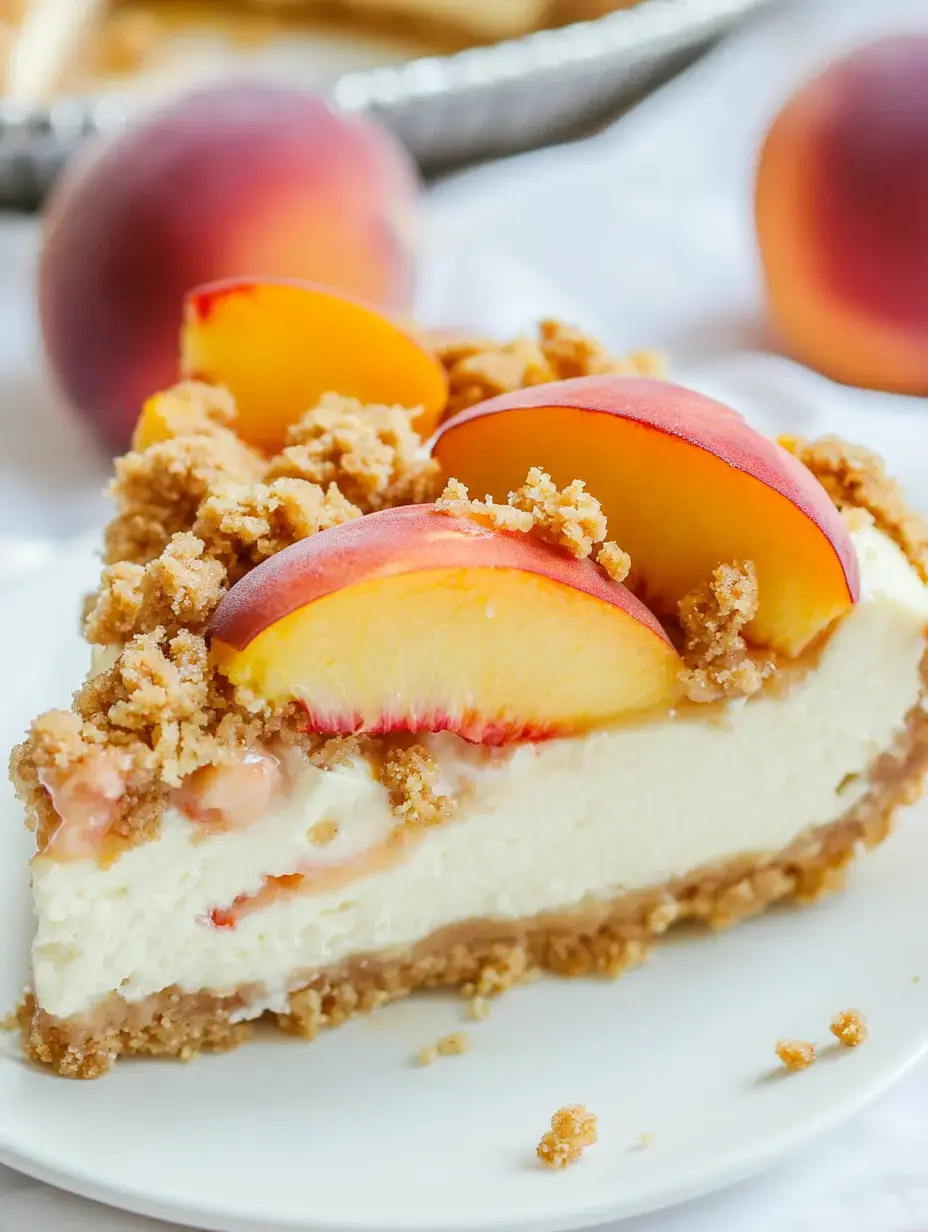
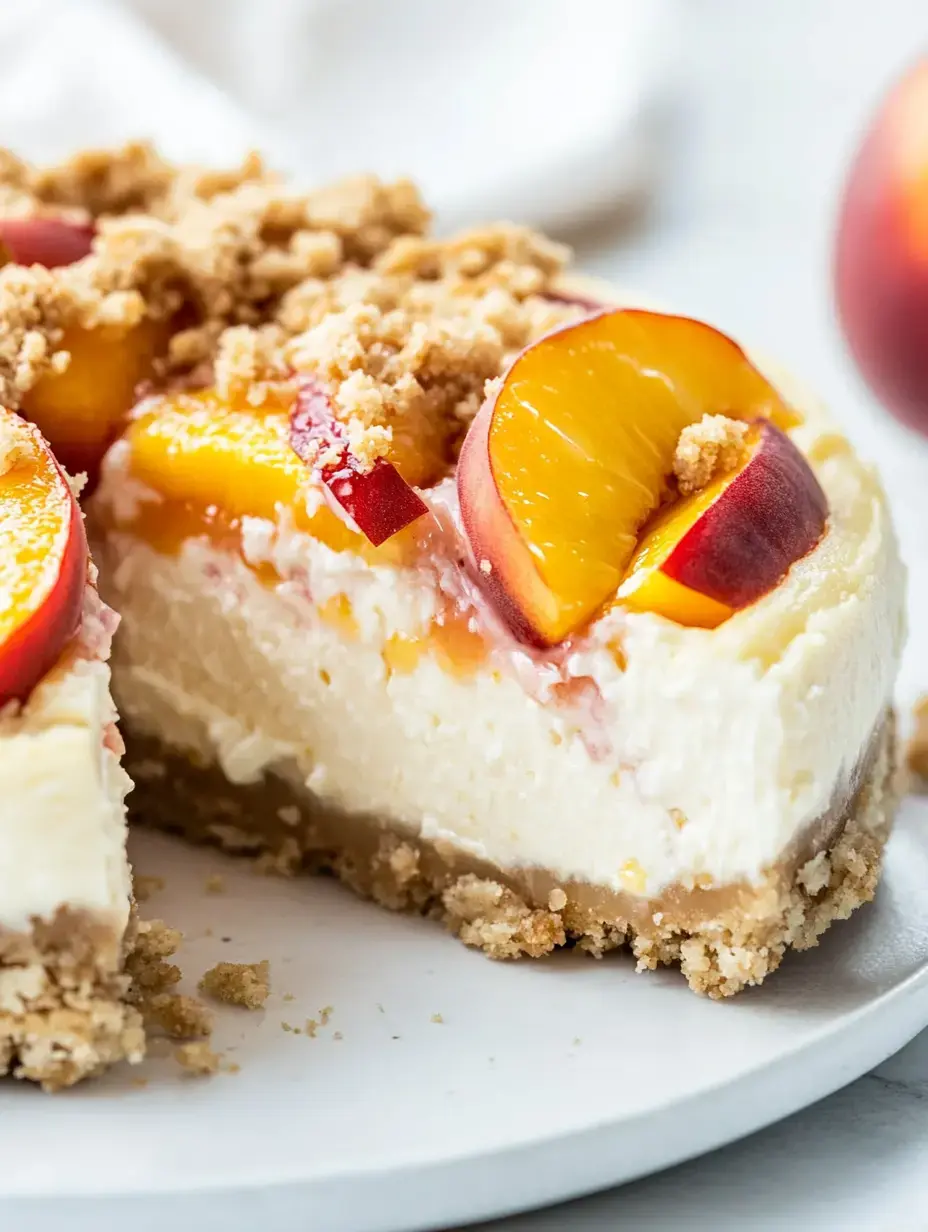
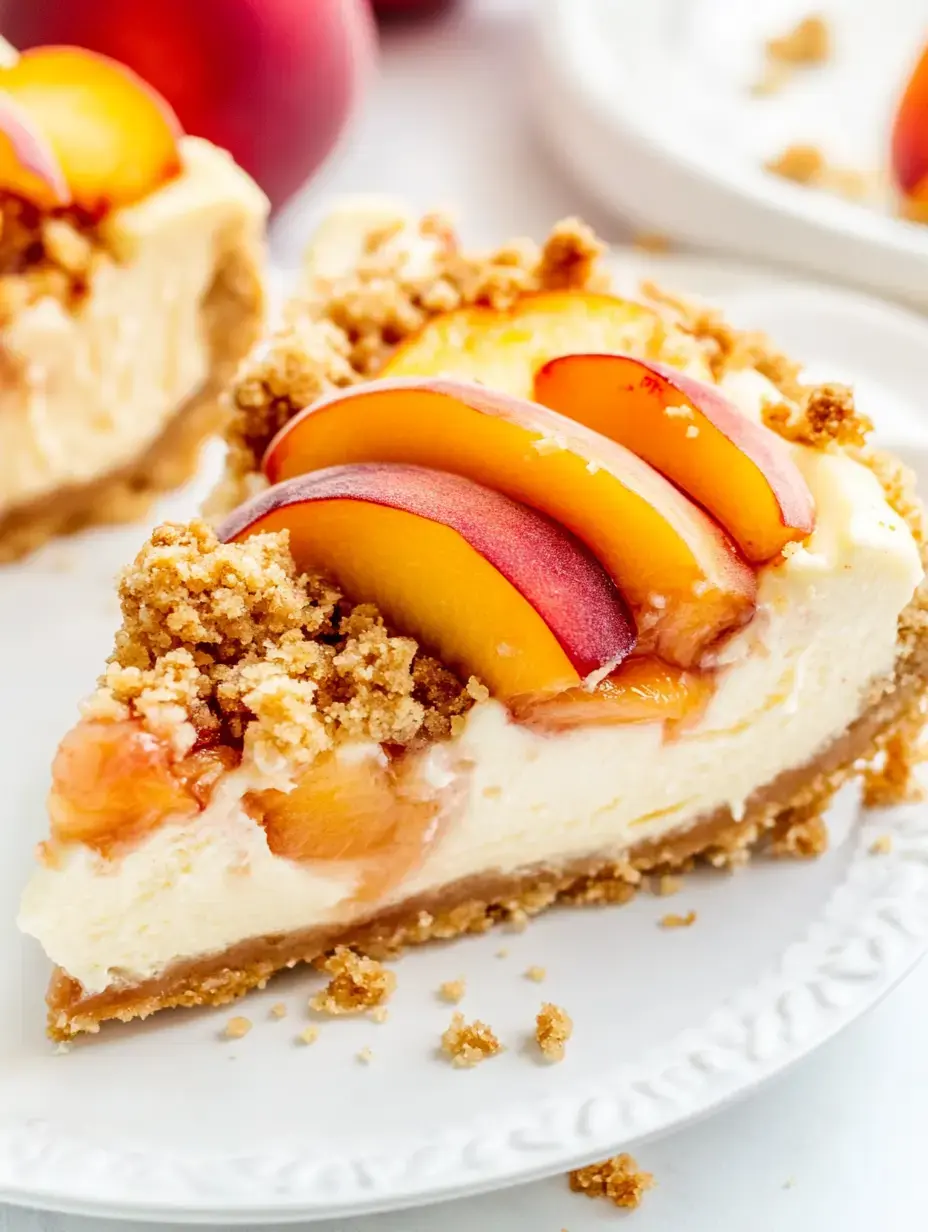
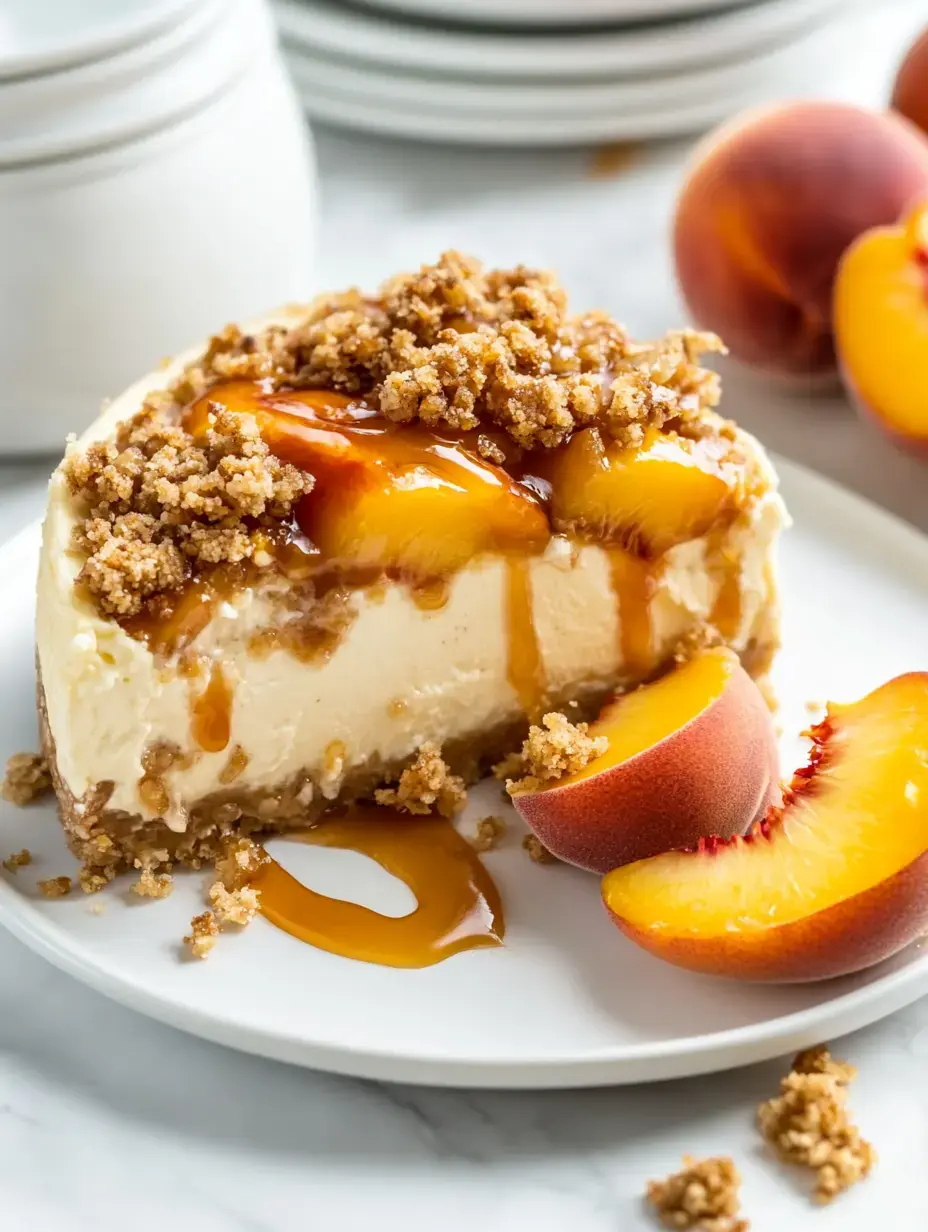
After your cheesecake has chilled (patience is key here!), it's time for the finishing touches. I like to arrange those reserved peach slices in a pretty pattern on top something simple but elegant. Sprinkle the remaining streusel around the edges, and if you're feeling fancy, drizzle with that caramel sauce.
BAKER'S SECRET:
Want perfect slices? Warm your knife under hot water and wipe it clean between cuts. This little trick gives you restaurant-worthy presentation every time!
Time to Serve!
Here's a little tip I learned the hard way save those topping peaches and streusel until just before serving. That way, everything stays perfectly crisp and fresh!
While this beauty is absolutely divine on its own, sometimes I'll add a scoop of vanilla ice cream alongside. My homemade no-churn vanilla is perfect here, or even a dollop of fresh whipped cream makes it extra special.
Oh, and if you're loving this peach creation, you've got to try my lemon cheesecake or my pecan pie version they're just as dreamy!
Keeping It Fresh
Let's talk storage! When I'm lucky enough to have leftovers (which honestly doesn't happen often in my house!), they'll keep beautifully in the fridge for up to three days. Just keep those toppings separate until serving time it makes such a difference in the texture.
Between us? I don't recommend freezing this one. Those fresh peaches can get a bit wonky when thawed, and we want every bite to be perfect!
Troubleshooting Together
After making this cheesecake dozens of times, here are my tried-and-true solutions to common hiccups:
- Seeing cracks? My water bath method and slow cooling are your best friends here. Plus, no overmixing that's crucial!
- Is your streusel getting soggy? Always add it just before serving. I keep mine in a little container right next to the cheesecake.
- Filling not setting? Make sure those ingredients are room temperature before starting, and give it the full chill time. Trust me, patience pays off!
- Got a sticky pan situation? Run a warm knife around the edge right after baking it works like magic!
 Pin it
What Makes This Recipe Extra Special
You know what I love most about this cheesecake? It's like three desserts in one! We've got those juicy roasted peaches that remind me of summer at my grandmother's house, that creamy cheesecake layer that took me years to perfect, and that buttery streusel that makes everything better. Every bite is a perfect balance of flavors and textures. My family actually argues over who gets the last slice!
Your Questions Answered
After sharing this recipe on my blog, here are the questions I get asked most:
- "Help! How do I do a water bath?" Don't worry, I've got you! Just wrap your pan in foil, place it in a larger pan, and add hot water halfway up the sides. This creates the perfect steamy environment for crack-free cheesecake.
- "Can I make this ahead?" Absolutely! In fact, I prefer making it a day ahead. It gives those flavors time to get even better, and you're not rushing around last minute.
- "What about preventing leaks?" Double-wrap that pan in foil, or here's my favorite trick: slip it into an oven-safe turkey bag first! Works like a charm every time.
Final Sweet Thoughts
This cheesecake has become my signature dessert at family gatherings. There's something so special about combining fresh, juicy peaches with creamy cheesecake and that buttery streusel. Every time I make it, it reminds me why I fell in love with baking in the first place it's all about creating those sweet moments with the people we love.
Perfect for Any Occasion
While this might look fancy enough for special occasions (and it definitely is!), don't wait for one to make it. I've made this for casual Sunday dinners, summer cookouts, and even just because it's peach season. Any day is better with cheesecake, right?
 Pin it
The Joy of Baking
The best part about this recipe? The look on everyone's faces when you bring it to the table! That first slice reveals all those gorgeous layers, and watching people taste it for the first time just makes my baker's heart so happy. It's definitely worth every minute in the kitchen!
Getting Creative
Sometimes I like to switch things up with different fruits or toppings. Nectarines work beautifully here, and I've even made a version with plums that was absolutely divine. The basic technique stays the same it's all about having fun in the kitchen!
Time-Saving Tips
Want to get ahead? Roast those peaches and make your streusel the day before. Store them separately in airtight containers, and they'll be ready when you need them. I love anything that makes assembly day easier!
Sweet Success
This peach cobbler cheesecake has brought so much joy to my kitchen and I know it will to yours too. Remember, take your time, follow the steps, and don't forget to enjoy the process. That first perfect slice will be worth every minute spent creating it. Happy baking, friends!
 Pin it
Frequently Asked Questions
- → Why roast the peaches first?
- Roasting concentrates the peach flavor and removes excess moisture that could affect the cheesecake texture. It also ensures the peaches are perfectly tender.
- → Why use a water bath?
- A water bath provides gentle, even heat which helps prevent cracks and ensures a smooth, creamy texture in the finished cheesecake.
- → Can I make this ahead?
- Yes, this cheesecake needs at least 8 hours to chill, preferably overnight. Add the toppings just before serving for the best presentation.
- → Why cool the cheesecake in the oven?
- Gradual cooling prevents cracks and helps finish the baking process. The slow temperature change is key for perfect texture.
- → Can I use canned peaches?
- Fresh peaches work best because they hold their shape better when roasted and provide better flavor. Canned peaches may be too soft and watery.
