
 Pin it
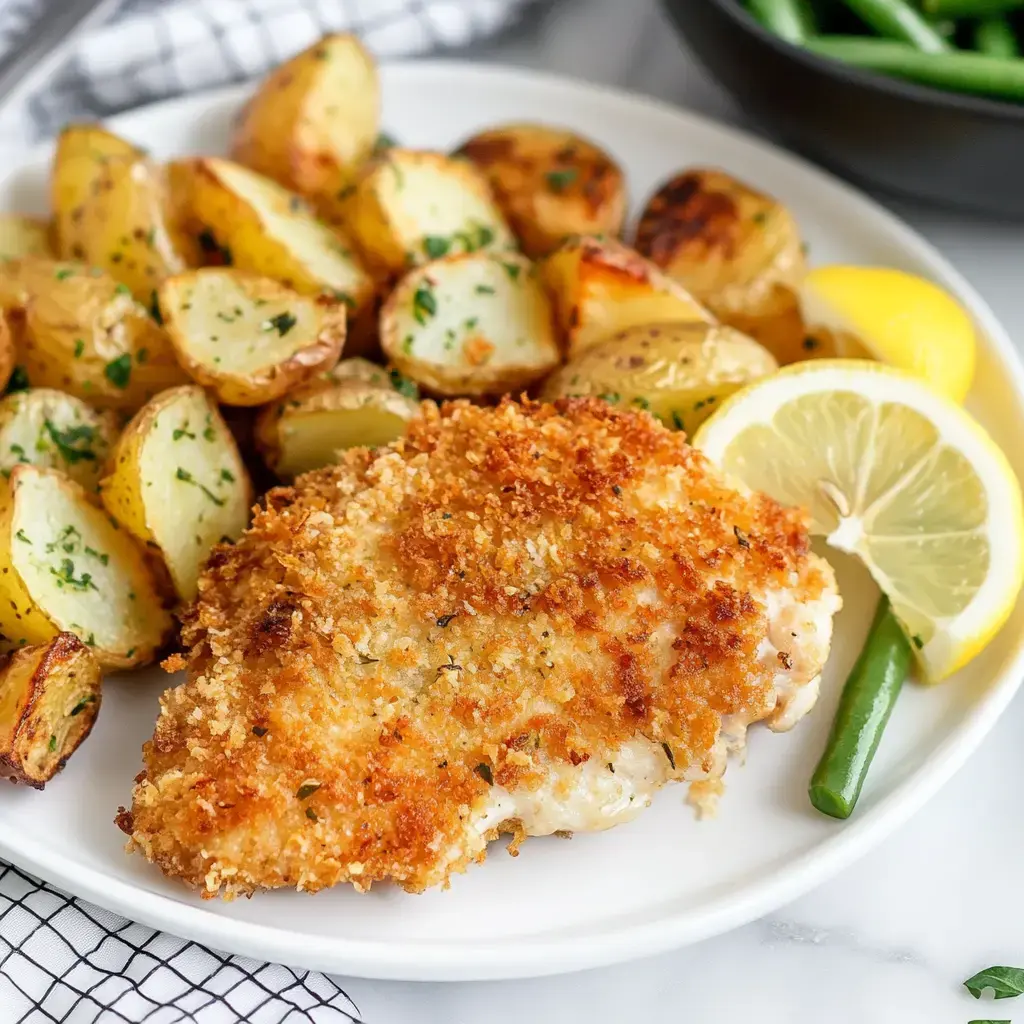
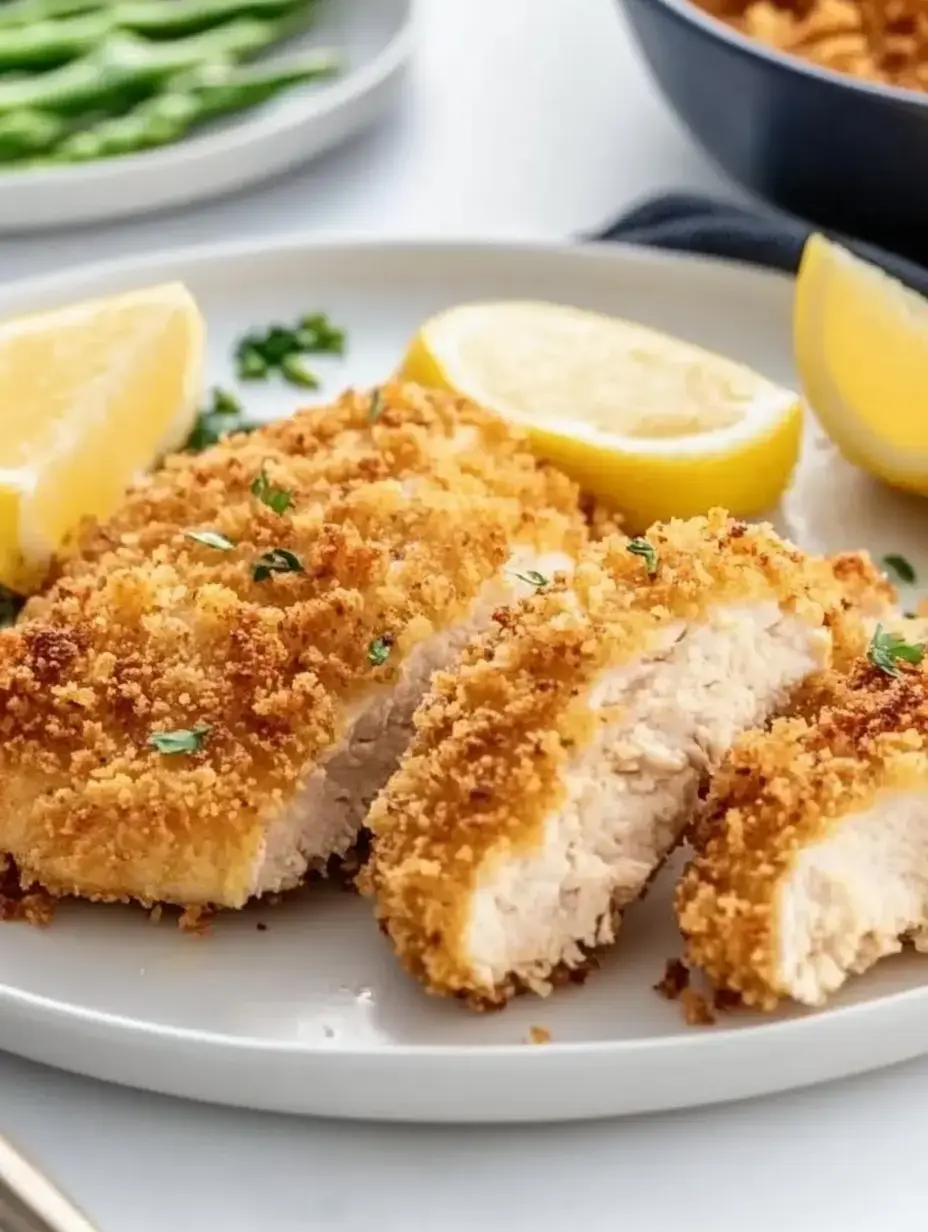
Let me share one of my absolute favorite weeknight dinner heroes my crispy Panko chicken! After years of testing different breading methods, I've perfected this recipe to give you the most amazing golden crust while keeping the chicken incredibly juicy inside. It's become my go-to when I need something delicious on the table in about 30 minutes (which, let's be honest, is most nights!). I'm walking you through every step with all my tried-and-true tips to help you make restaurant-worthy crispy chicken right in your own kitchen!
Let's Gather Our Ingredients
Here's everything you'll need for this family favorite (I always keep these basics stocked in my pantry!):
- ½ cup all-purpose flour
- My perfect seasoning blend: 1 teaspoon each of garlic powder, onion powder, and salt
- ½ teaspoon black pepper
- 2 large eggs (room temperature makes such a difference!)
- 1¼ cups Panko breadcrumbs (these are my secret to that amazing crunch!)
- ½ cup freshly grated Parmesan
- 3 tablespoons olive oil
The star: 4 chicken breast cutlets (about 1¼-1½ pounds, ¾-inch thick)
For that pretty finish:
- Fresh parsley (I love that pop of green!)
- Lemon wedges (trust me, that squeeze of fresh lemon makes everything better!)
Make It Your Own
Over the years, I've discovered so many delicious ways to switch this recipe up! Here are some of my family's favorites:
- Want extra juicy chicken? Try using thighs instead of breasts my husband actually prefers these!
- Looking for more flavor? I love mixing extra Parmesan right into the Panko it gets so golden and crispy!
- Need a kick? A pinch of smoked paprika or cayenne in the coating gives it the most amazing warm heat.
- Sometimes I toss fresh herbs into the Panko mixture basil in summer is heavenly!
These little tweaks let you create your perfect version while keeping that irresistible crunch we all love!
Let's Get Cooking!
Time to make some magic in the kitchen! First, crank that oven to 425°F I've found this high heat is perfect for getting that golden crust we're after. Line a baking sheet with foil (trust me, cleanup will be so much easier!).
Now, let's set up our dredging station this is where the fun begins! I line up three shallow dishes assembly-line style. In the first one, mix your flour with all those yummy seasonings. The second gets your beaten eggs. And in the third, we're combining our Panko with Parmesan and olive oil until every crumb is coated. This olive oil trick? It's what gives us that gorgeous golden color without frying!
 Pin it
The Secret to Perfect Coating
Here's where patience pays off! Take each piece of chicken and give it a good coating in our seasoned flour first, then a dip in the egg (let the excess drip off), and finally, press it into that Panko mixture. Make sure every bit is covered this is what gives us that amazing crust!
I like to use one hand for dry ingredients and one for wet it keeps things from getting too messy. Place each piece on your prepared baking sheet, giving them plenty of space to get crispy all around.
Baking to Golden Perfection
Now comes the magic! Pop that tray in your hot oven and let it work its magic for 18-22 minutes. You're looking for a beautiful golden color, and of course, that internal temperature needs to hit 165°F I always check with my trusty meat thermometer.
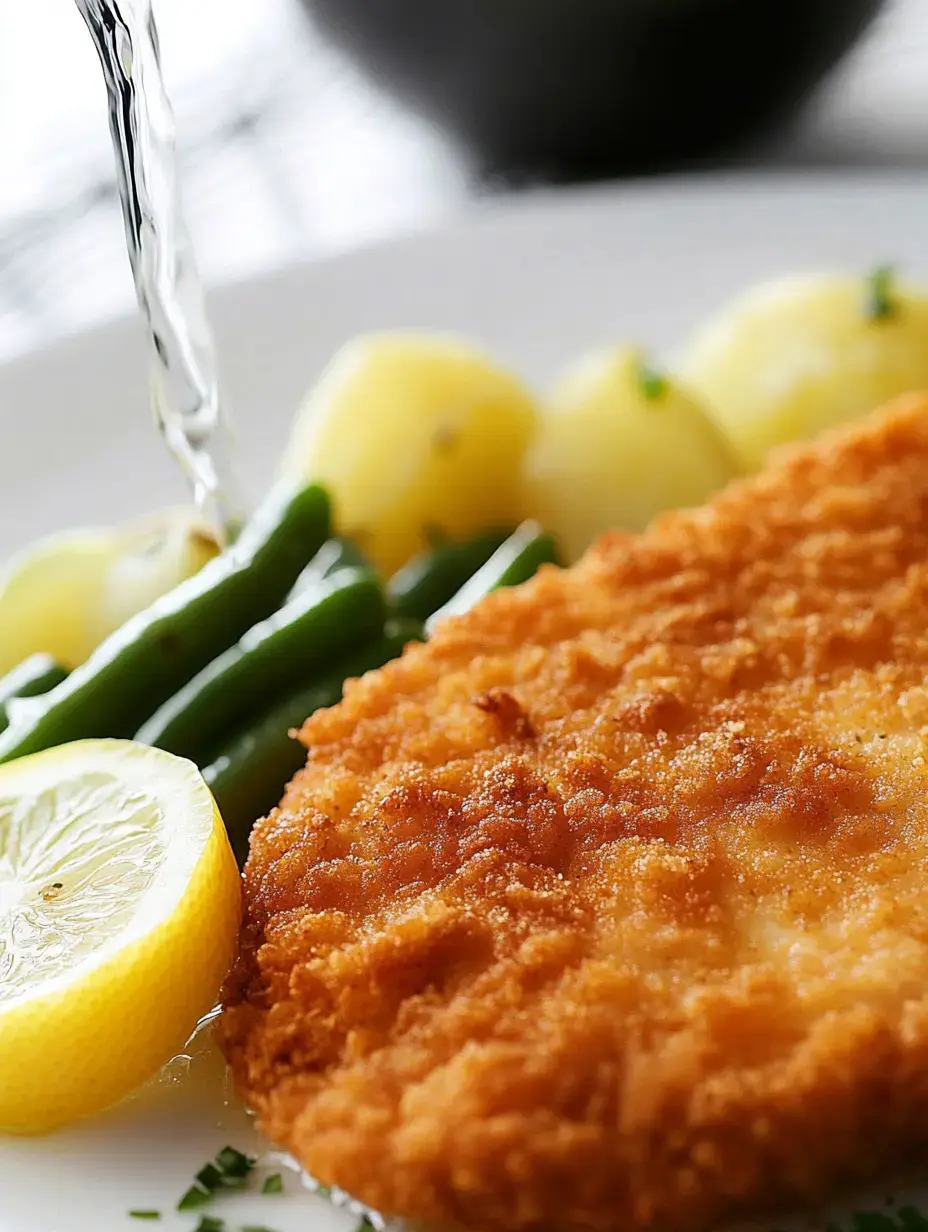
Here's a crucial tip: let your chicken rest for 3-5 minutes after it comes out. I know it's tempting to dig right in (those crispy edges are calling!), but this rest time keeps all those juices inside where they belong. While you're waiting, sprinkle on some fresh parsley and get those lemon wedges ready!
Serving Up Smiles
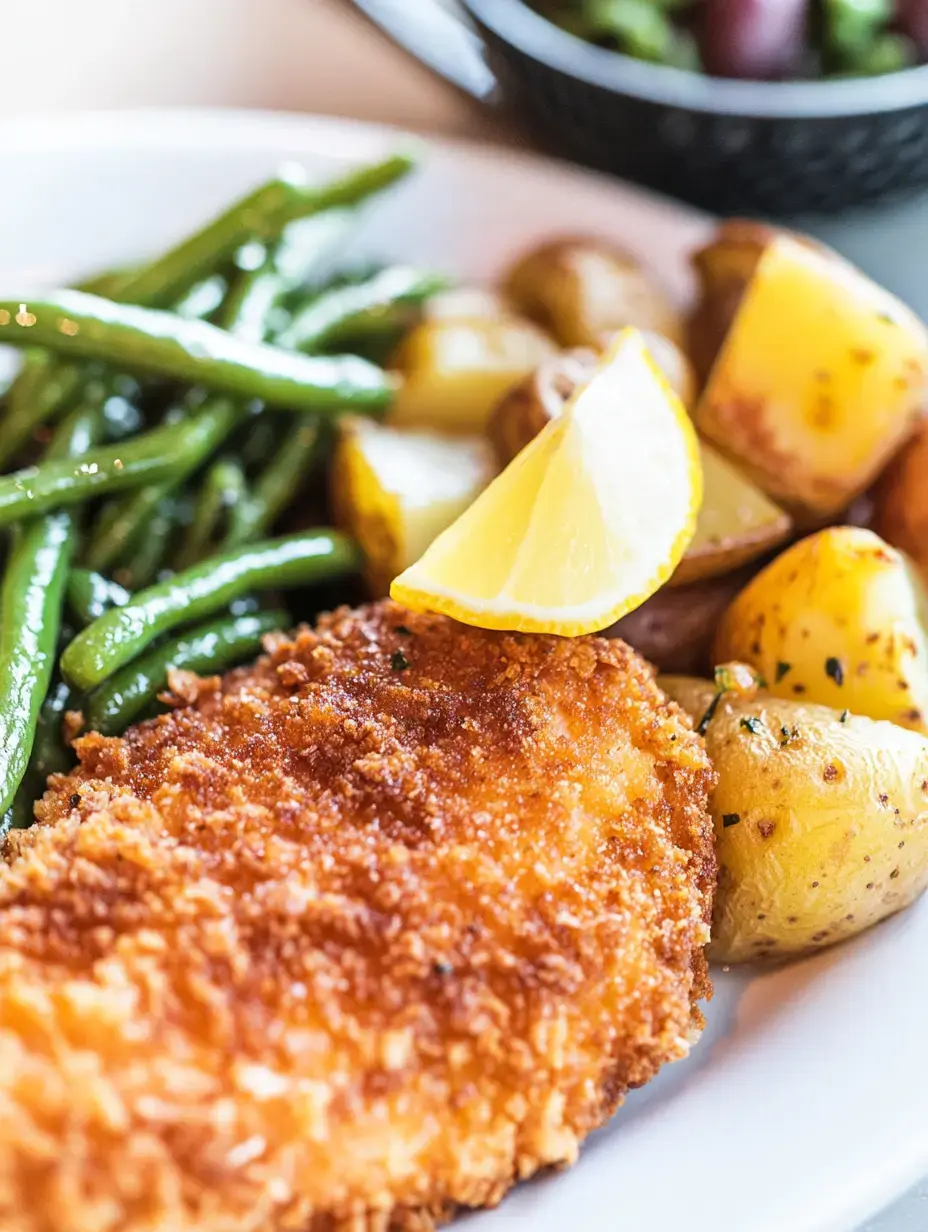
Oh, let me tell you about all the ways we enjoy this chicken in my house! For family dinner nights, I love serving it alongside my creamy mashed potatoes and some bright green beans the combo is pure comfort food heaven!
When we're having friends over for game day, I'll cut the chicken into strips (after cooking) and set out a few dipping sauces. My honey mustard sauce is always the first to disappear!
And for potlucks? This chicken is my secret weapon! It travels beautifully and tastes amazing even at room temperature. I'll pack it up with my tangy coleslaw and a pasta salad everyone always asks for the recipe!
Why You'll Fall in Love With This Recipe
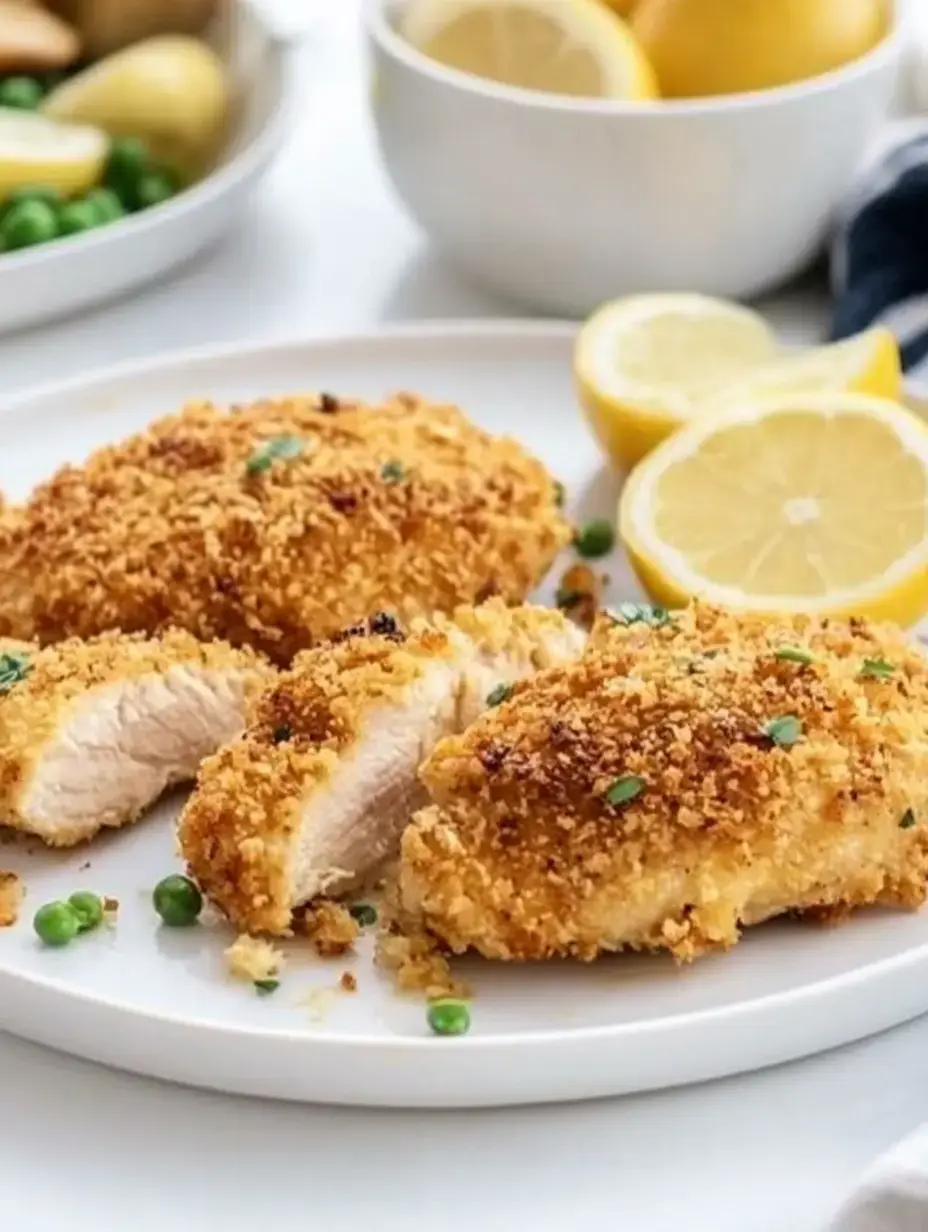
After making this chicken countless times, I can tell you exactly why it's become a staple in my kitchen. That Panko coating gets so perfectly crispy you can actually hear the crunch! But inside? Oh my goodness, the chicken stays so juicy and tender.
What really makes me happy is how simple it is. On those crazy weeknights when I'm helping with homework and juggling activities, I can still get this on the table in about 30 minutes. That's real-life cooking at its best!
 Pin it
Your Questions Answered
After sharing this recipe on my blog, here are the questions I get asked most:
- "Help! My coating isn't sticking!" Make sure you follow the flour-egg-Panko order, and really press that Panko on there. It makes all the difference!
- "How do I know when it's done?" Your meat thermometer is your best friend here read 165°F and you're golden!
- "My family devoured it how do I keep it crispy for leftovers?" Place the chicken on a wire rack for a few minutes after baking no soggy bottoms here!
Let's Talk Serving
I get so many questions about serving this chicken! Here's what works best in my kitchen:
- For the crispiest results, serve it hot from the oven that's when that crust is absolutely perfect! My kids love when I cut it into strips (makes it more fun to eat!).
- Having company? This recipe is a lifesaver! I can easily make a double batch, and it stays crispy for quite a while on a buffet table. I usually plan for one large piece per adult, or two smaller pieces if we're serving lots of sides.
Storage Success
Want to get ahead? Here are my tried-and-true storage tricks:
- Make-Ahead Magic: You can bread the chicken up to a day ahead just cover it well in the fridge. This is my secret for stress-free entertaining!
- Leftovers (if you're lucky enough to have any!): Store them in an airtight container in the fridge they'll stay delicious for three days.
- Freezer-Friendly: Yes, you can freeze these beauties! Wrap them well and they'll keep for a month. When you're ready to enjoy, thaw overnight in the fridge.
- Reheating Tip: Pop them in a 350°F oven for 10-15 minutes. Skip the microwave trust me on this one!
My Best Kitchen Tips
After making this chicken hundreds of times, here are my non-negotiable tips for success:
- Room temperature ingredients are a must they just work better!
- Want extra crunch? Try a double coating of egg and Panko. It's a game-changer!
- Give those chicken pieces plenty of space on the baking sheet they need room to get golden all over.
- Always check that internal temperature better safe than sorry!
- Love spice? Add a pinch of cayenne to your Panko mix. My husband's favorite variation!
 Pin it
Making It Your Own
Let me share some fun ways my family has personalized this recipe over the years:
- Want some heat? My oldest son loves when I add cayenne to the flour mix it gives just the right kick!
- Cheese lover's version? Try mixing different cheeses into your Panko. My daughter's favorite is adding mozzarella along with the Parmesan.
- Need a bright, fresh twist? I love adding lemon zest to the Panko mixture instant flavor boost!
Perfect Pairings
Let's talk about what to serve alongside! Here are my family's favorite combinations:
- On busy weeknights, I'll roast some Brussels sprouts or carrots right alongside the chicken same temperature, so easy!
- My kids go crazy for these with crispy oven fries I make both regular and sweet potato versions.
- For a lighter meal, I toss together a quick green salad with my honey-lemon dressing.
- And when company's coming? My herb rice pilaf is the perfect partner super simple but looks fancy!
Fun Recipe Twists
After years of making this chicken, I've come up with some delicious variations:
- Sometimes I'll go Italian-style, adding marinara and extra cheese on top for the last few minutes totally transforms it into chicken parmesan!
- My kids love when I serve it with honey mustard sauce for dipping.
- And for something different, try adding sesame seeds to your Panko mix and serving with a side of soy sauce it's amazing!
Meal Prep Magic
This recipe is perfect for busy weeks! Here's how I make it work for meal prep:
- I'll make a big batch on Sunday, let it cool completely (so important!), then store in containers with compartments.
- Keeps beautifully in the fridge for 3 days just reheat in the oven to maintain that crunch.
- I love pairing it with different sides throughout the week keeps things interesting!
 Pin it
Dressing It Up
Need to make it extra special? Here's how I fancy it up for company:
- I arrange the chicken on my prettiest platter, nested in fresh herbs it looks beautiful!
- A sprinkle of freshly grated Parmesan and chopped parsley adds that restaurant touch.
- I love setting out different dipping sauces ranch for the kids, garlic butter for the grown-ups!
The Healthy Side
While this isn't exactly health food, it's definitely better than fried chicken! Each serving gives you around 350-400 calories, plenty of protein from the chicken, and some good fats from the olive oil. The Panko adds some carbs, but it's all about balance in my kitchen!
Common Pitfalls to Avoid
Let me save you from the mistakes I've made along the way:
- Don't crowd that baking sheet! Give each piece space to get crispy.
- Always check the temperature no guessing when it comes to chicken!
- Go easy on the oil in your Panko a little goes a long way for that golden crust.
Final Thoughts
This Panko chicken has been such a game-changer in my kitchen. It's that perfect blend of easy and impressive, quick but still special. Whether you're feeding a family on a busy Tuesday or hosting friends for dinner, this recipe won't let you down. The crispy coating and juicy chicken make everyone happy, and isn't that what cooking is all about? Happy cooking, friends!
 Pin it
Frequently Asked Questions
- → Can I make this in an air fryer?
Yes, cook at 400°F for 10-14 minutes, flipping halfway through. Air frying gives an even crispier result than baking.
- → How do I know when the chicken is done?
Use a meat thermometer to check that the internal temperature reaches 165°F at the thickest part. The coating should be golden brown.
- → Why let the chicken rest after cooking?
Resting for 3-5 minutes allows the juices to redistribute throughout the meat, ensuring every bite is juicy and tender.
- → Can I pan fry instead of baking?
Yes, pan fry over medium-high heat for 5-7 minutes per side. Don't mix oil into breading; instead, add it to the pan.
- → How thick should the chicken cutlets be?
Aim for 3/4 inch thickness. Even thickness ensures uniform cooking. You can cut thick breasts horizontally to create cutlets.
Conclusion
Transform chicken breasts into a crispy dinner favorite with a seasoned panko-parmesan coating. Baked until golden for the perfect crunch, ready in just over 30 minutes.