 Pin it
A Decadent Twist on Brownies
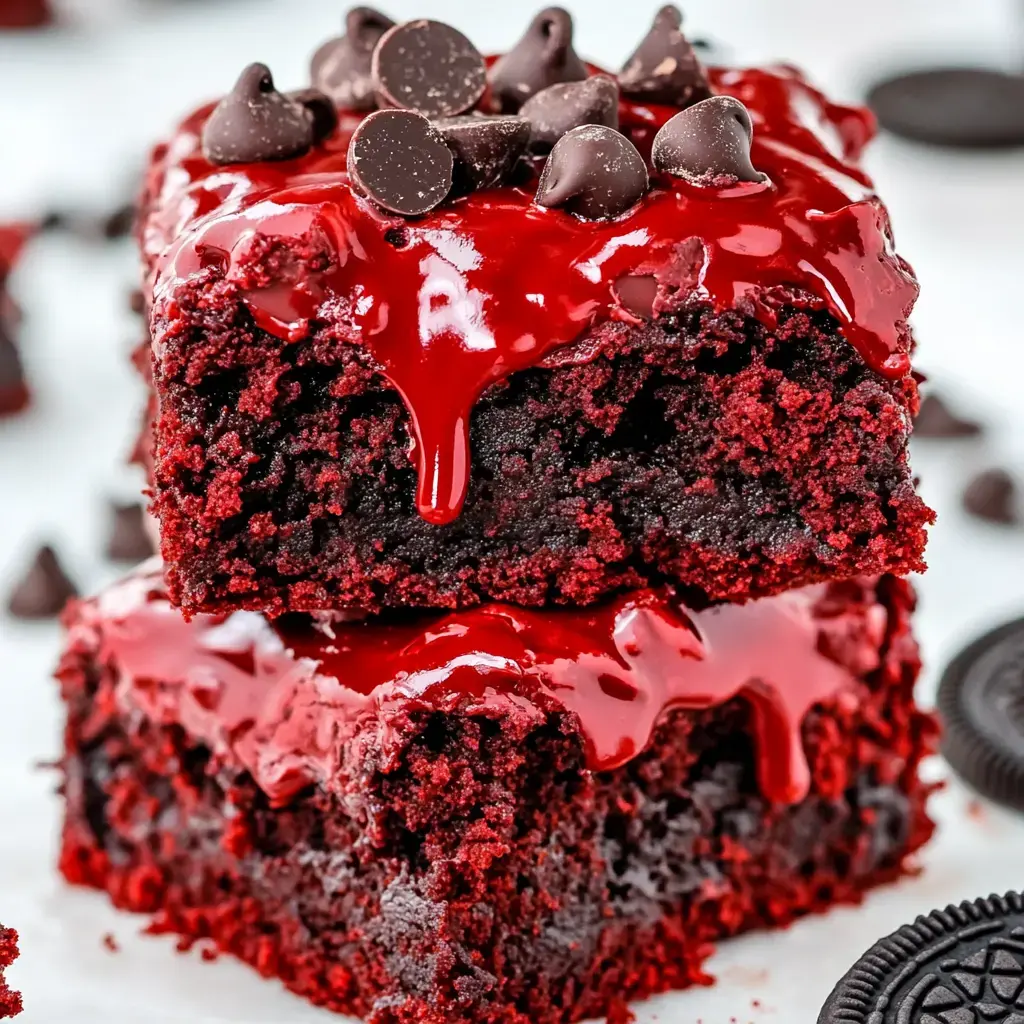
Let me share one of my most requested recipes with you - these incredible Red Velvet Oreo Brownies! I created these one day when I couldn't decide between making red velvet cake, brownies, or serving Oreos (we all have those days, right?). The result was pure magic! Think fudgy brownies with that classic red velvet flavor, studded with chunks of Oreos. Every time I make these, my kitchen fills with the most amazing aroma, and my family suddenly appears wondering what's in the oven!
Why These Brownies Are Pure Magic
You know those desserts that make everyone's eyes light up? This is definitely one of them! I love watching people try to figure out what makes these brownies so special. Is it the red velvet richness? The chunks of Oreos? That perfect brownie texture? It's actually all three! Plus, they're easier to make than you might think. Trust me, once you try these, regular brownies will never be quite the same!
Let's Gather Our Ingredients
Here's everything you'll need for these beauties:
- The Essentials:
- - Brown sugar (I always pack it tight!)
- - Real butter, nice and soft
- - Farm-fresh eggs if you can get them
- - Pure vanilla extract (splurge on the good stuff!)
- - Rich cocoa powder
- - Just enough baking powder for lift
- - That magical red food coloring
- - All-purpose flour
- - Plenty of Oreos (buy extra, we all know some will disappear!)
- - Your favorite chocolate chips
- - A pinch of salt to make everything pop
Let's Start Baking!
First things first - let's get that oven warming up to 350°F! While it's heating, grab your 9x9 pan. Here's one of my favorite tricks: line it with foil and give it a quick spray with cooking spray. This makes lifting these beauties out so much easier later!
Now for the fun part! In your mixer (or a big bowl if you're going old school like my grandmother taught me), cream together that butter and brown sugar until it's light and fluffy. I usually set a timer for 3 minutes - trust me, this step matters! Then add those eggs one at a time, letting each one mix in completely. Add your vanilla (I always add an extra splash because why not?).
In goes the cocoa powder, baking powder, and salt. Mix until you've got this gorgeous chocolate batter, then gently fold in your flour. Don't overmix here - we want fudgy brownies, not tough ones!
 Pin it
Creating That Perfect Color and Texture
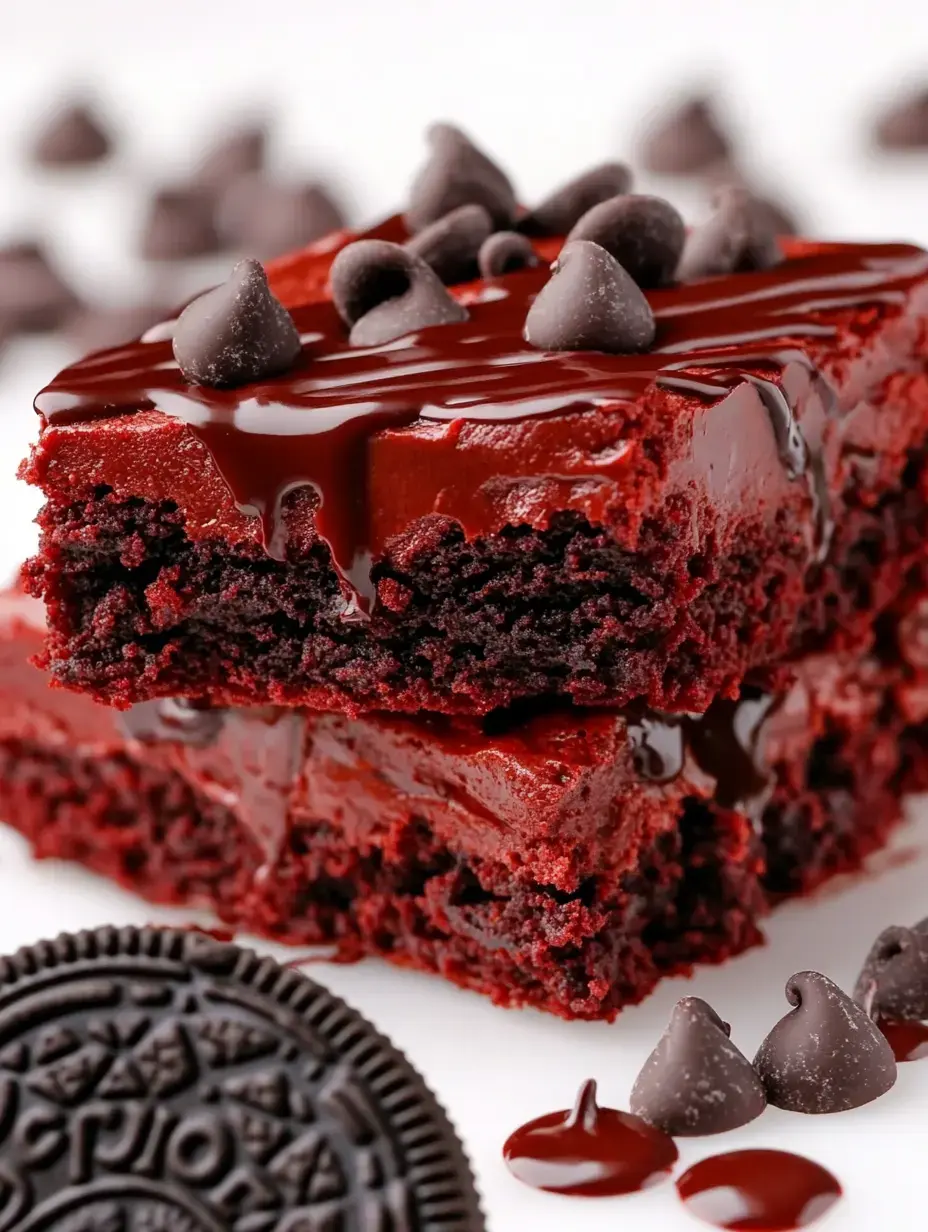
Now comes the magical part - adding that red food coloring! Watch as your chocolate batter transforms into this gorgeous deep red color. I love this moment! Then fold in those chopped Oreos. I like to leave some pieces pretty chunky for texture. Spread everything into your prepared pan, and don't forget to sprinkle those chocolate chips on top. They'll create these amazing melty pockets of chocolate as they bake!
The Baking Magic
Into the oven they go for about 22-24 minutes! Your kitchen is about to smell amazing. Here's my secret for perfectly fudgy brownies: look for that slight jiggle in the center when you gently shake the pan. The edges should be set, but the middle should still be a bit soft. Remember, they'll continue cooking as they cool. Better to underbake slightly than end up with dry brownies!
Patience is Key
Now comes the hardest part - waiting! I know it's tempting to dig right in (trust me, I've been there!), but letting these beauties cool completely is so important. If you can resist, pop them in the fridge for a couple of hours. This helps them set up perfectly and makes cutting them so much easier. Plus, those Oreo pieces get extra crispy when chilled!
Keeping Them Fresh
If you're lucky enough to have leftovers (which rarely happens in my house!), store them in an airtight container. They'll stay perfect for about 3-4 days at room temperature. Want to save some for later? These freeze beautifully! I wrap individual pieces in plastic wrap, then foil - it's like having a little chocolate emergency stash tucked away!
 Pin it
My Best Tips for Success
After making these countless times, I've learned a few tricks! Don't overbake them - that slightly gooey center is what we're after. I love experimenting with different Oreo flavors too. The mint ones are amazing during the holidays! And don't be afraid to get creative with mix-ins. Sometimes I'll add white chocolate chips or even some chopped nuts for extra crunch.
Making Them Your Own
You know what's fun about this recipe? How easy it is to customize! Sometimes I'll use peanut butter Oreos (my husband's favorite), or during the holidays, I'll add some crushed candy canes on top. The possibilities are endless! My daughter loves when I swirl cream cheese into the batter - it adds this gorgeous marbled effect and tastes amazing.
Serving Up Smiles
Want to make these brownies extra special? Serve them slightly warm with a scoop of vanilla ice cream on top. The way that ice cream melts into those fudgy brownies is pure heaven! Sometimes I'll drizzle a little chocolate or caramel sauce over the top too. For afternoon coffee breaks, I love them just as they are - the perfect sweet treat to brighten up my day!
Perfect for Any Occasion
These brownies have saved the day at so many gatherings! They're my go-to for bake sales (they always sell out first!), potlucks, and holiday parties. That gorgeous red color makes them perfect for Valentine's Day or Christmas, but honestly? They're amazing any time of year. Plus, they're so easy to transport - just leave them in the pan and go!
 Pin it
Make-Ahead Magic
Here's a little secret: these brownies actually taste even better the next day! All those flavors have time to meld together overnight. I often make them the day before I need them - it makes entertaining so much easier, and they're always perfect. Just remember to hide them well, or they might disappear before your guests arrive!
Everyone's Favorite
You know what I love most about these brownies? How they bring people together! There's something about that combination of red velvet, chocolate, and Oreos that just makes everyone happy. I've shared this recipe countless times, and it's become a favorite in so many families besides my own. That's what baking is all about - sharing the love!
Easy Clean-Up Tips
Let me share my favorite cleaning hack: that foil liner isn't just for easy removal - it makes cleanup a breeze! I also keep a damp cloth handy while I'm mixing to wipe up any spills right away (red food coloring can be tricky!). And here's a tip: spray your measuring cups with cooking spray before measuring sticky ingredients like brown sugar - they'll slide right out!
Freezer-Friendly Fun
Love having treats on hand for surprise guests? These brownies freeze beautifully! I wrap individual pieces in plastic wrap, then foil (double wrapping is key!), and pop them in a freezer bag. When unexpected company drops by, I can pull out a few pieces, let them thaw for about an hour, and voilà! Instant dessert that tastes freshly baked. Sometimes I even warm them slightly in the microwave - heavenly!
 Pin it
Special Event Star
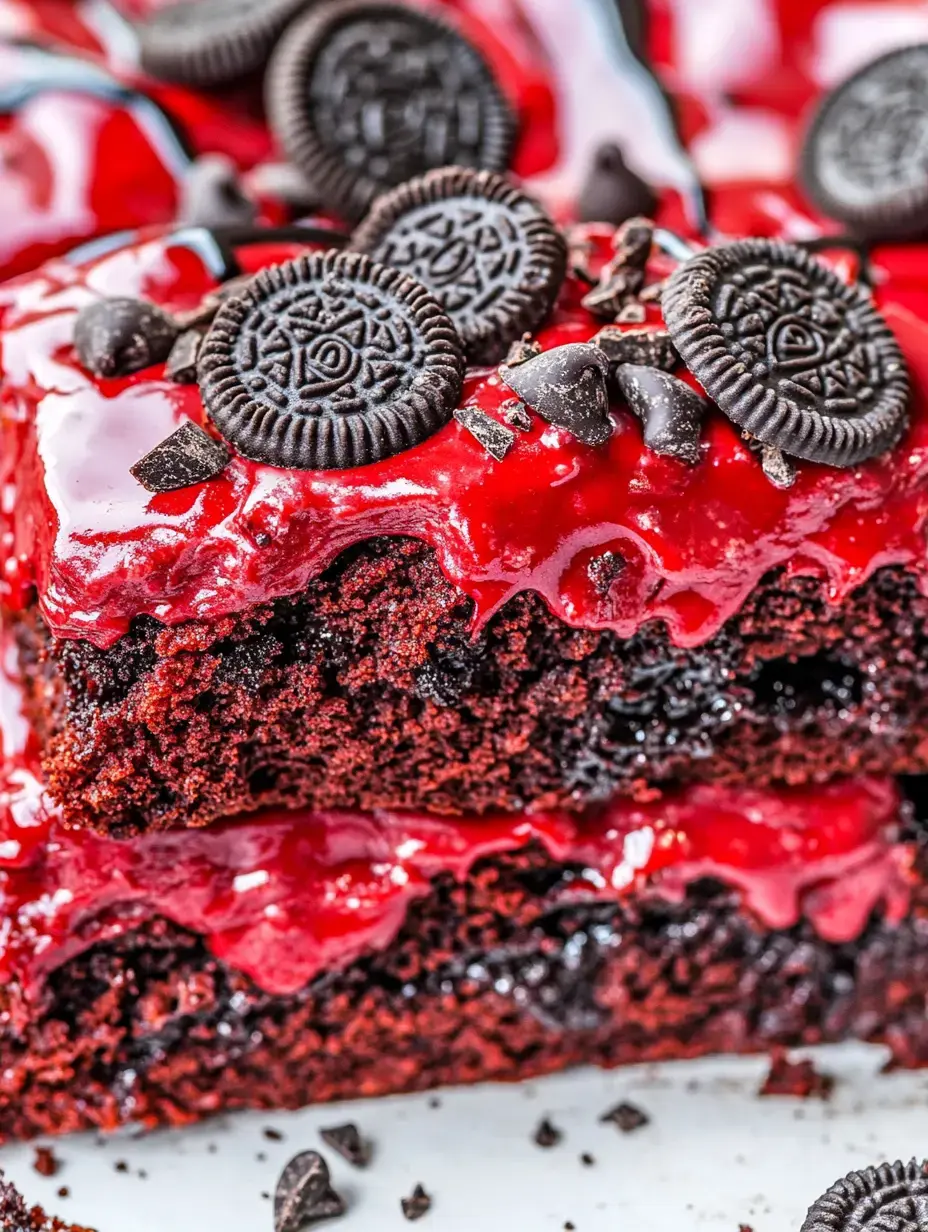
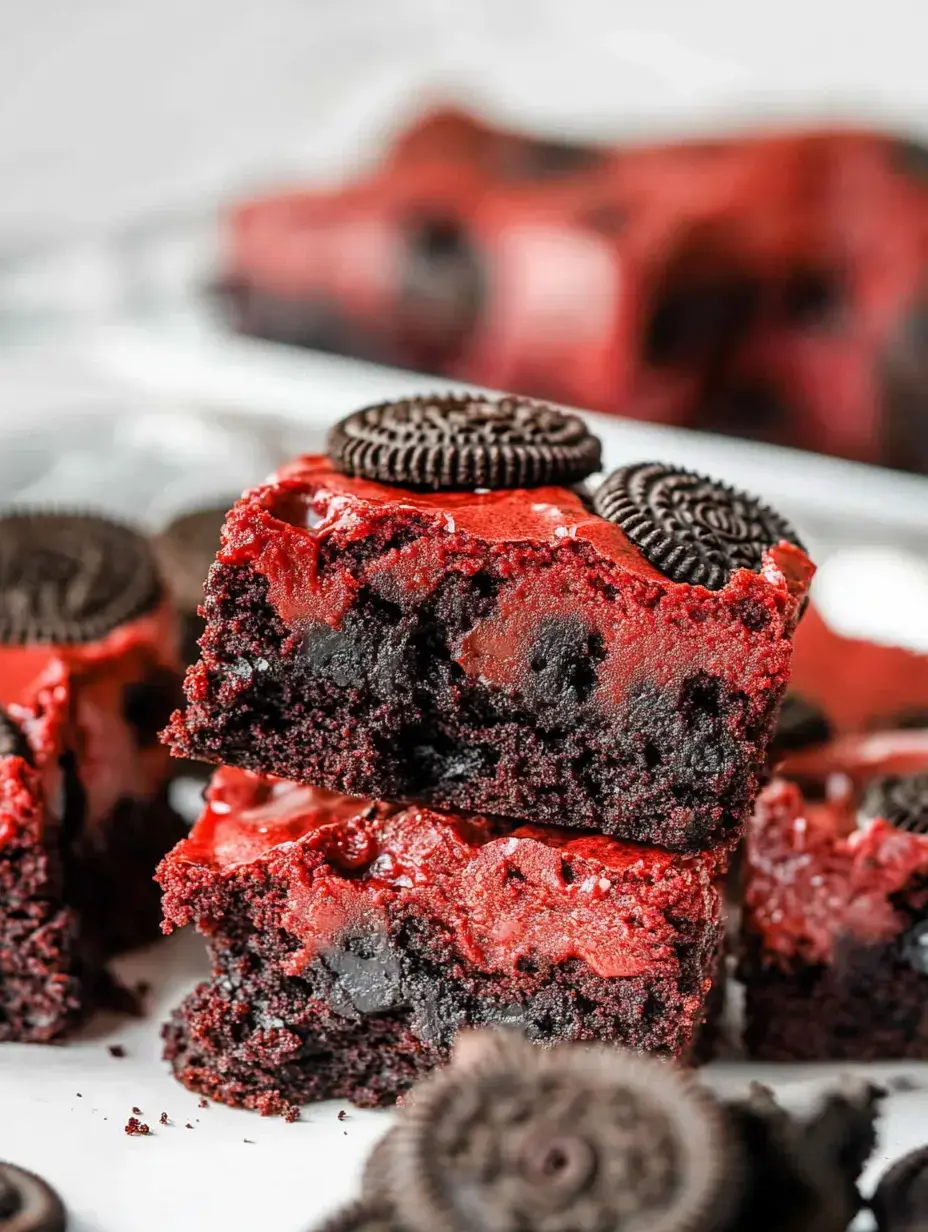
These brownies have become my signature dessert for special events. The red color makes them so festive, and those Oreo pieces add such a pretty contrast! I've made them for countless birthday parties, baby showers (perfect for a chocolate craving!), and even my niece's graduation party. They always get so many compliments, and I love seeing people's faces light up when they take that first bite.
Simple But Special
You know what I love most about this recipe? How something so simple can feel so special! With just a few basic ingredients and some Oreos, you can create something that looks and tastes like it came from a fancy bakery. It's the perfect recipe to have in your back pocket when you want to impress without spending hours in the kitchen.
That Perfect Texture
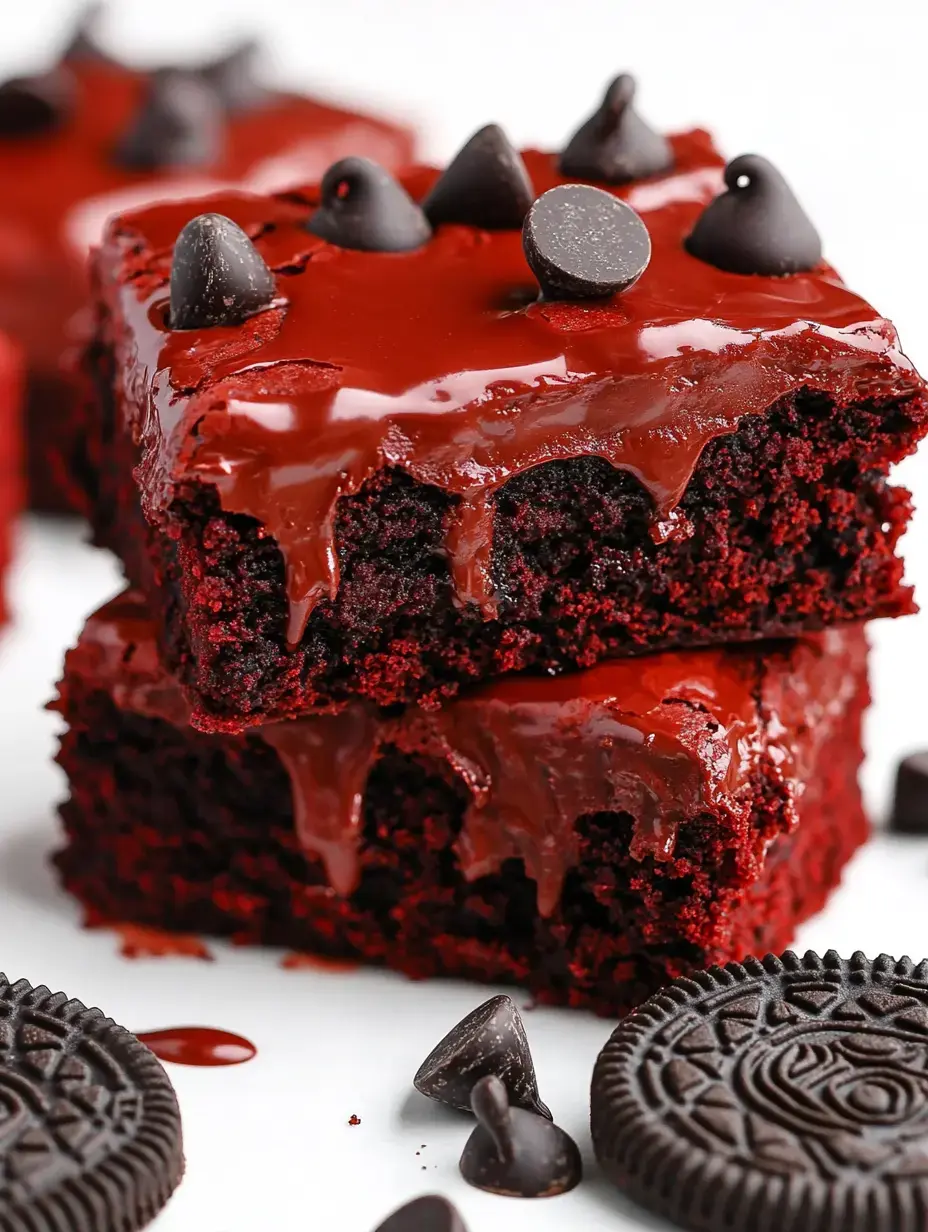
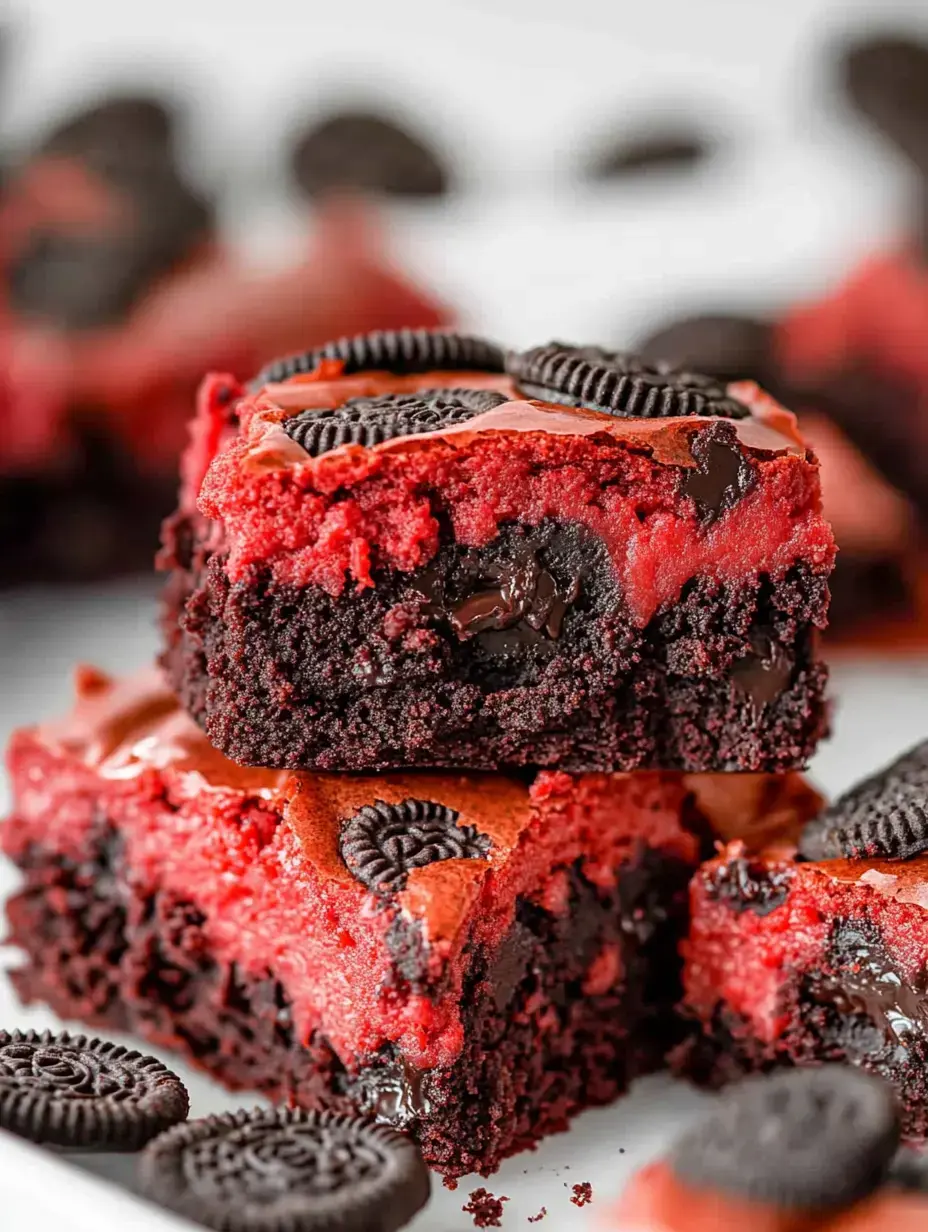
Let's talk about what makes these brownies truly amazing - that texture! The brownie base is rich and fudgy, while those chunks of Oreos add the most wonderful crunch. Every bite gives you that perfect combination of chewy and crispy. And those melty chocolate chips on top? Pure heaven! It's like three desserts in one magical bite.
Baking Love
These Red Velvet Oreo Brownies have brought so much joy to my kitchen, and I know they will to yours too! They're more than just a dessert - they're a way to share love and create sweet memories with the people you care about. Whether you're baking them for a special occasion or just because it's Tuesday, I hope they become a favorite in your home like they have in mine. Happy baking, friends!
 Pin it
Frequently Asked Questions
- → Why use a metal pan?
- Metal pans conduct heat more evenly than glass or ceramic, ensuring better browning and texture in brownies and blondies.
- → How do I know when they're done?
- Center should still be jiggly when removed from oven. They'll continue cooking and firm up while cooling.
- → Can I reduce the red food coloring?
- Yes, you can use less food coloring for a lighter color, or omit it for classic blondies with Oreos.
- → Why line the pan with foil?
- Lining makes it easy to lift out the entire batch for clean cutting, and ensures nothing sticks to the pan.
- → How should I store these bars?
- Store in an airtight container at room temperature for up to 5 days, or freeze for longer storage.
