 Pin it
My Favorite Mini Red Velvet Treats That Everyone Asks About
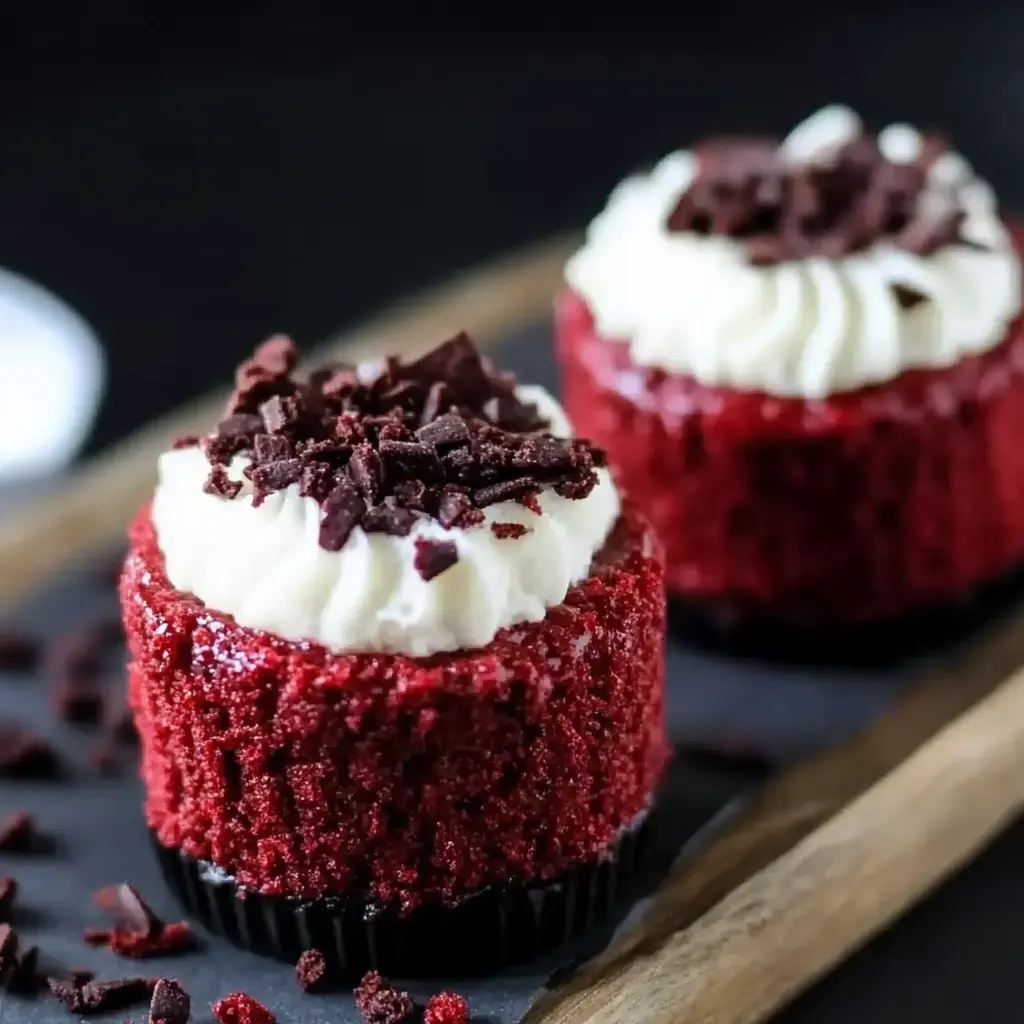
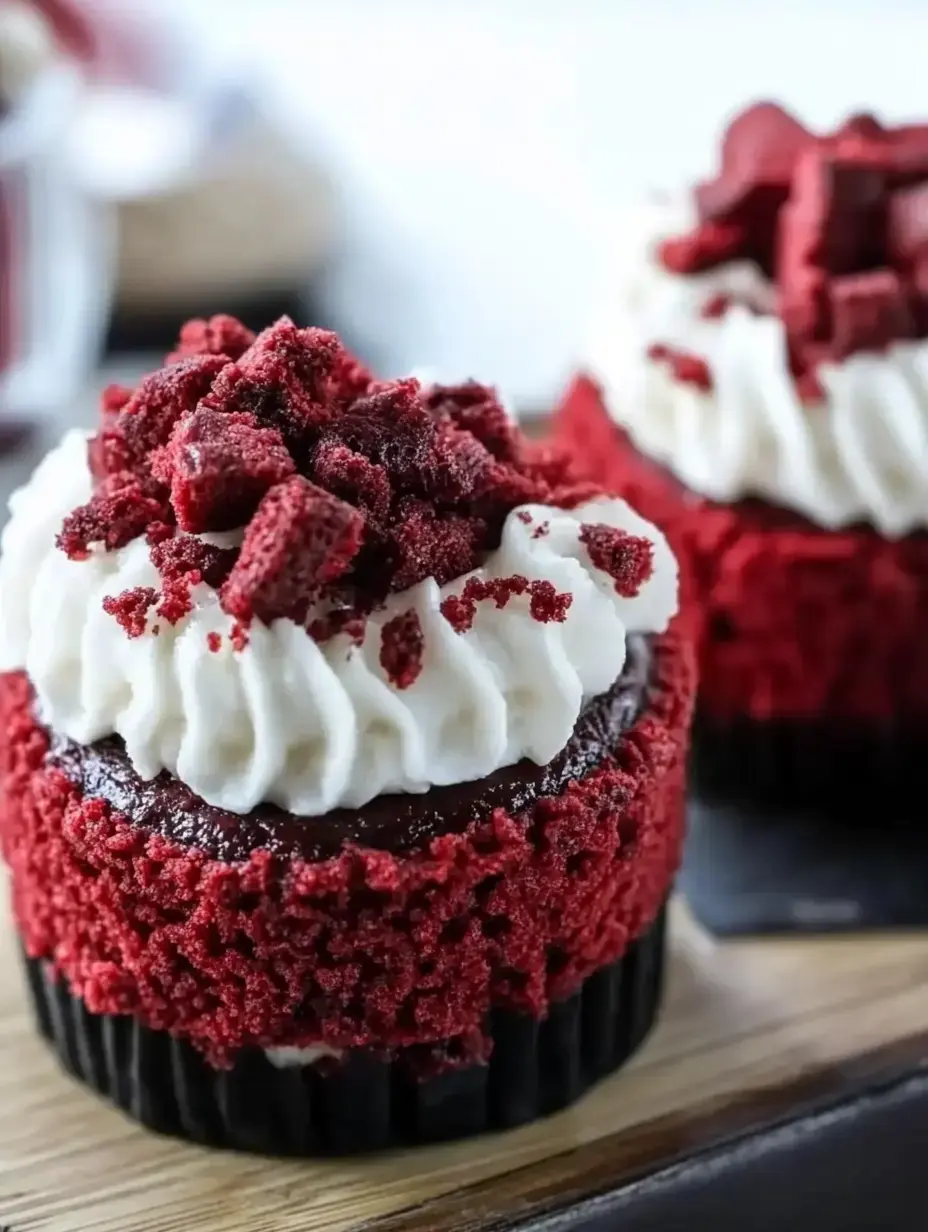
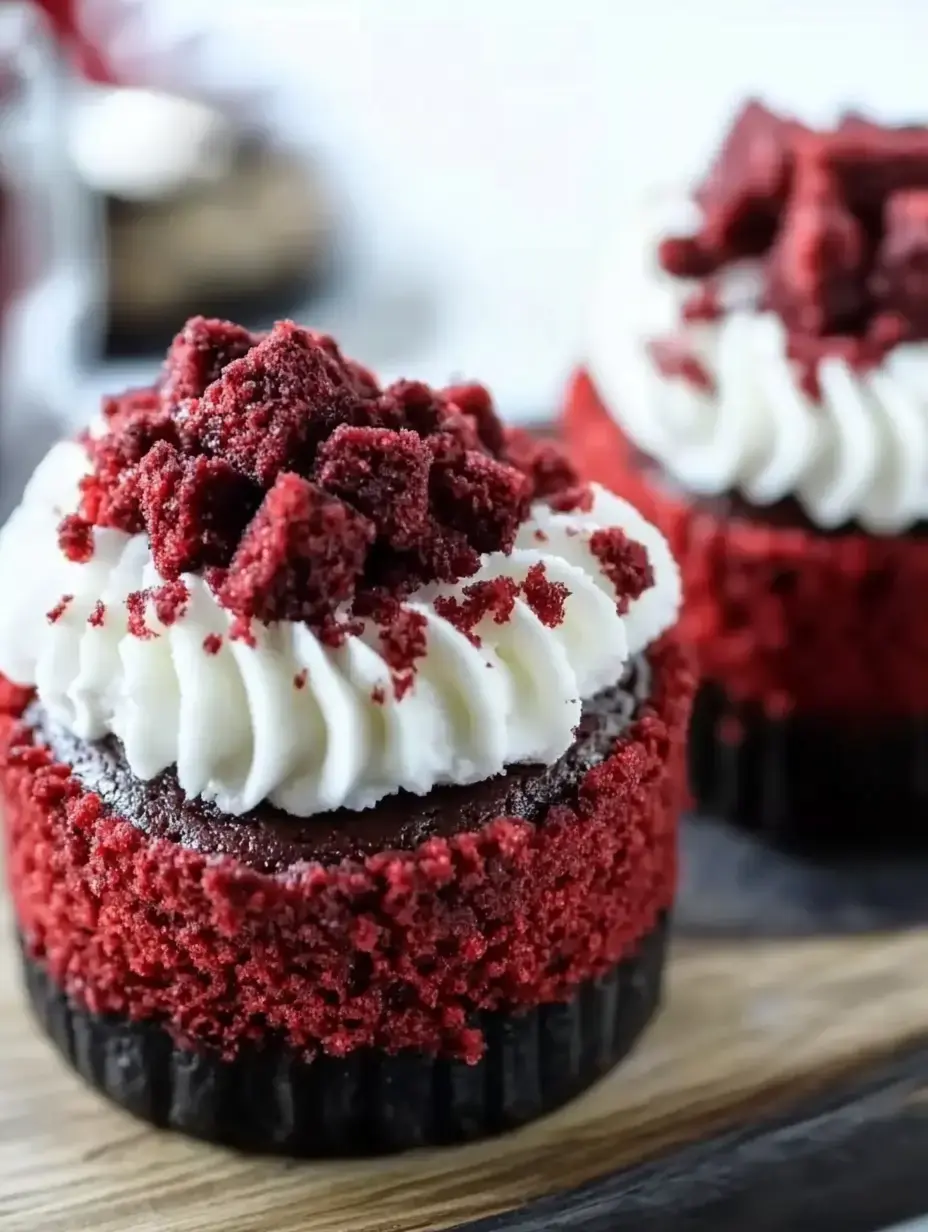
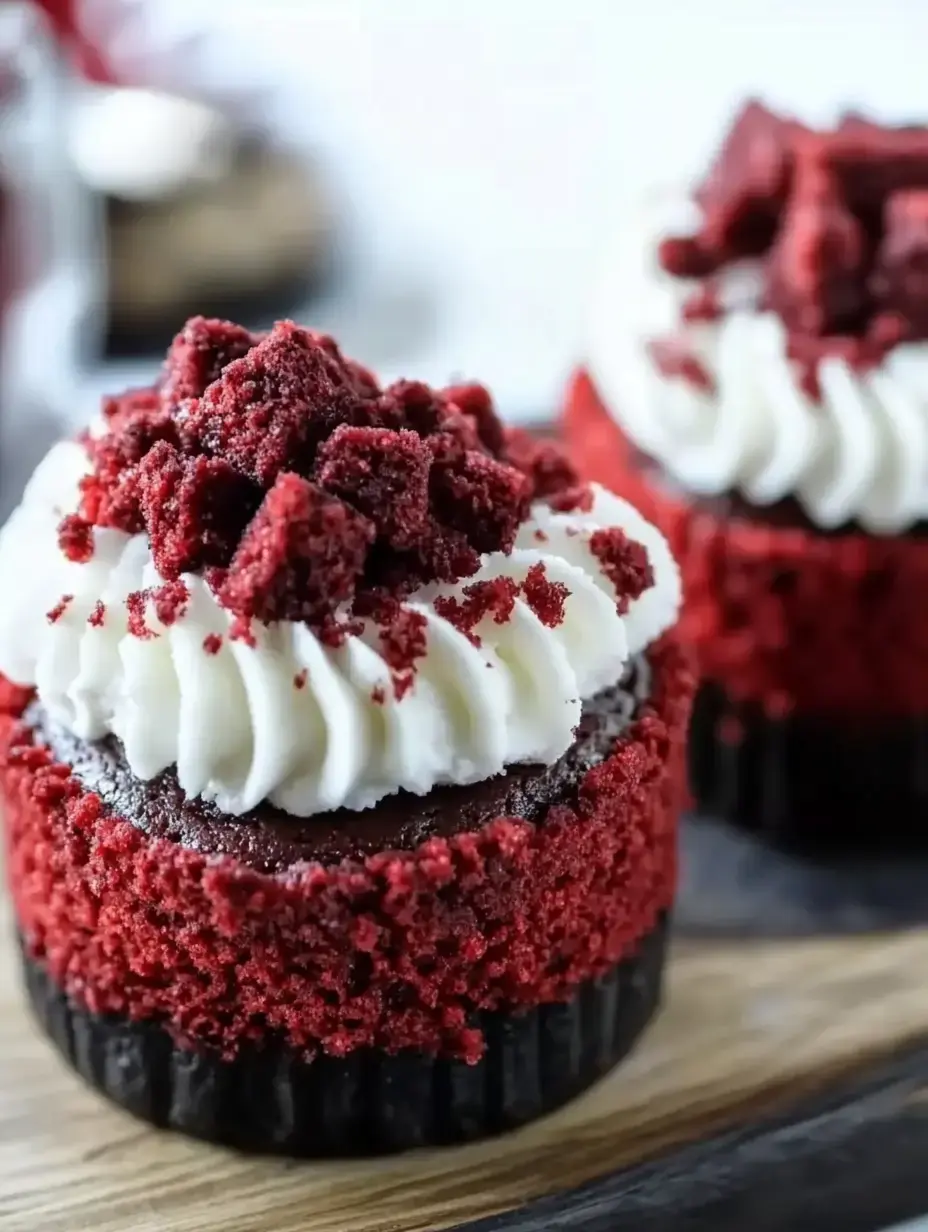
I stumbled upon pure dessert magic in my kitchen last weekend. These adorable mini red velvet cheesecakes sitting on crunchy Oreo crusts are absolutely irresistible. I love how each tiny bite gives you that perfect mix of creamy cheesecake and chocolate cookie base. Trust me your friends won't believe you made these at home.
The Perfect Party Size
These tiny cheesecakes have become my go to party dessert. They're just the right size for a sweet treat and nobody has to feel guilty about indulging. Plus I can't tell you how many times people have grabbed seconds when they think nobody's watching.
Your Shopping List
- Ingredient: Grab cream cheese and let it sit out it needs to be super soft
- Ingredient: Regular white sugar nothing fancy needed
- Ingredient: One large egg take it out with your cream cheese
- Ingredient: Good cocoa powder I use the one in my pantry
- Ingredient: Red food coloring gel works best
- Ingredient: A package of Oreos you'll need about 10
- Ingredient: Some melted butter to hold the crust together
Kitchen Time
- [The Crust Part]
- Heat your oven to 350°F. Crush those Oreos until they're fine mix with melted butter and press into your lined muffin tin. Give them a quick bake.
- [Making It Creamy]
- Mix your soft cream cheese and sugar until fluffy. Add cocoa powder red coloring and egg. Keep scraping that bowl down.
- [Into The Oven]
- Fill each cup about three quarters full. Bake until they have just a slight jiggle in the middle.
 Pin it
The Story Behind These Treats
I first made these when I couldn't decide between red velvet cake and cheesecake for my sister's birthday party. Everyone went crazy for them and now they're my signature dessert. Sometimes the best recipes come from not being able to make up your mind.
Perfect For Love Day
When Valentine's Day comes around these little beauties are my secret weapon. The gorgeous red color makes them feel extra special and romantic. My husband says they're better than any box of chocolates.
No Fuss Serving
What I love most about these is how easy they are to share. No cutting or serving plates needed just grab and enjoy. They're perfect for potlucks because everyone can help themselves without any mess.
That Amazing Cookie Base
The Oreo crust might be my favorite part. It adds this perfect chocolatey crunch that makes each bite even better. Sometimes I add a little extra because who doesn't love more Oreos?
 Pin it
Super Simple Steps
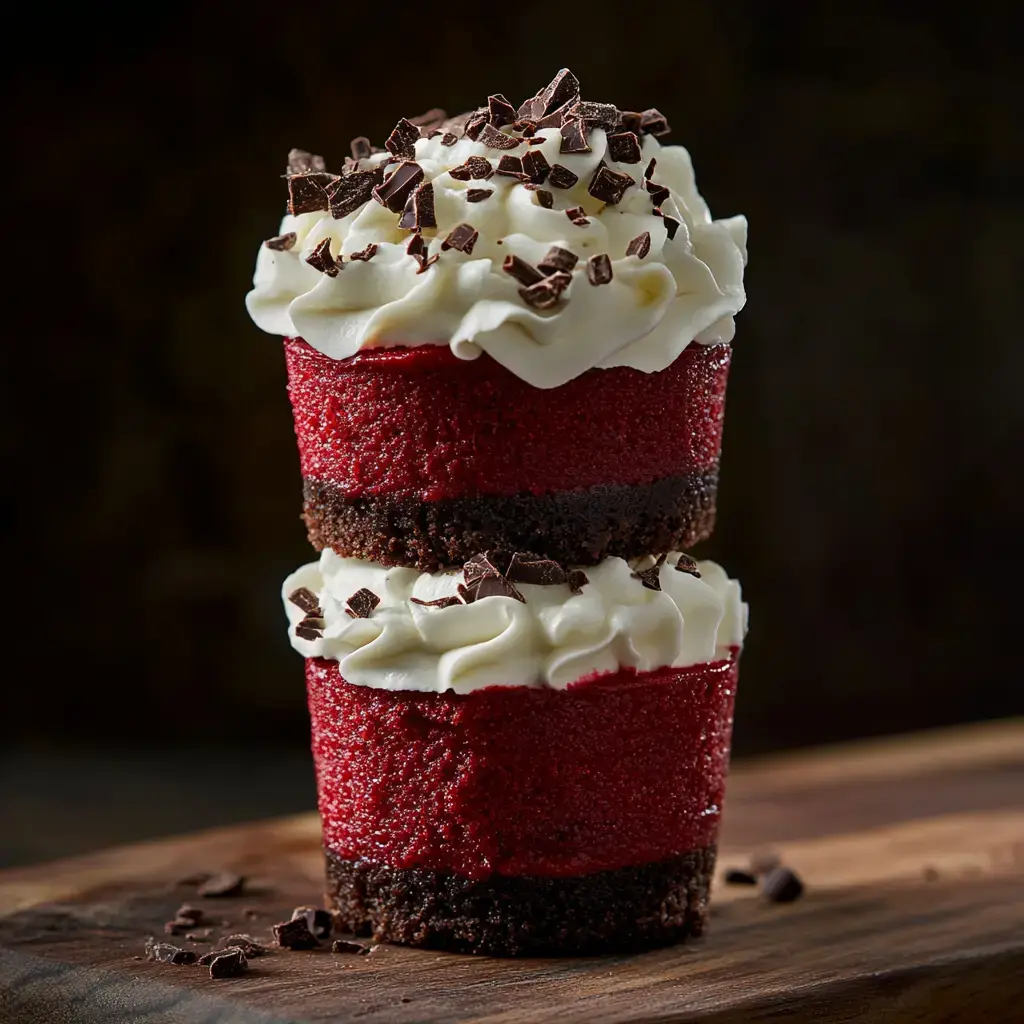
You won't believe how easy these are to make. Just mix crush bake and chill. I often make them the night before a party which makes my day of hosting so much smoother.
My Best Baking Tip
The real game changer is having your cream cheese and egg at room temperature. I know it's tempting to skip this step but trust me it makes such a difference in how smooth your cheesecakes turn out.
The Wobble Test
I've learned that the perfect cheesecake should have a slight jiggle in the middle when it's done. Think Jello not liquid. They'll firm up beautifully as they cool.
Patience Is Key
The hardest part is waiting for these to chill. I pop them in the fridge for at least 2 hours but overnight is even better. The flavors get even more amazing after a good chill.
 Pin it
Dress Them Up
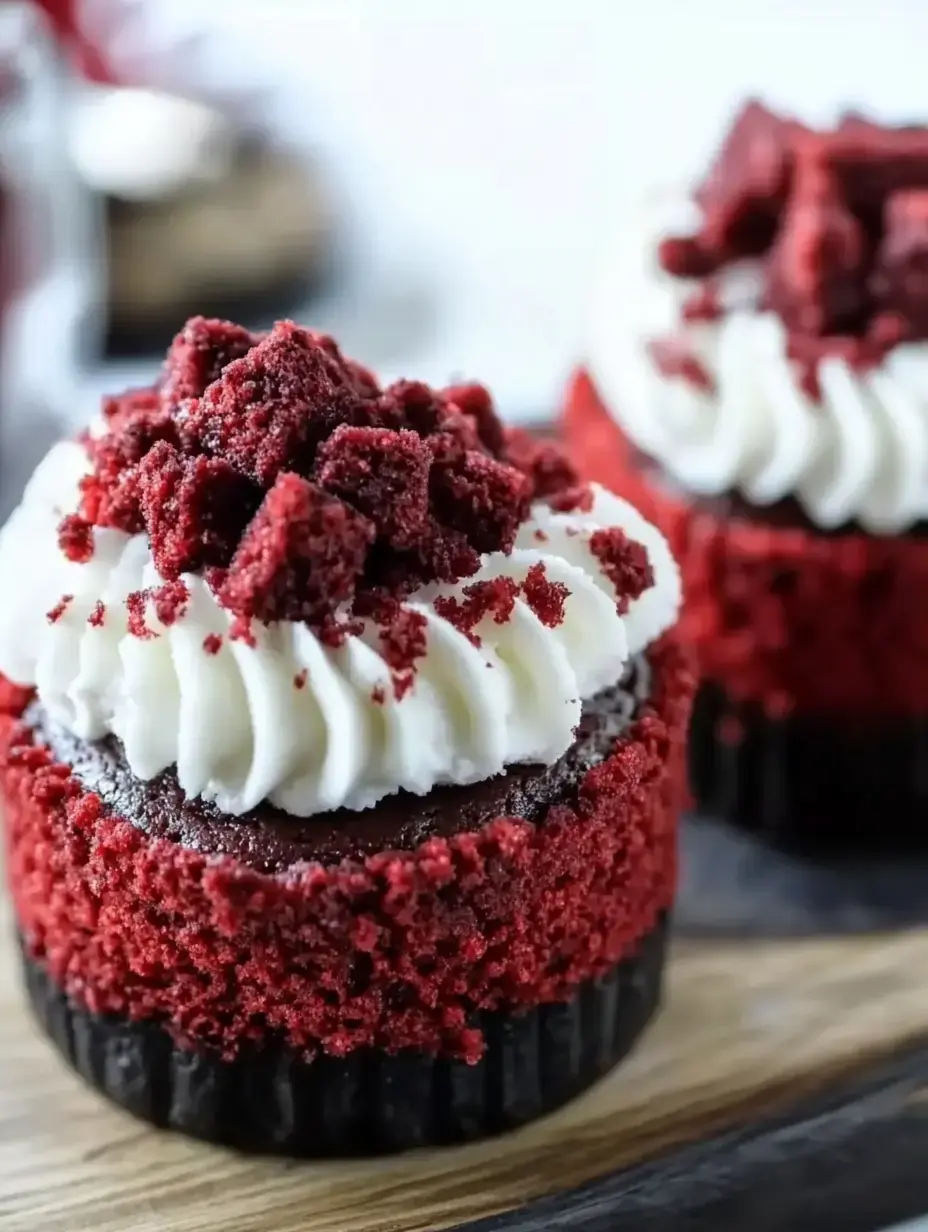
Sometimes I top them with a swirl of whipped cream or a drizzle of white chocolate. For parties I'll add some sparkly sprinkles. They're like tiny blank canvases ready for your creative touch.
Keeping Them Fresh
These little treats stay perfect in the fridge for about 4 days. I keep them in an airtight container but honestly they never last that long in my house.
Make Them Your Own
Feel free to play with the flavors. Sometimes I add a tiny bit of vanilla or even some espresso powder to deepen the chocolate taste. It's fun to experiment and find your perfect version.
Fun With The Kids
My little ones love helping make these. Crushing the Oreos is their favorite part though I usually end up with more crumbs on the floor than in the bowl. It's worth the mess for the family memories.
 Pin it
Share The Love
These mini cheesecakes make the sweetest gifts. I've packed them in pretty boxes for teachers and neighbors during the holidays. Everyone lights up when they see that beautiful red color.
Party Success Story
Last weekend I brought these to a friend's baby shower. They disappeared so fast I barely got one myself. The mom to be asked for the recipe right away. That's always the best compliment.
Not Just For Valentine's
While these are perfect for February 14th I make them all year round. They're great for Christmas parties summer cookouts or any time you want to make someone feel special.
Worth Every Bite
These mini red velvet cheesecakes have become my most treasured recipe. They're the perfect blend of easy to make and impressive to serve. Once you try them you'll see why everyone begs for the recipe.
 Pin it
Frequently Asked Questions
- → How do I know when the cheesecakes are done?
- The cheesecakes should be set around the edges but still slightly jiggly in the center after 20-22 minutes. They'll continue setting as they cool and chill in the refrigerator.
- → Can I freeze these mini cheesecakes?
- These cheesecakes freeze well for up to 3 months. Wrap them individually and store in a freezer container. Thaw overnight in the refrigerator before serving.
- → Why did my cheesecakes crack?
- Cracks can form if the cheesecakes are overbeaten after adding eggs or baked at too high a temperature. Mix on low speed just until eggs are combined and make sure your oven temperature is accurate.
- → Can I make these without food coloring?
- You can skip the red food coloring, though the cheesecakes will be brown from the cocoa powder. The taste will remain the same, just without the signature red velvet look.
- → What's the best way to store these cheesecakes?
- Store the cheesecakes in an airtight container in the refrigerator for up to three days. Let them sit at room temperature for 15 minutes before serving for the best texture.
