 Pin it
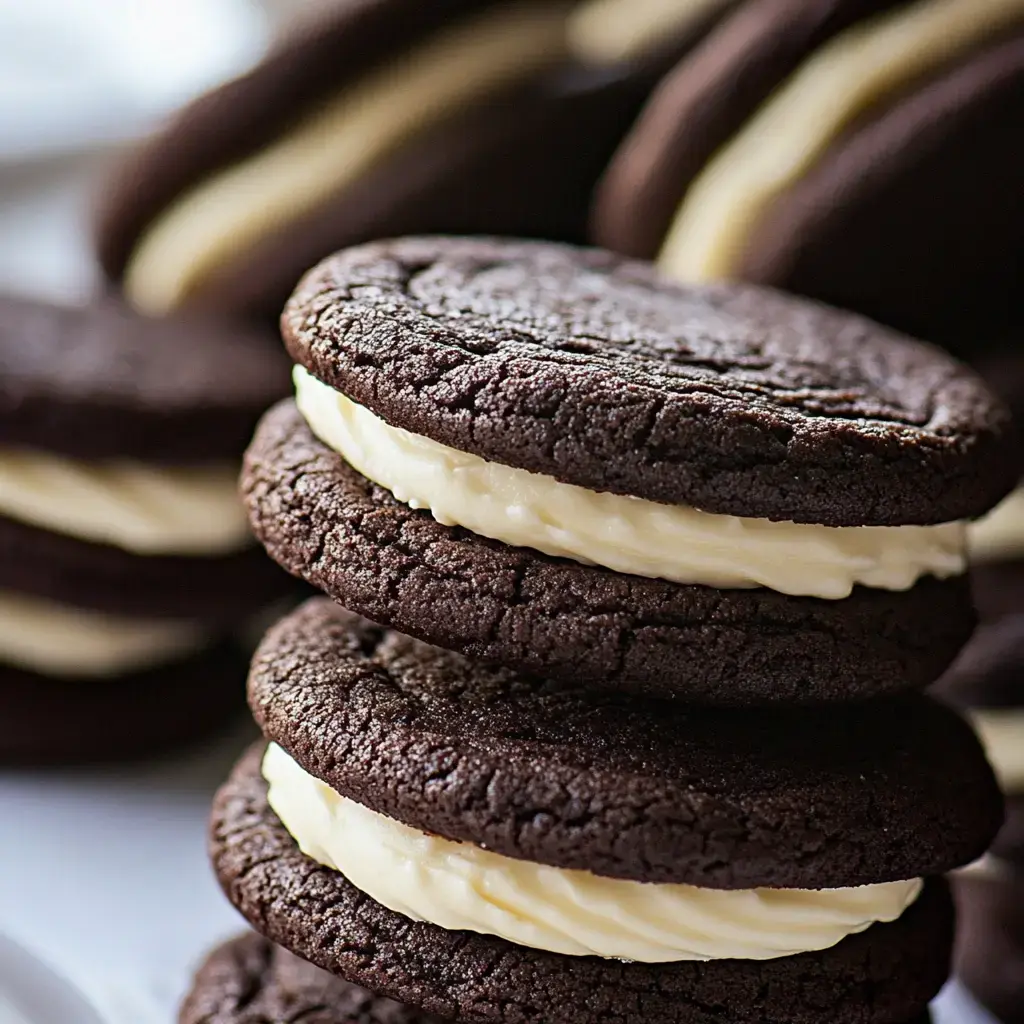
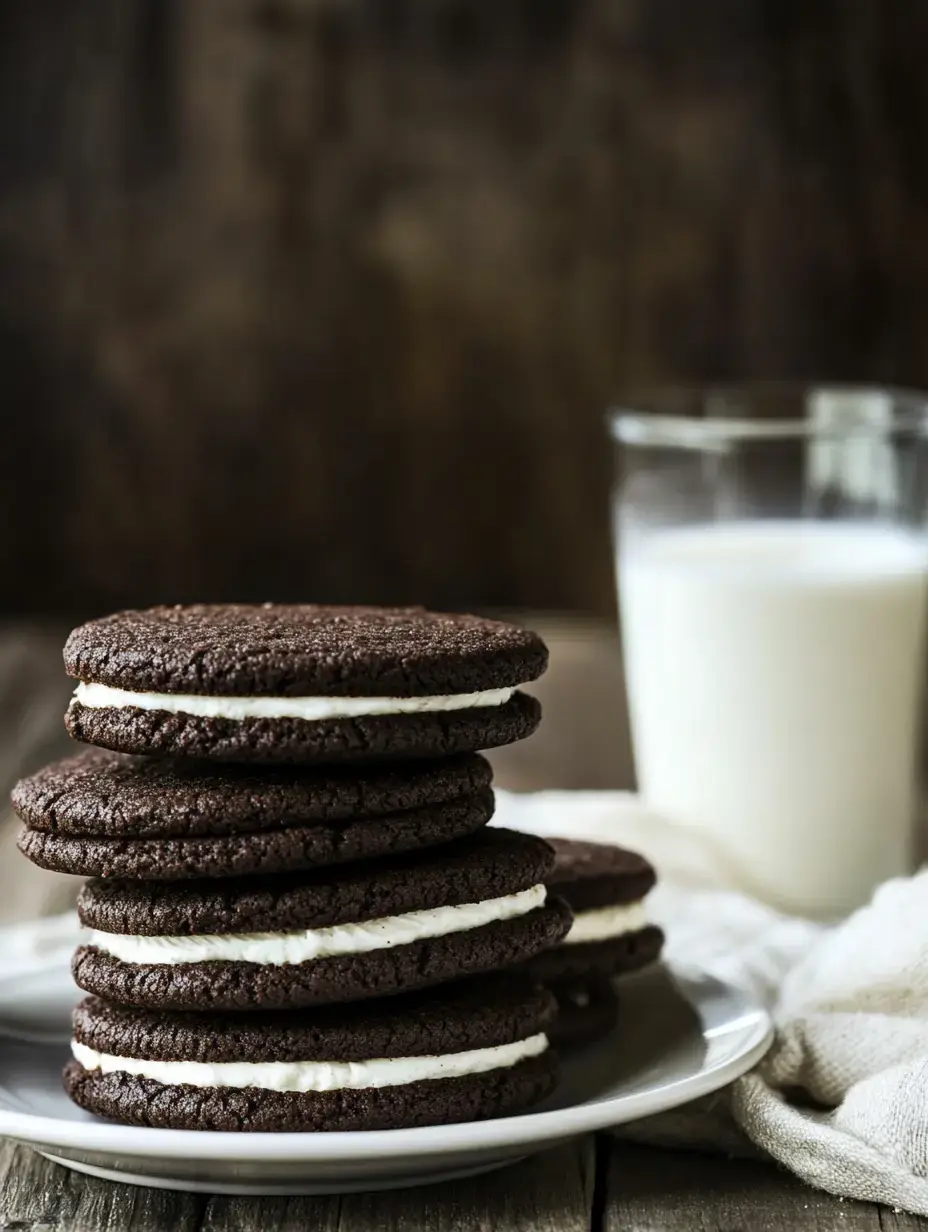
Oh my goodness, fellow Oreo lovers - let me share my absolute favorite cookie recreation with you! After countless attempts to capture that perfect chocolate-sandwich-cookie magic at home, I've finally cracked the code. My homemade version pairs crispy, dark chocolate cookies with the most heavenly vanilla buttercream filling. While they're not exactly like the store-bought kind, trust me - once you try these gourmet beauties, you may never go back to the package!
A Cookie Close to My Heart
You know how some cookies just bring back the best memories? That's Oreos for me (Double Stuff all the way!). I've spent years tweaking this recipe to get it just right. Recently, while planning my mom's retirement party with my brothers, I knew these had to be on the cookie platter - they're always the first to disappear!
Now, I'll be honest these aren't exact copycats of the original. Think of them as Oreos that grew up and got fancy! The cookies have that perfect dark, rich snap we all love, but the filling? It's softer, creamier, and tastes like real vanilla heaven. Every time I make them, my kitchen smells amazing and my family hovers around waiting for the first batch to cool!
More Cookie Love From My Kitchen
While these Oreo copycats have stolen my heart, let me share some other sandwich cookie favorites that are always hits in my house:
- My cream wafers (these might be my all-time favorite)
- The lemon sandwich cookies that remind me of summer
- Those fancy Linzer cookies that look like little jewels
- My dulce de leche sandwiches that taste like caramel dreams
- Maple cream cookies that make the house smell incredible
- And my pistachio shortbreads with dark chocolate filling that always impress at parties
Your Cookie Questions Answered
After sharing this recipe with so many friends, here are the questions I get asked most:
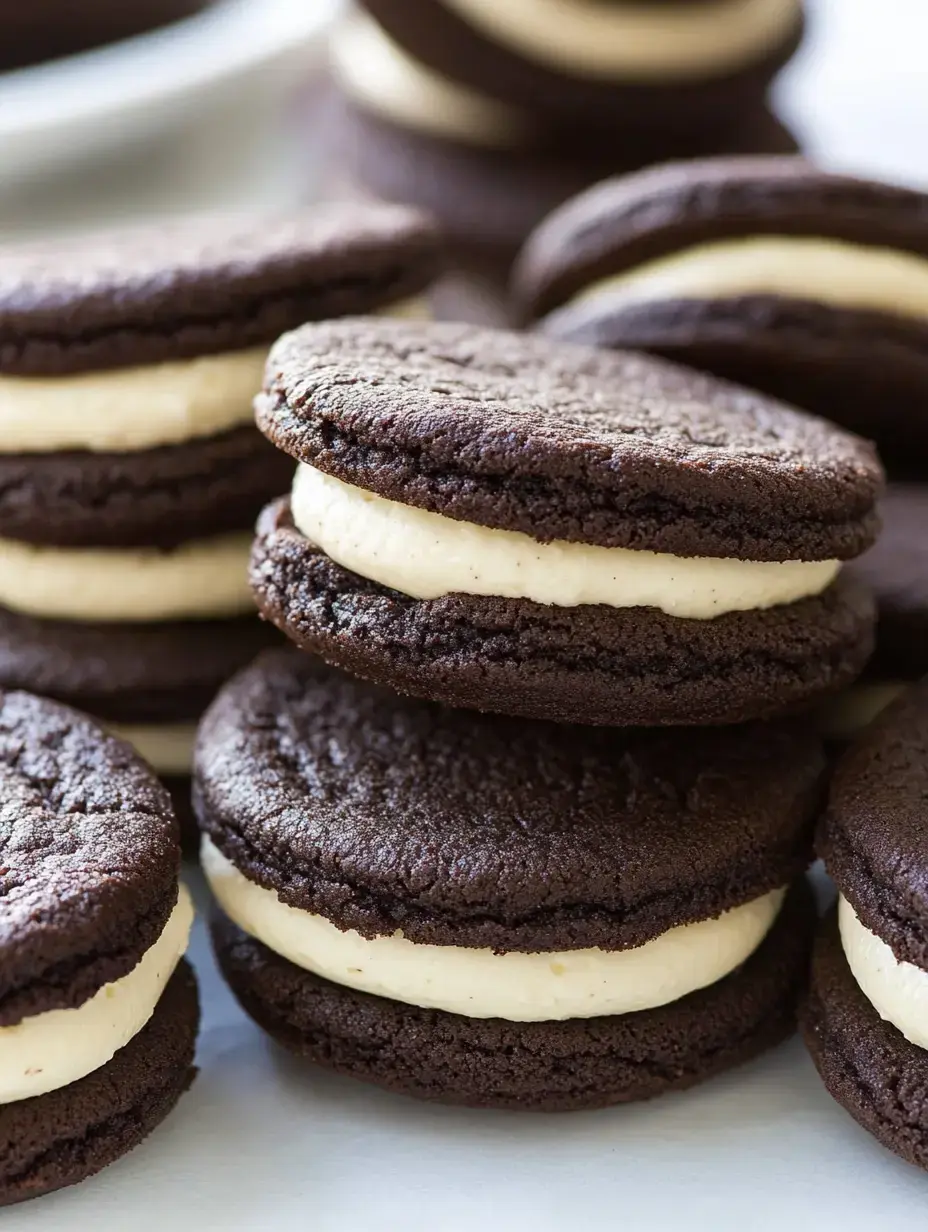
"What's in that amazing filling?" While store-bought Oreos use all sorts of ingredients I can't pronounce, we're keeping it simple and delicious with real butter, powdered sugar, pure vanilla, and just a pinch of salt. Trust me, it's better than the original!
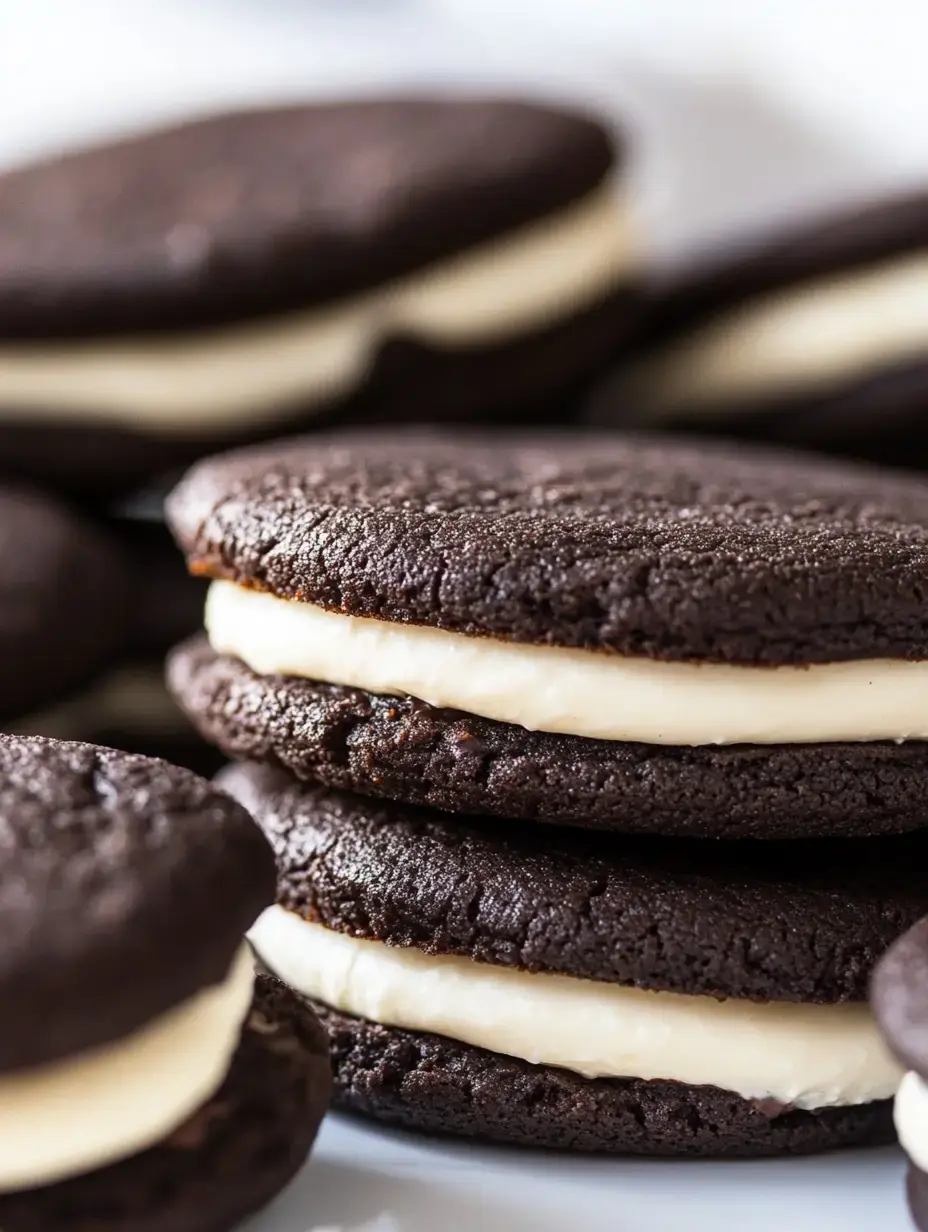
"How do you get them so dark?" The magic combo of dark brown sugar and cocoa powder gives us that perfect deep chocolate color. No food coloring needed!
"Can I make them ahead?" These beauties stay fresh for about a week at room temperature, but I love keeping them in the fridge for up to a month. They freeze beautifully too up to 3 months though they never last that long in my house!
 Pin it
Let's Start Baking
Don't let these fancy-looking cookies intimidate you! I've broken down every step to make it super easy. While they take a bit more time than drop cookies, the process is actually quite simple. Let me walk you through it!
First, grab your mixer. We're going to cream butter with both regular and brown sugars until they're light and fluffy this is so important for the texture!
Next comes the egg, then our dry ingredients: flour, cocoa (use the good stuff here!), salt, and baking soda. Mix these gently we don't want tough cookies!
Here's my favorite trick: divide the dough and roll it between parchment paper. Pop it in the fridge for about 35 minutes this makes cutting the circles so much easier!
While you're waiting, preheat your oven to 350°F time to get that heavenly chocolate smell going!
Cookie Cutting Time
Now for my favorite part! Once your dough is chilled, grab your 1½-inch round cutter (I use the rim of a small glass when I can't find my cutter!). Cut out those perfect little circles and place them on your parchment-lined baking sheet. Don't crowd them they need a little room to spread. Into the oven they go for 12-14 minutes. Your kitchen is about to smell amazing!
Creating Cookie Magic
While the cookies cool, let's make that dreamy filling! Start with your butter nice and soft beat it until it's light as air. Then add your powdered sugar gradually (trust me, I learned the hard way about adding it all at once!). A splash of milk, some pure vanilla, and a tiny pinch of salt make it absolutely perfect. Keep beating until it's fluffy and smooth this makes it so much easier to pipe!
Putting It All Together
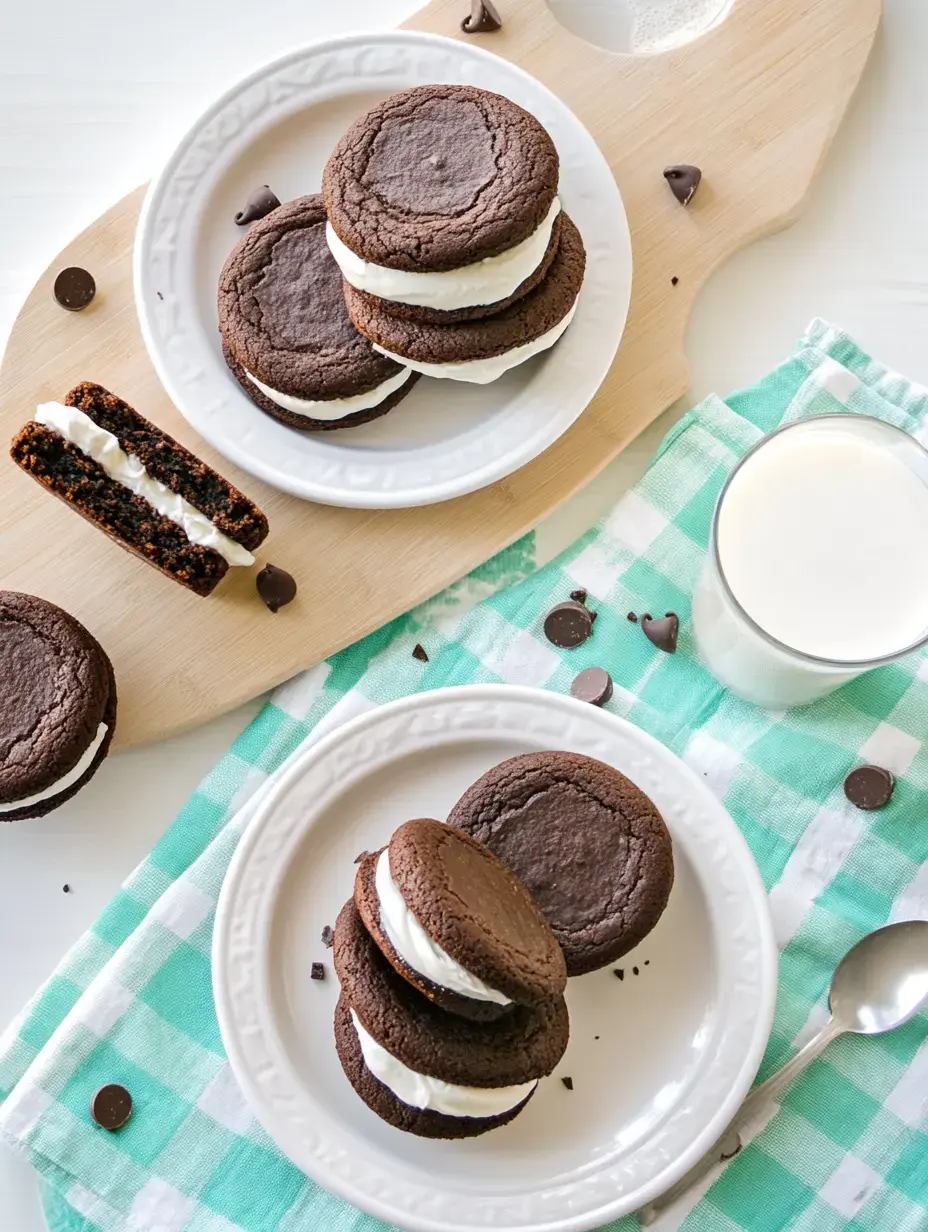
Here comes the best part assembling our cookies! I love using a piping bag with a round tip for neat filling, but honestly, a butter knife works just fine too. Add a generous dollop to one cookie bottom, then gently press another on top. Watch that filling spread to the edges pure perfection! I always make a few extra-stuffed ones for my kids they're definitely their father's children when it comes to loving more filling!
 Pin it
Fresh and Delicious
I keep my Oreos in a special cookie jar on the counter they stay perfectly crisp for about a week. Want them to last longer? Pop them in the fridge! They'll keep for nearly a month, though I've never actually seen them last that long in my house!
Planning Ahead
Here's a little secret I discovered: the dough actually gets even better after resting in the fridge for a day or two! The flavors develop beautifully, making your cookies taste even more amazing. I often make the dough ahead when I'm planning for parties or cookie swaps it's such a time-saver!
Cookie Party Star
These homemade Oreos have become my signature cookie at family gatherings. Something about that familiar look with an upgraded taste just makes everyone smile. Last Christmas, my niece helped make them for our cookie exchange, and now it's become our special tradition!
Simple Serving Ideas
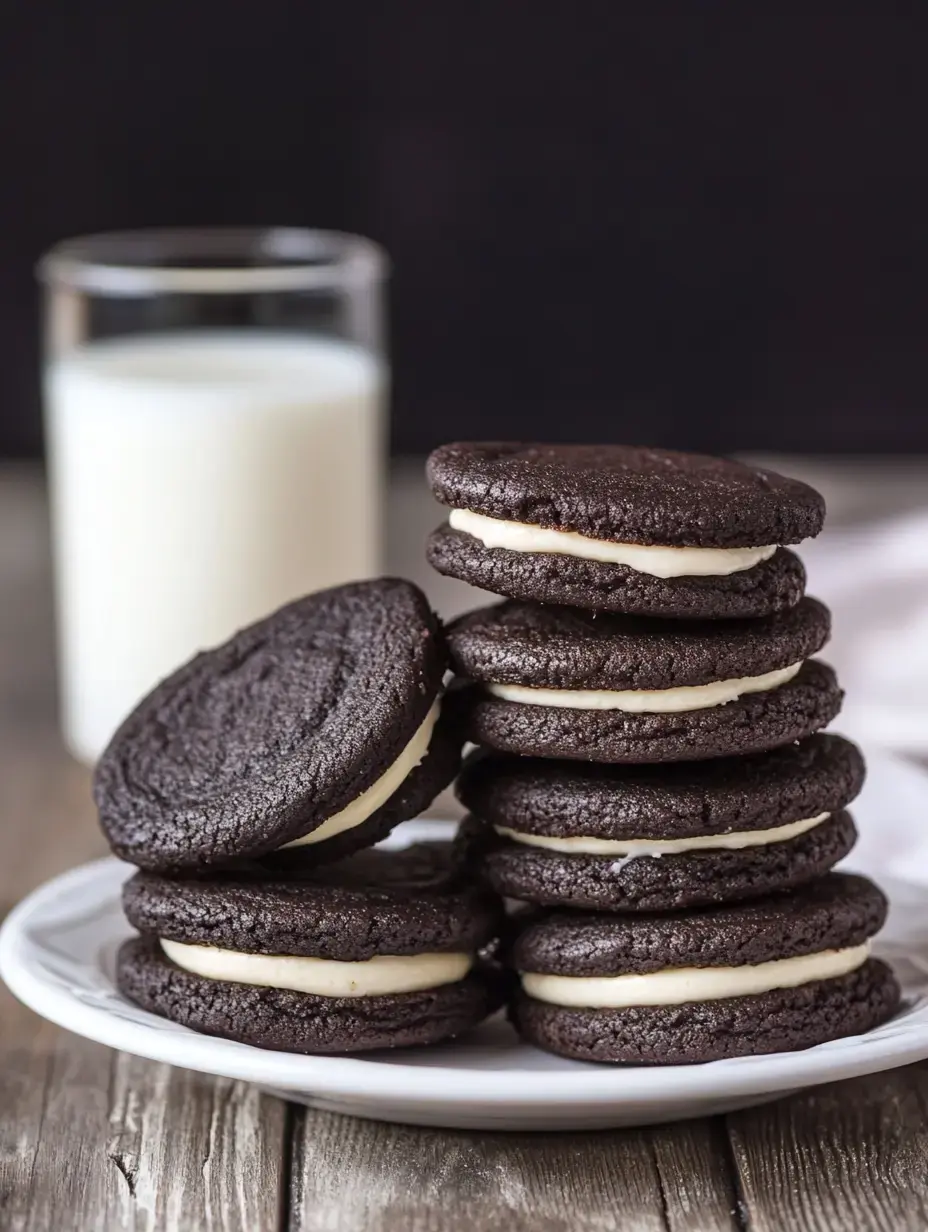
You already know about the classic milk and Oreos combo (still unbeatable!), but try these with your afternoon coffee or tea absolutely divine! I sometimes serve them alongside vanilla ice cream for dessert, and everyone goes crazy for them.
 Pin it
Make Them Your Own
Let's talk about some fun twists! Sometimes I add a tiny bit of peppermint extract to the filling at Christmas, or mix in some cinnamon for a Mexican chocolate vibe. My kids love when I fold crushed candy pieces into the filling. The possibilities are endless!
Texture Perfect
What makes these cookies extra special is that perfect contrast between crisp cookie and creamy filling. The chocolate cookies have just the right snap, while that buttercream center melts in your mouth. It's cookie harmony!
Sharing the Love
Need a thoughtful homemade gift? Package these in a pretty jar or box, tie with a ribbon, and watch faces light up! I made batches for my children's teachers last year, and they're still talking about them.
Any Time is Cookie Time
While these are perfect for special occasions, don't wait for one! I love making a batch on random weekends just because. There's something so special about enjoying a homemade Oreo with my afternoon tea or sharing them with neighbors who drop by.
 Pin it
What Makes These Special
The magic of these cookies isn't just in their taste it's in how they bring people together. Whether it's my kids helping to sandwich them together or friends gathering for coffee and cookies, these treats create moments worth remembering.
Easy Baking Success
Don't let the multiple steps intimidate you! This recipe is actually perfect for building your baking confidence. Take your time, follow the steps, and you'll be amazed at what you can create. I still remember my first batch they weren't perfect, but they were made with love!
Baking Joy
There's something so satisfying about recreating a childhood favorite from scratch. The smell of chocolate cookies baking, the fun of filling and sandwiching them together it's pure kitchen joy! Plus, knowing exactly what goes into them makes them even more special.
Let's Chat!
I'd love to hear how your homemade Oreos turn out! Did you try any fun variations? Share your stories and pictures they always make my day. And remember, even if they don't look perfect, they'll taste amazing. That's the beauty of homemade cookies!
 Pin it
Frequently Asked Questions
- → Why chill the dough?
Chilling firms up the dough making it easier to cut clean shapes. It also prevents cookies from spreading too much while baking.
- → Can I make these without a stand mixer?
Yes, a hand mixer works fine for both the cookies and filling. Just make sure your butter is properly softened.
- → How should I store these cookies?
Keep in an airtight container for 5-7 days at room temp, up to a month in the fridge, or 3 months in the freezer.
- → Can I reuse the dough scraps?
Yes, gather scraps, reroll between parchment, chill again, and cut more cookies. The dough can be rerolled several times.
- → What makes these cookies crispy?
Rolling the dough thin (1/8 inch) and baking until the edges start to brown creates the perfect crispy texture.
Conclusion
Learn how to create delectable homemade Oreo cookies with a perfect balance of crisp chocolate wafers and creamy vanilla filling. This recipe brings the classic sandwich cookie to life in your own kitchen.
