 Pin it
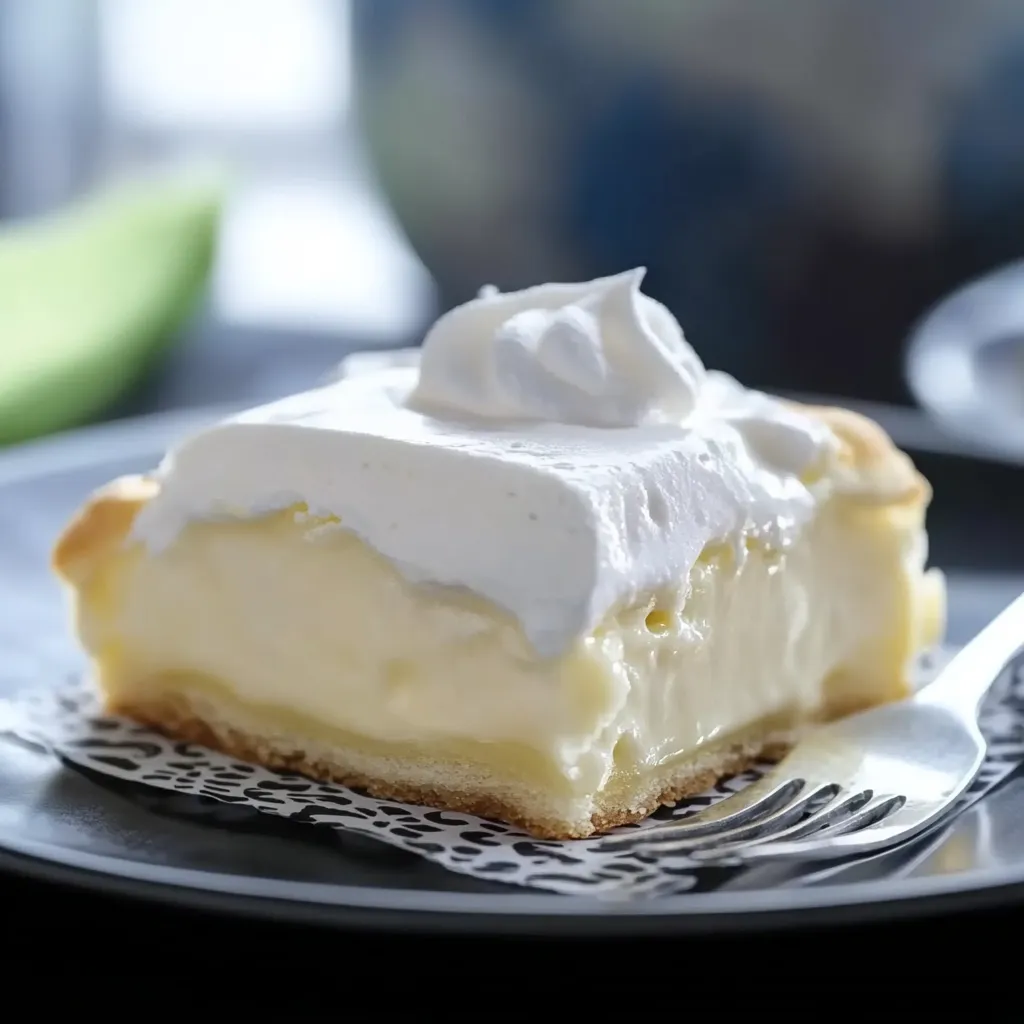
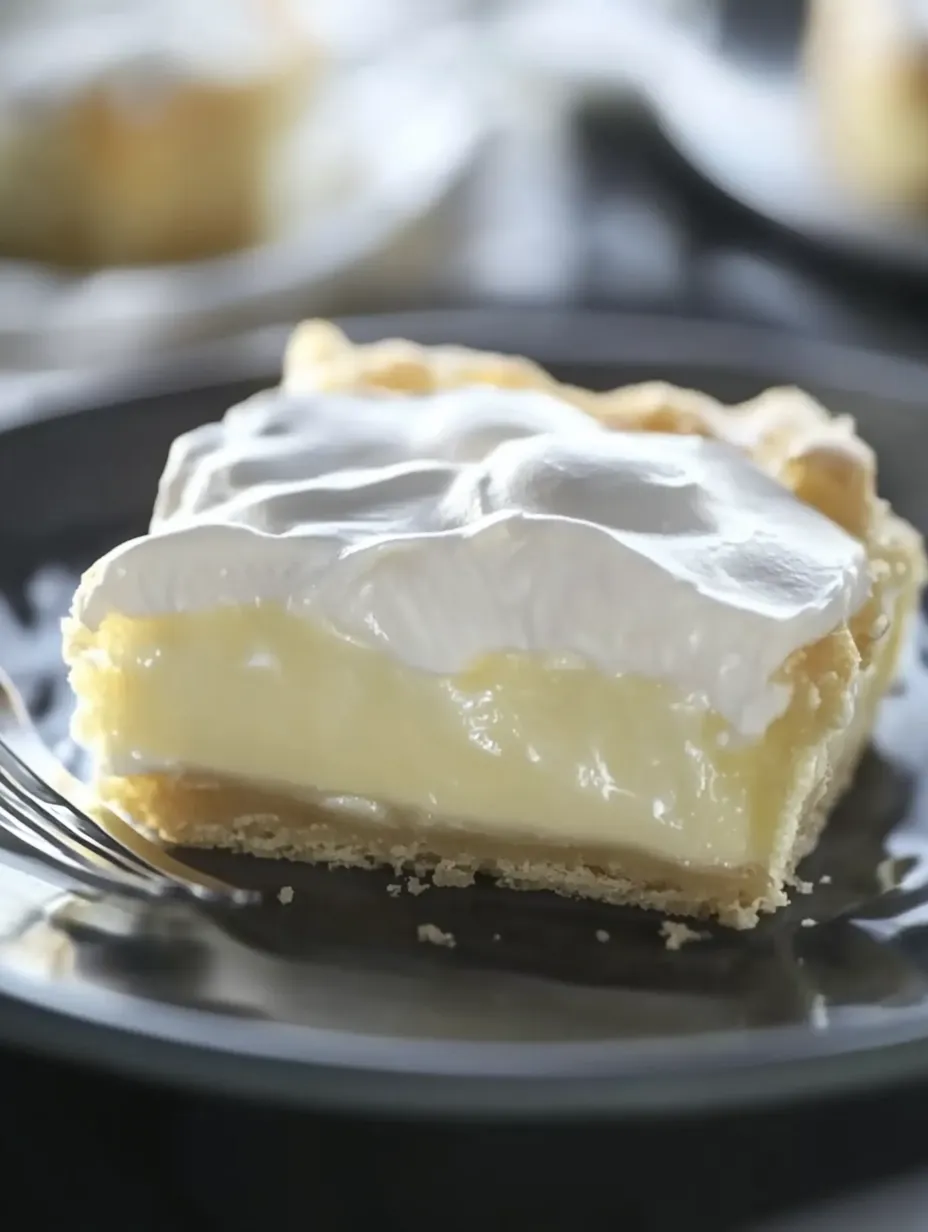
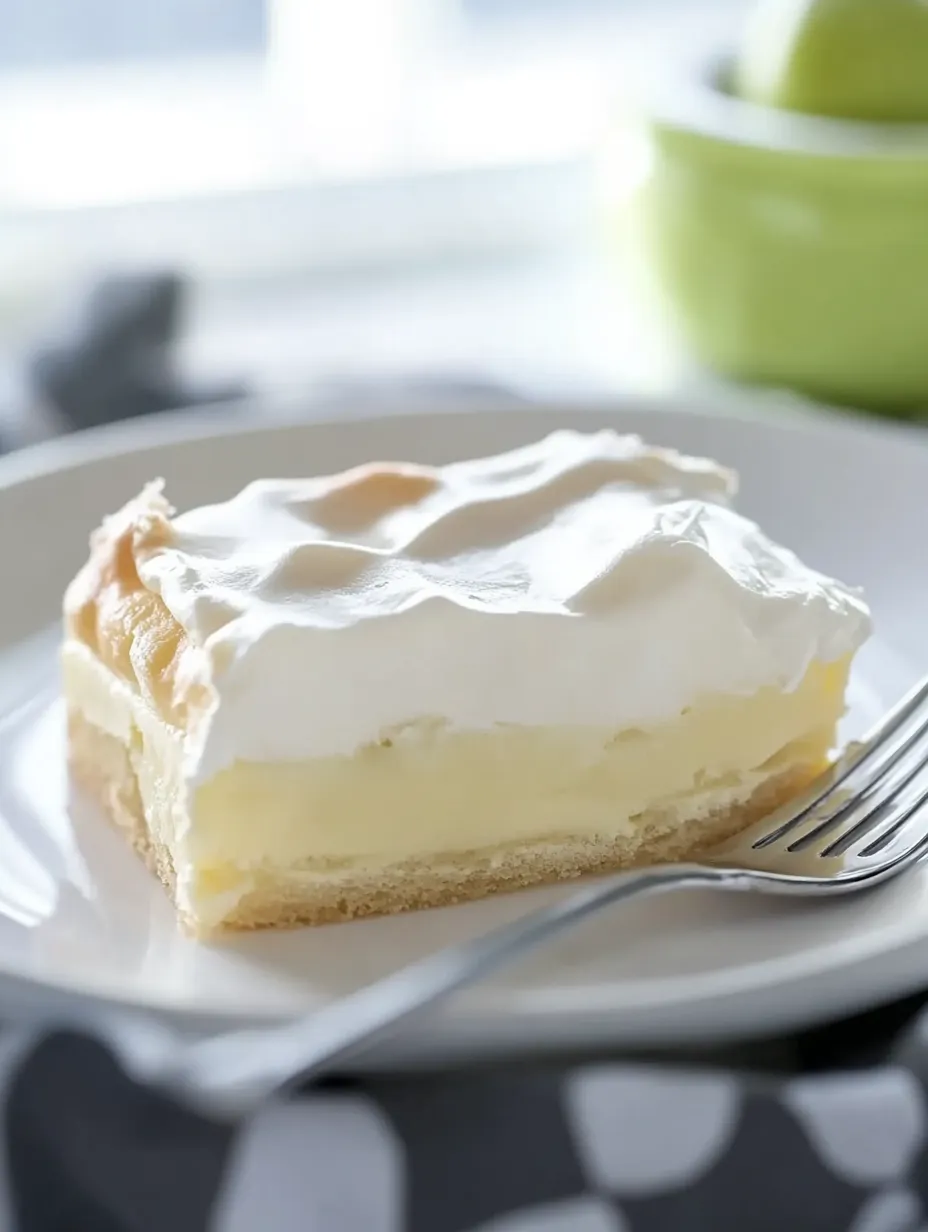
Imagine the delicate texture of a cream puff transformed into a luscious, sliceable dessert. This Cream Puff Cake features a soft, tender crust that puffs beautifully during baking, creating the perfect foundation for a creamy filling that melts in your mouth. The combination creates an impressive yet surprisingly simple dessert that bridges the gap between elegant and comforting—perfect for special occasions or whenever you crave something truly sublime.
I first encountered this magnificent creation at a small café where I worked as a waiter nearly two decades ago. Customers would specifically visit just for a slice of this cake, and after making it at home recently, all those memories came flooding back with the first bite. My family was initially skeptical about a "cream puff cake" but quickly changed their tune when the dessert disappeared in record time at our Sunday dinner.
Key Components
Pastry Base
- Water: Forms the foundation of the choux pastry, creating steam during baking that helps the crust rise and develop its signature texture
- Unsalted Butter: Contributes richness and flavor to the crust while the milk solids help create that beautiful golden color when baked
- All-Purpose Flour: Provides structure to the pastry while still allowing it to remain tender when mixed properly with the wet ingredients
Essential Structure
- Salt: Enhances all the flavors in the crust without making it taste salty, creating depth that balances the sweetness of the filling
- Eggs: Create the magic in choux pastry, providing protein structure that traps steam and allows the dramatic rise during baking while contributing richness
- Baking Spray: Though technically not an ingredient, this prevents sticking and makes serving much easier while protecting your beautiful creation
 Pin it
Creamy Filling
- Cream Cheese: Adds tanginess and structure to the filling, preventing it from being overly sweet while creating a silky mouthfeel
- Instant Vanilla Pudding: Provides flavor and stability to the filling, making it sliceable while offering that classic vanilla comfort
- Milk: Activates the pudding mix and creates the perfect consistency when combined with cream cheese
Finishing Touch
- Whipped Topping: Creates a cloud-like finish that lightens the entire dessert visually and texturally, making each bite feel like floating on air
Baking Method
Preparation Stage
Begin your baking adventure by preheating your oven to 350 degrees Fahrenheit, ensuring it reaches the proper temperature before your cake goes in. Take a 9×13-inch baking pan and spray it thoroughly with baking spray, making sure to coat the sides as well as the bottom to prevent any sticking issues later.
Pastry Creation
In a medium saucepan, pour water and bring it to a rolling boil over medium-high heat. Add butter to the boiling water and wait until it returns to a boil, watching as the butter melts completely into the water. Remove this mixture from heat immediately once boiling resumes to prevent any burning or separation.
 Pin it
Dough Formation
Add flour and salt to your hot liquid mixture all at once, stirring vigorously with a wooden spoon until everything comes together into a cohesive ball that pulls away from the sides of the pan. This rapid transformation is the first magic moment in creating your cream puff base.
Egg Incorporation
Transfer your dough ball to the bowl of a stand mixer equipped with the paddle attachment while still warm. Begin adding eggs one at a time, allowing each egg to fully incorporate before adding the next. This patience ensures a smooth, consistent texture throughout your pastry dough without any streaking or separation.
Texture Development
After adding all eggs, increase mixer speed to high and let it work for a full 4-5 minutes. This extended mixing develops gluten structure while incorporating air, both crucial for proper rising during baking. The dough should transform from stiff and paste-like to smooth and slightly glossy.
Pastry Spreading
Scrape your prepared dough into your waiting baking dish, noticing its thick, almost pudding-like consistency. Lightly spray your fingertips with baking spray to prevent sticking, then gently press the dough into an even layer across the bottom of your pan, paying special attention to the corners.
Baking Perfection
Place your pan in the preheated oven and bake for 20-25 minutes, resisting the urge to open the oven door during this time. Watch through the window as the magic happens—the dough will dramatically puff and rise, especially around the edges, creating a beautiful crater for your filling.
Cooling Process
Remove your baked crust from the oven and marvel at its golden color and dramatic shape. Allow it to cool completely to room temperature, during which time it will settle slightly but maintain its raised edges and slight depression in the center—the perfect vessel for your filling.
The first time I made this cake, I panicked when I saw how dramatically it rose in the oven, thinking something had gone terribly wrong. My daughter peeked through the oven window and exclaimed it looked like the cake was trying to escape! We laughed when it settled perfectly during cooling, creating that ideal hollow center. Now that momentary rise is something we look forward to watching with each batch.
Filling Creation
Transform simple ingredients into an extraordinary filling by whisking together instant vanilla pudding and cold milk until it begins to thicken. This quick-setting mixture forms the foundation of your cream layer, providing both structure and classic vanilla flavor that complements the pastry perfectly.
While your pudding sets, beat cream cheese in your stand mixer until completely smooth and free of any lumps. This initial beating is essential for a silky final texture, so give it the full 3-4 minutes to develop proper lightness and eliminate any graininess that might detract from the luxurious mouthfeel.
Combine your prepared pudding with the whipped cream cheese, beating for another 3-4 minutes until completely integrated. The resulting filling should be smooth, luscious, and hold soft peaks when the beater is lifted. This extended mixing incorporates air into the mixture, creating a lighter texture that balances the richness of the ingredients.
Perfect Assembly
Spread your cream filling carefully over the cooled crust, working from the center outward to avoid tearing the delicate pastry base. The filling should completely fill the natural depression in your crust, creating a level surface across the entire dessert. Use an offset spatula for the smoothest results and most professional appearance.
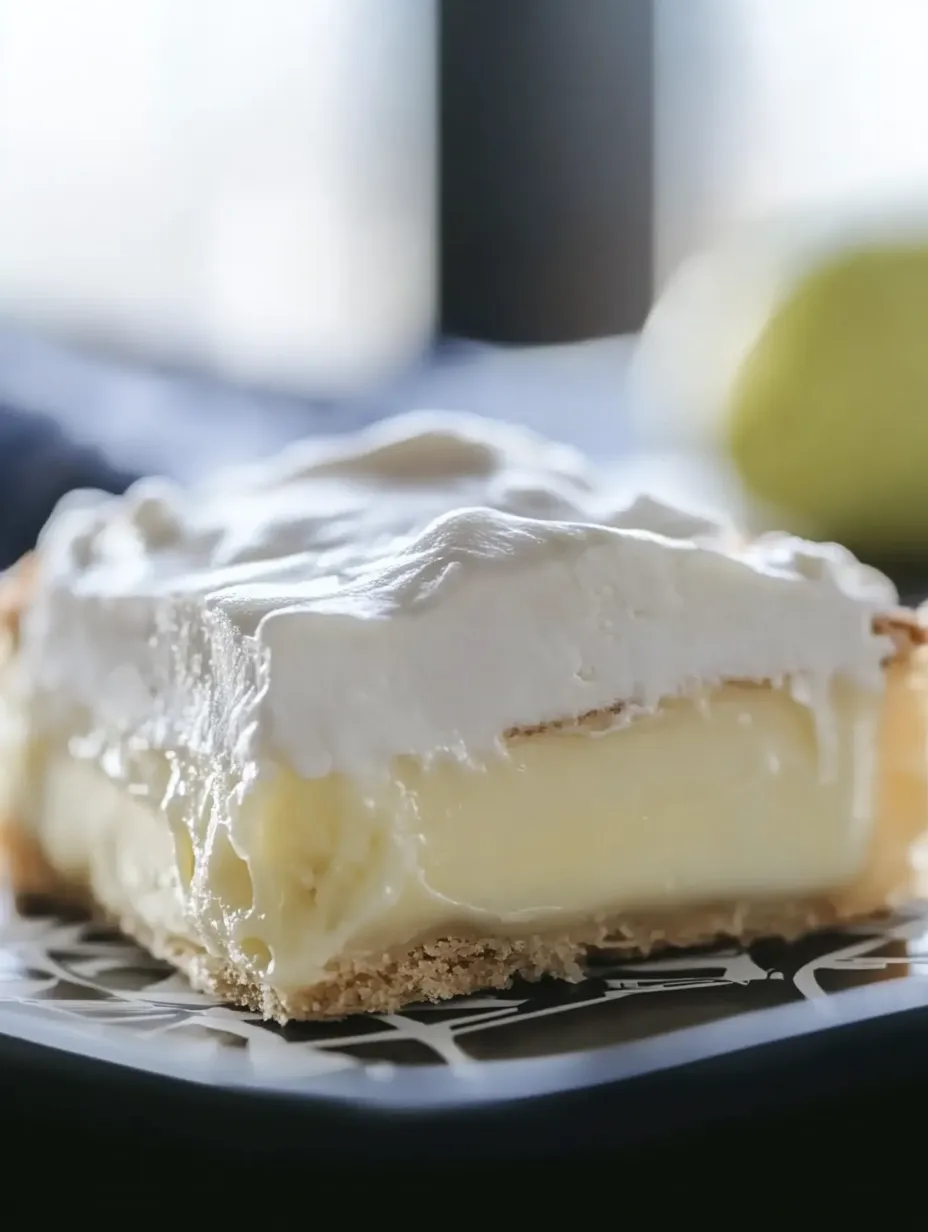
Top your filled cake with a generous layer of whipped topping, spreading it all the way to the edges to seal in the cream filling completely. This protective layer keeps everything fresh while adding visual appeal and textural contrast to each bite. Create decorative swirls with your spatula for an extra touch of elegance.
Refrigerate your assembled cake for at least 2-3 hours before serving, though overnight chilling yields the best results. This resting time allows flavors to meld while the filling firms up to the perfect sliceable consistency. The patience required here pays tremendous dividends in the final texture and flavor integration.
Perfect Pairings
Create a stunning dessert table by serving this cake alongside fresh seasonal berries. The bright acidity of strawberries, blueberries, or raspberries cuts through the richness of the cream filling, creating a beautiful flavor balance. A small dish of extra berries allows guests to add their own fruity garnish to each slice.
Consider offering a warm chocolate sauce for drizzling over individual servings. The contrast between the cool, creamy cake and warm, rich chocolate creates a sensory experience that elevates this already special dessert to restaurant quality. The chocolate also adds visual appeal with its dramatic drizzle pattern across the white topping.
For coffee lovers, pair slices with small cups of espresso or cappuccino. The bitter notes in the coffee complement the sweet, vanilla-scented cake, cleansing the palate between bites and extending the enjoyment of each serving. This combination makes for an especially sophisticated conclusion to dinner parties.
Flavor Twists
Experiment with different pudding flavors to completely transform this versatile dessert. Chocolate pudding creates a rich, cocoa-infused filling that delights chocolate lovers, while lemon pudding offers a bright, citrusy twist perfect for summer gatherings. The pastry base works beautifully with virtually any flavor profile.
Create a mocha version by dissolving 1 tablespoon of instant espresso powder in 1 tablespoon of hot water, then cooling and mixing into the filling. Top with chocolate shavings for a coffee-shop inspired dessert that makes an impressive finish to dinner parties. The slight bitterness of coffee enhances the sweetness of the cream.
For special occasions, incorporate 1/4 cup of your favorite liqueur into the filling mixture. Amaretto, Grand Marnier, or Kahlúa each add sophisticated flavor notes that transform this homey dessert into something celebration-worthy. Remember that the alcohol flavor intensifies as the cake chills, so start with a light hand.
Storage Secrets
Keep your cake perfectly fresh by storing it in the refrigerator, covered tightly with plastic wrap. The cake will maintain its best quality for 3-4 days, though the crust gradually softens further as it sits. Many fans actually prefer this softened texture that develops on the second or third day.
Prepare individual portions for convenient future enjoyment by cutting the chilled cake into squares and freezing them on a baking sheet until solid. Transfer frozen pieces to a container with parchment paper between layers, where they'll keep beautifully for up to one month. Thaw in the refrigerator overnight before serving.
Refresh slightly older cake by adding a fresh fruit topping just before serving. Sliced strawberries, peaches, or kiwi not only add nutritional value but also bring new life to the dessert with their bright flavors and colors. A light dusting of powdered sugar over the fruit creates a professional-looking finish.
 Pin it
I remember the first time I served this cake at a family gathering after rediscovering the recipe. My aunt, who rarely comments on desserts, took one bite and immediately asked for the recipe. What makes this cake so special isn't just its delicious taste but how it connects people through shared enjoyment. When I make it now, I think of that little café where I first discovered it, all the customers who loved it then, and how it continues to create new memories around my own table. Some recipes are more than just food—they're time machines that connect us across decades through the universal language of something delicious.
Frequently Asked Questions
- → Why did my crust puff up unevenly?
- This is normal! The choux pastry naturally puffs, especially at the edges. It will create a perfect base once the filling is added.
- → Can I make this ahead of time?
- Yes, this dessert is actually better when made a day ahead. It gives the flavors time to meld and the textures to set perfectly.
- → How do I store leftovers?
- Keep it covered in the refrigerator for up to 3 days. The choux base may soften over time but will still taste delicious.
- → Can I use homemade whipped cream instead of Cool Whip?
- Yes, but whip it with a little sugar and stabilize with 1/2 teaspoon gelatin for the best results and to prevent weeping.
- → Can I add different flavors to this cake?
- Absolutely! Try different pudding flavors like chocolate or lemon, or add extract to the cream cheese layer for variety.
