
 Pin it
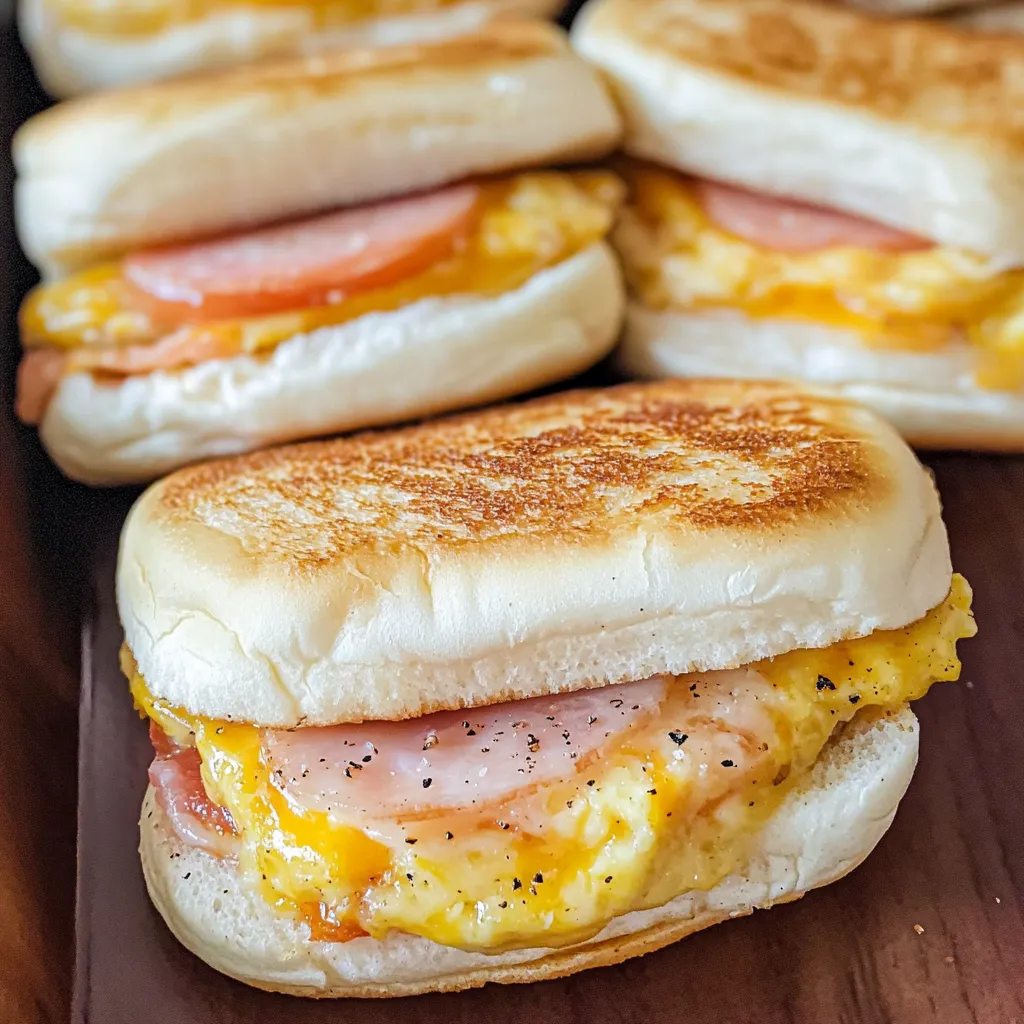
This hearty make-ahead breakfast sandwich recipe has become my secret weapon for busy mornings when we need a quick yet satisfying start to the day. I discovered this time-saving technique when juggling early work commutes with getting the kids to school, and now our freezer is never without a batch ready to go.
I originally created these sandwiches during a particularly chaotic week of early morning commitments, and they've since become a family tradition before camping trips. My teenagers can now heat them up themselves on school mornings when I'm still half asleep.
Ingredients
- Eggs: Large eggs create a fluffy base for these sandwiches and provide essential protein to start your day
- Milk: Adds moisture and richness to the egg mixture resulting in a more tender texture
- Sour cream: The secret ingredient that makes the eggs incredibly creamy and adds a subtle tang
- Sea salt: Enhances all the flavors without making the eggs taste salty
- Black pepper: Adds a mild heat that complements the creamy eggs perfectly
- Mozzarella cheese: Melts beautifully into the eggs creating pockets of gooey goodness throughout
- English muffins: The perfect size and texture to hold everything together. Look for ones with nooks and crannies for texture
- Unsalted butter: Creates a golden crispy exterior on the English muffins and adds rich flavor
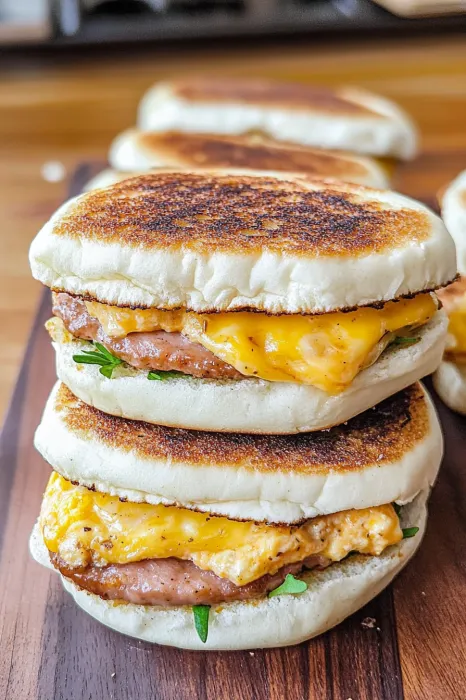
- Monterey Jack cheese: Mild yet flavorful and melts beautifully. Choose slices thick enough to provide a good cheese pull
- Black Forest ham: Adds savory protein and pairs wonderfully with the eggs. Choose quality ham from the deli counter for best results
Step-by-Step Instructions
- Create the Egg Base:
- Thoroughly whisk together eggs, milk, sour cream, salt and pepper until completely combined with no streaks of egg white visible. Fold in mozzarella cheese evenly throughout the mixture. Pour into a well-buttered 9x13 casserole dish, ensuring an even layer. Bake at 350°F for precisely 18-20 minutes until the top is set but still has a slight jiggle in the center. The eggs will continue cooking briefly after removal from oven. Allow to cool for 15 minutes before cutting.
- Toast the English Muffins:
- Split all English muffins with a fork rather than a knife to preserve their nooks and crannies. Generously butter the cut sides of each half. Arrange them cut-side up on a baking sheet with space between each piece. Broil for 2-3 minutes, watching carefully as they can burn quickly. You want a golden brown surface with lightly crisp edges but still soft in the middle. Remove and allow to cool slightly.
- Assemble the Sandwiches:
- Start with the bottom half of each English muffin placed on a clean work surface. Position a square or circle of the baked egg mixture centered on each base. Layer one slice of Monterey Jack directly on the warm egg to encourage slight melting. Add two slices of ham, folded to fit the English muffin's circumference. Complete each sandwich by placing the toasted top half of the English muffin.
- Package for Freezing:
- Immediately wrap each assembled sandwich tightly in plastic wrap, ensuring no areas are exposed to prevent freezer burn. Press out any air bubbles as you wrap. Place wrapped sandwiches in a large freezer bag, removing excess air before sealing. Label with the date and contents before storing in the freezer for up to two months.
 Pin it
The sour cream in this recipe was actually a happy accident when I ran out of milk one morning and needed to improvise. That small addition completely transformed the texture of the eggs, making them impossibly fluffy and rich. Now my family notices immediately if I try to skip it.
Customizing Your Breakfast Sandwiches
These breakfast sandwiches were designed to be endlessly customizable based on your family's preferences. Try swapping the ham for crispy bacon, breakfast sausage patties, or even sliced avocado for a vegetarian option. The cheese can be changed to sharp cheddar, pepper jack for a spicy kick, or Swiss for a more subtle flavor. You can also add vegetables to the egg mixture like sautéed spinach, bell peppers, or caramelized onions. Just make sure to cook and drain any watery vegetables before adding them to prevent soggy sandwiches.
 Pin it
Perfect For Meal Prep Beginners
If you're new to meal prepping, these breakfast sandwiches are the perfect starter recipe. The process is straightforward and requires minimal specialized equipment. The biggest advantage is the immediate time savings you'll experience on busy mornings. Consider making a double batch your first time so you can experiment with different reheating methods to find your preference. Some family members might prefer a slightly less warmed center while others want their sandwich piping hot throughout. Adjust microwave times accordingly once you learn everyone's preferences.
Camping And Travel Tips
We discovered these make the perfect camping breakfast when we were tired of the usual granola and oatmeal options. For camping trips, I thaw the sandwiches overnight in our cooler and then reheat them in heavy-duty foil over the morning campfire. The slight smokiness from the fire adds an amazing flavor you can't get at home. They're also excellent for road trips when packed in a small cooler. Just request to use the microwave at a convenience store or rest stop if you want them heated. My children now associate these sandwiches with our family adventures, making them both practical and sentimental.
Frequently Asked Questions
- → Can I use a different type of cheese?
Yes, you can substitute your favorite cheese, such as cheddar, provolone, or Swiss, for unique flavor variations.
- → How can I reheat these sandwiches?
You can microwave directly from frozen, thaw overnight and reheat in the microwave, or warm over a grill or campfire.
- → What are some alternative fillings for the sandwiches?
You can use bacon, sausage, turkey, or vegetarian options like roasted vegetables or avocado slices.
- → How long can these sandwiches be stored in the freezer?
They can be frozen for up to two months if wrapped tightly and stored in a freezer-safe bag.
- → Can I make these sandwiches gluten-free?
Yes, simply use gluten-free English muffins or bread to assemble the sandwiches.