 Pin it
These Polar Bear Cookies started as a fun baking project with my grandkids last winter and quickly became our favorite holiday tradition. The combination of soft cream cheese cookies topped with fluffy buttercream frosting creates the sweetest little bears you've ever seen. My kitchen fills with laughter every time we decorate them adding chocolate chip noses sprinkle eyes and sparkly sugar fur. Watching my grandchildren's faces light up as they create their own polar bears makes all the powdered sugar mess completely worth it.
The Perfect Holiday Cookie
The secret to these cookies is the cream cheese in the dough. It makes them incredibly soft and gives them just a hint of tanginess that pairs beautifully with the sweet buttercream frosting. I love how they hold their shape when baked so each bear stays perfectly round and adorable. After years of making these with my family we've discovered endless ways to decorate them making each batch unique and special.
Why My Family Loves These
Every winter gathering at our house includes these polar bear cookies. They've earned their spot as the centerpiece of our dessert table always drawing smiles and amazement from guests. My granddaughter insists on making them for her school bake sales and they sell out within minutes. The cream cheese gives them such a unique flavor everyone asks for the recipe. Plus decorating them together has become one of our most cherished family activities.
Kitchen Essentials
Before we start gather your mixing bowls rolling pin and cookie cutters. I use round cutters a large one for faces and small ones for ears but honestly any size works fine. Line your baking sheets with parchment paper or silicone mats I prefer silicone for even baking. Don't forget your piping bags with medium round tips for the frosting details. After making these countless times I've found having everything ready makes the process so much smoother.
 Pin it
Creating the Cookie Magic
Start by creaming your softened butter and cream cheese together until smooth. Add the sugar and beat until it's light and fluffy this usually takes about three minutes in my stand mixer. Mix in your egg and vanilla then gradually add the dry ingredients. The dough will be soft but don't worry that's exactly what we want. Divide it in half wrap it up and let it chill for at least two hours. I often make the dough the night before when I'm planning a baking day with my grandkids.
Making Our Bear Faces
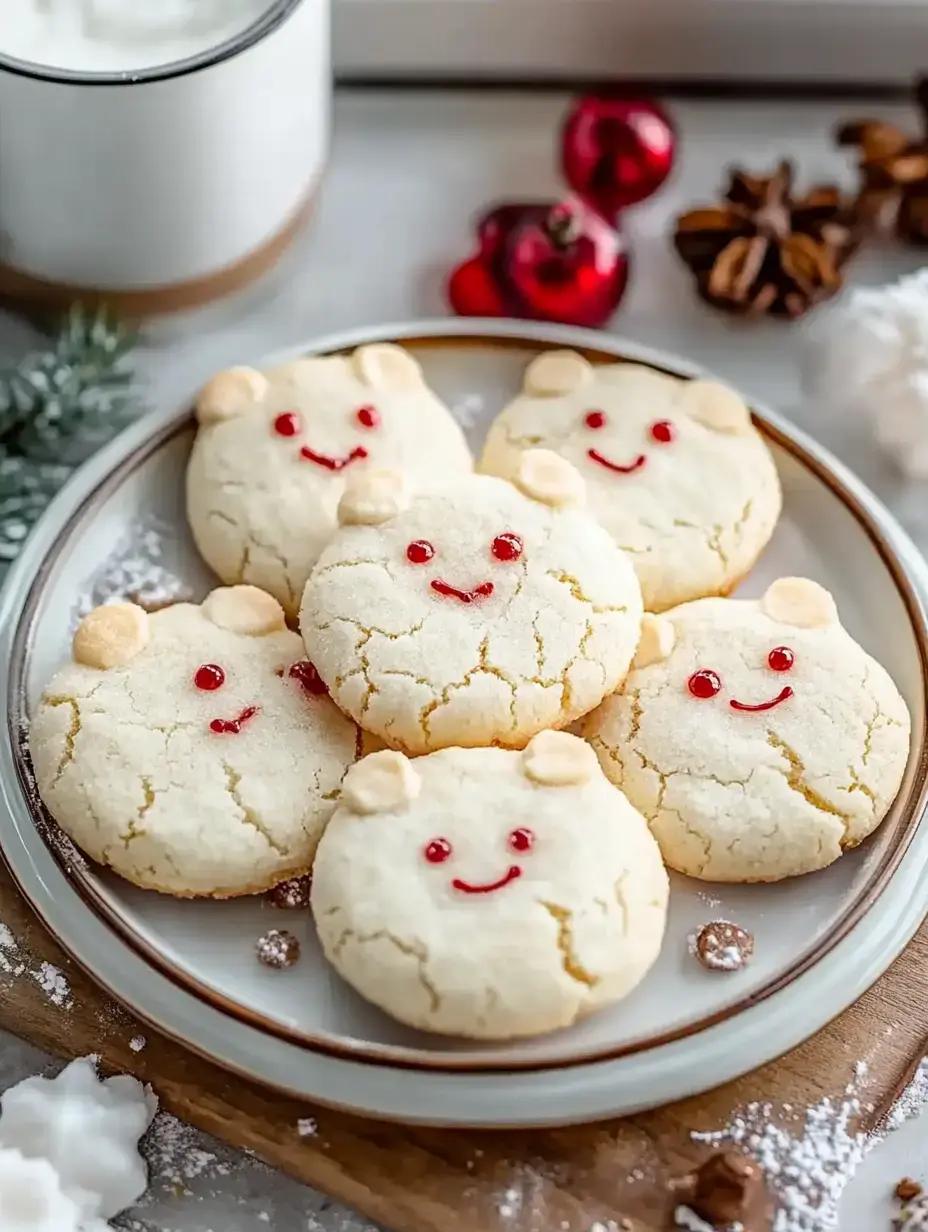
Once your dough has chilled heat your oven to 350°F. Roll out the dough on a lightly floured surface about a third inch thick. Cut out your circles for faces and smaller ones for ears. My granddaughter loves this part especially attaching the tiny ear circles to the tops of our bear faces. Place them on your prepared baking sheets and pop them back in the fridge for 15 minutes. This extra chill time keeps them from spreading and helps them stay perfectly round.
Time to Bake
Watch these little bears carefully while they bake usually 12 to 14 minutes is perfect. You want the edges to be just set but not brown. Let them rest on the baking sheet for about 5 minutes before moving them to a cooling rack. My kitchen smells absolutely heavenly at this point and the kids always gather around waiting to start decorating.
Making Our Buttercream
While the cookies cool let's make the frosting. Beat your room temperature butter until it's creamy then mix in the vanilla and salt. Gradually add your powdered sugar alternating with splashes of heavy cream. Keep mixing until it's light and fluffy. The key is getting it just right for piping not too stiff but not too soft. I've made this frosting so many times I can tell by look when it's perfect.
Decorating Our Bears
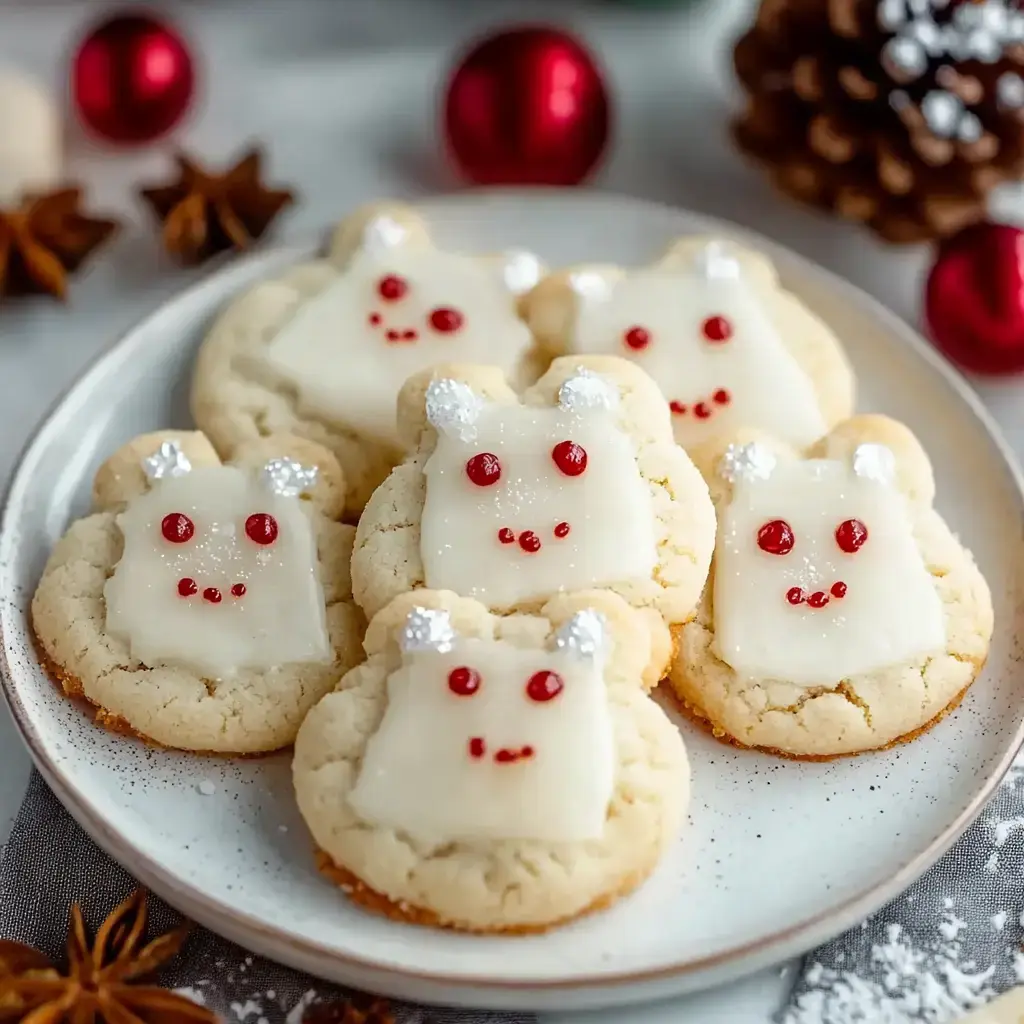
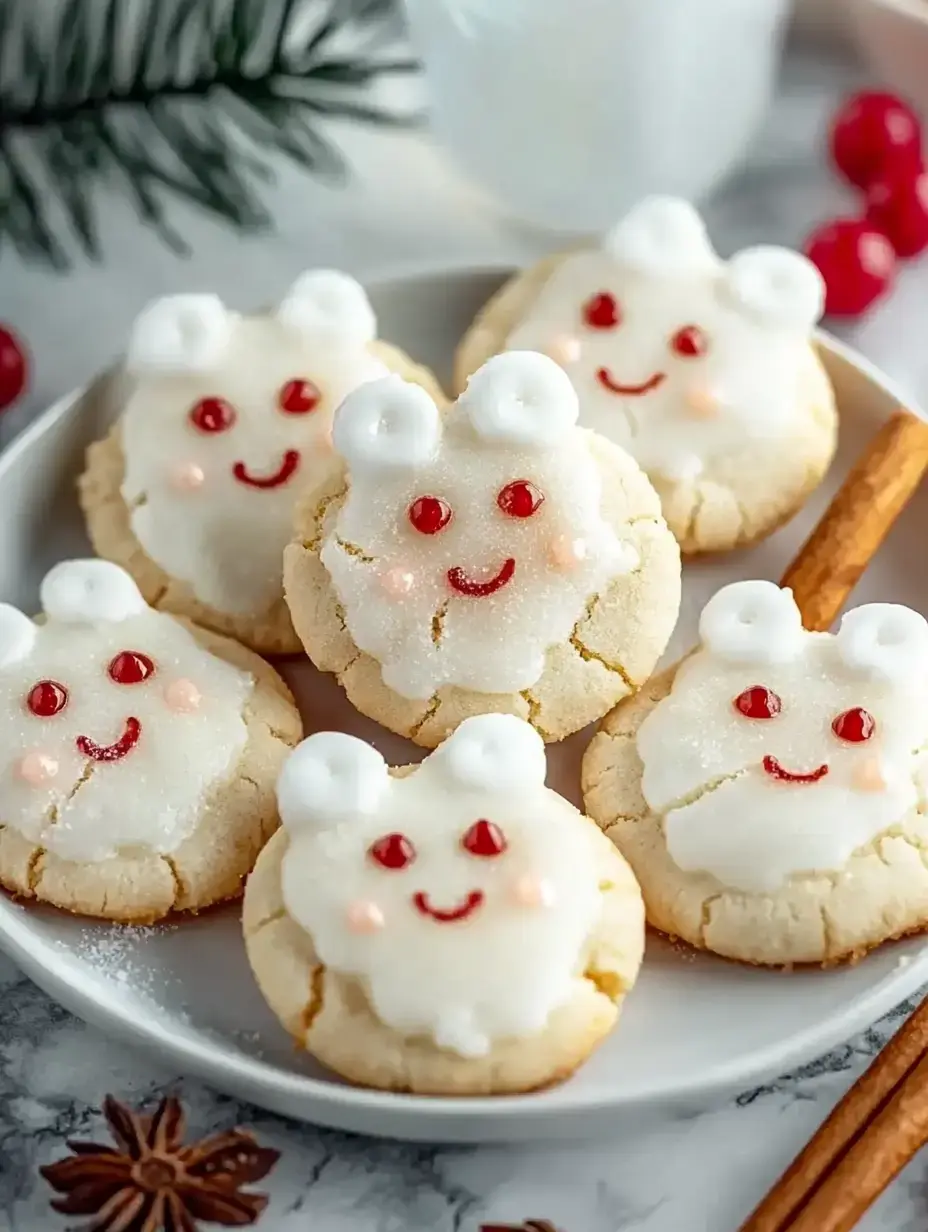
This is where the real fun begins. Start by spreading or piping a thin layer of buttercream on each cookie then dip them in white sanding sugar. This gives them that perfect fluffy polar bear look. Add a little frosting muzzle then place a chocolate chip for the nose. Black sprinkles make the sweetest eyes and pink ones give them rosy cheeks. Each bear ends up with its own personality which is what makes them so special.
Making Perfect Bears Every Time
After making hundreds of these cookies I've learned a few tricks. Always chill your dough well it makes such a difference in keeping their shape. Take them out of the oven when they're just set they'll continue cooking a bit on the hot pan. Add your sanding sugar while the frosting is still wet so it sticks perfectly. And most importantly have fun with the decorating there's no wrong way to make these bears.
Keeping Your Bears Fresh
Store your finished bears in an airtight container they'll stay fresh for about two days at room temperature. If you need them to last longer pop them in the fridge for up to five days. Just remember to let them come to room temperature before serving. You can even freeze the unfrosted cookies for up to a month perfect for getting ahead during the busy holiday season.
Sweet Notes From My Kitchen
Every time I make these cookies they bring back sweet memories of winter afternoons spent baking with my family. They've become such a special part of our holiday traditions showing up at cookie swaps family gatherings and classroom parties. I hope they bring as much joy to your kitchen as they've brought to mine. Remember each bear is unique just like the hands that decorated it.
 Pin it
Frequently Asked Questions
- → Why do I need to chill the dough?
Chilling the dough prevents spreading during baking and makes it easier to cut shapes. Cold dough helps maintain the polar bear details and ensures crisp edges.
- → Can I make these cookies ahead of time?
You can make the dough and freeze it for up to 3 months, or bake the cookies and store them unfrosted. Decorated cookies stay fresh for 2 days at room temperature or 5 days in the fridge.
- → Why use cream cheese in the dough?
Cream cheese makes the cookies extra soft and adds a subtle tang to balance the sweetness. It also helps create a tender, melt-in-your-mouth texture.
- → Can I freeze decorated cookies?
While you can freeze the plain cookies, freezing decorated ones may damage the frosting and decorations. It's best to store decorated cookies in the fridge.
- → What if I don't have sanding sugar?
Regular granulated sugar can work for the furry texture, though it won't be as sparkly. You can also use shredded coconut for a different look.
Conclusion
Polar bear cookies are a delightful festive treat that combines the softness of cream cheese sugar cookies with creative buttercream decoration. Perfect for holiday gatherings and family baking activities, these cookies are as fun to make as they are to eat.
