
 Pin it
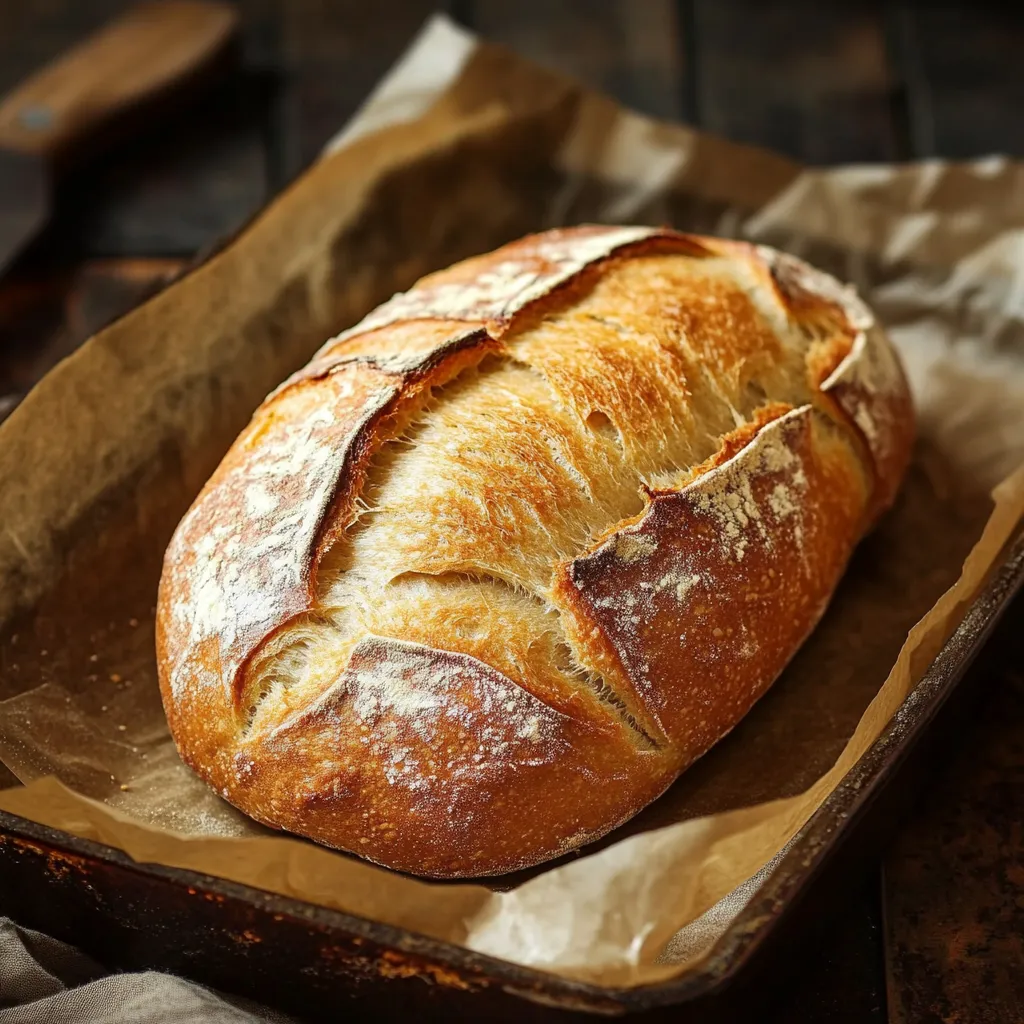
This homemade bread recipe has revolutionized my weeknight dinner routine by delivering warm, fresh-baked goodness in just 20 minutes. No kneading, no rising time, yet you'll enjoy a satisfying loaf with a tender crumb that pairs perfectly with soups, salads, or simply slathered with butter.
I developed this recipe during a particularly chaotic week when I needed homemade bread but had zero time for traditional methods. My family was shocked that something so quick could taste so genuinely delicious, and it's now our go-to solution for impromptu dinner guests.
Ingredients
- All purpose flour: Provides the perfect structure for this quick bread without needing special bread flour
- Baking powder: Creates the lift typically provided by yeast in traditional bread recipes
- Salt: Enhances all the flavors and balances the subtle sweetness
- Milk: Adds richness and creates a tender texture in the finished loaf
- Honey: Contributes gentle sweetness while helping achieve that golden brown crust
- Melted butter: Enriches the bread with flavor and keeps it moist for days
Step-by-Step Instructions
- Prepare Your Equipment:
- Start by preheating your oven to 375°F and thoroughly greasing your loaf pan. The proper temperature is crucial for the quick rise of this yeastless bread, so allow at least 10 minutes for your oven to fully preheat. I recommend using butter to grease the pan as it adds a subtle flavor to the crust.
- Mix Dry Ingredients:
- In a large bowl, whisk together the flour, baking powder, and salt until evenly distributed. This uniform distribution ensures your bread will rise evenly without pockets of baking powder. Use a fork or whisk rather than a spoon to incorporate air and break up any clumps in the flour.
- Combine Wet Ingredients:
- In a separate bowl, stir together the milk, honey, and melted butter until completely integrated. The honey should fully dissolve into the warm milk mixture. Make sure your butter has cooled slightly before adding to prevent curdling the milk.
- Create The Batter:
- Pour the wet ingredients into the dry ingredients all at once and stir with a wooden spoon or spatula using gentle folding motions. Stop mixing as soon as no dry flour remains visible. Overmixing will develop gluten and result in a tougher loaf.
- Bake To Perfection:
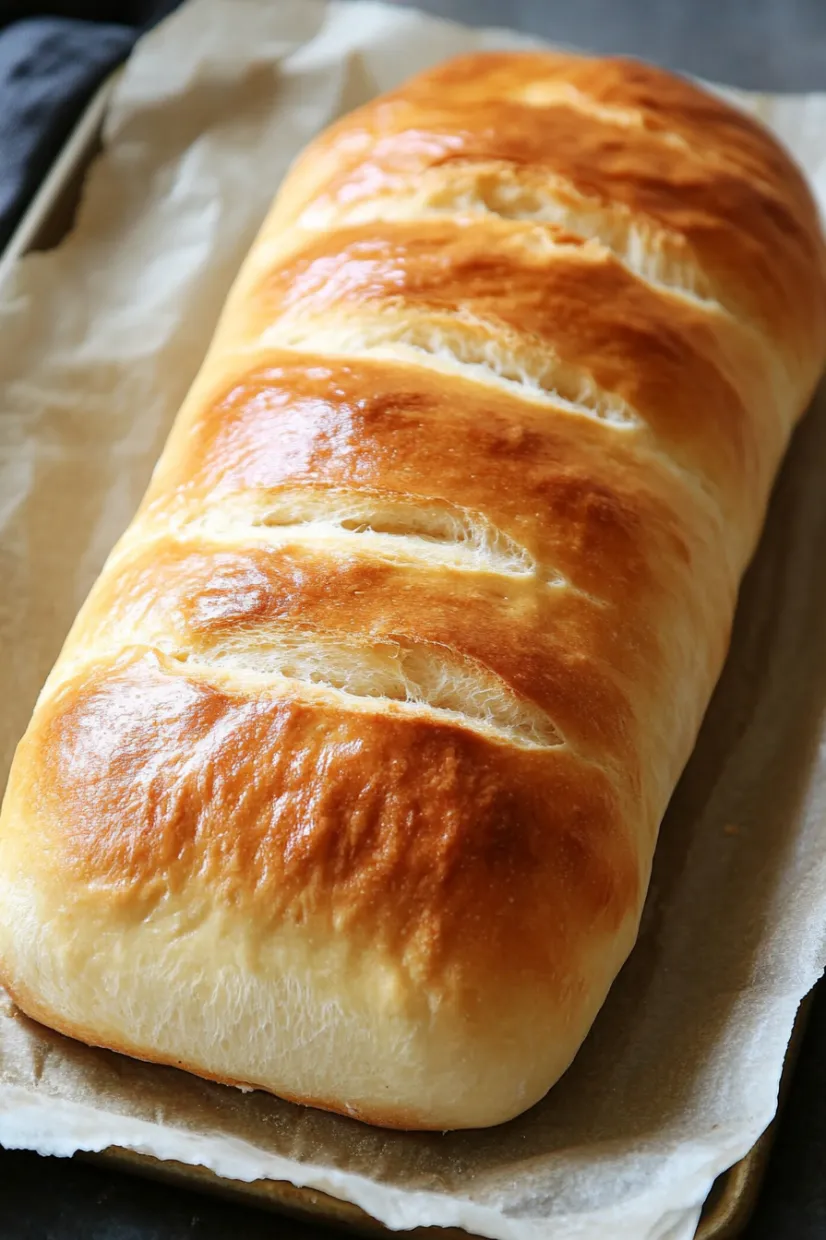
- Transfer the batter to your prepared loaf pan and smooth the top gently with a spatula. The batter will be thicker than cake batter but still pourable. Bake in the center rack of your oven for 20 to 25 minutes, until the top is golden brown and springs back when lightly touched.
- Cooling Process:
- Allow the bread to rest in the pan for 5 minutes before transferring to a wire rack to cool completely. This resting period helps the structure set properly and makes removal from the pan much easier. For the best texture, let cool at least 15 minutes before slicing.
 Pin it
The honey in this recipe is my secret weapon. I discovered its importance accidentally when I ran out of sugar one day. Not only does it add the perfect subtle sweetness, but it also creates a wonderfully tender texture and helps achieve that gorgeous golden crust. My grandmother always said good bread needs a touch of sweetness to balance the salt, and she was absolutely right.
Flavor Variations
This versatile base recipe welcomes countless adaptations to suit your meal or mood. For a savory version, try adding a tablespoon of Italian herbs and a half cup of grated parmesan cheese to the dry ingredients. When making a sweeter breakfast version, I incorporate a teaspoon of cinnamon and a half cup of raisins or dried cranberries. For texture contrast, sprinkle the top with oats, sunflower seeds, or sesame seeds before baking.
 Pin it
Storage Solutions
This quick bread stays fresh at room temperature, wrapped in a clean kitchen towel, for up to two days. For longer storage, wrap cooled bread tightly in plastic wrap then place in a freezer bag where it will maintain quality for up to three months. Thaw frozen bread at room temperature for about an hour, or refresh individual slices in a toaster. Avoid refrigerating as this actually accelerates staling due to starch retrogradation.
Serving Suggestions
While delicious on its own with a simple spread of butter, this bread truly shines as an accompaniment. Serve warm slices alongside hearty soups or stews to soak up every last bit of broth. For breakfast, toast slices and top with avocado or fruit preserves. The neutral flavor profile also makes it perfect for sandwiches when you need homemade bread in a hurry without compromising on quality.
Frequently Asked Questions
- → What makes this bread quick to prepare?
This bread skips yeast and uses baking powder for leavening, reducing prep time significantly.
- → Can I add flavors to the bread?
Yes, you can enhance it with herbs, cheese, or seeds for extra flavor and texture.
- → What type of flour works best for this recipe?
All-purpose flour is recommended, but you can experiment with whole wheat or gluten-free flour if preferred.
- → How do I know when the bread is done?
The bread is ready when it's golden brown, and a toothpick inserted into the center comes out clean.
- → Can I store this bread for later?
Yes, store it in an airtight container at room temperature for 2 days or freeze for up to 1 month.