
 Pin it
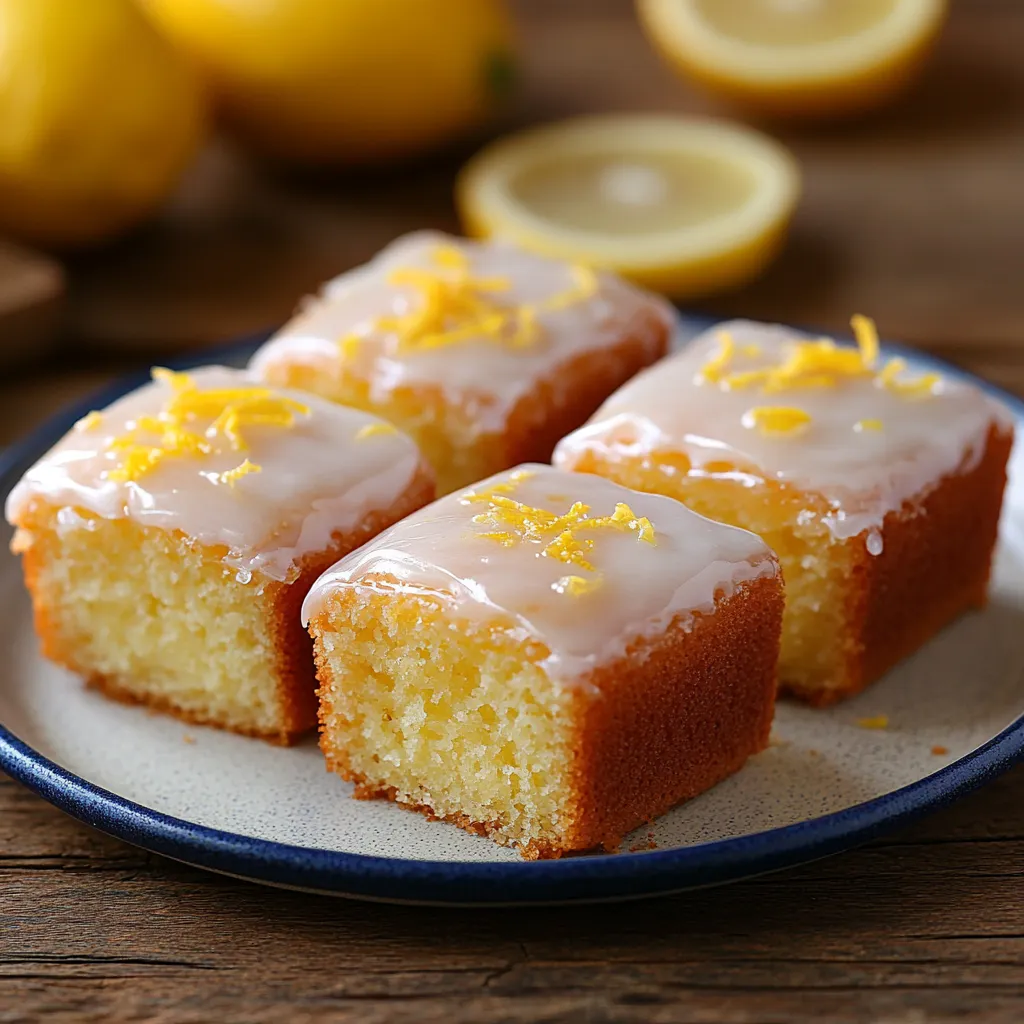
This bright and tangy mini lemon loaf recipe has become my go-to whenever I need a sweet treat that impresses without hours in the kitchen. The perfect balance of moist cake and zingy lemon glaze brings sunshine to any occasion, whether it's a weekend brunch or afternoon tea.
I first made these mini lemon loaves for a spring garden party last year. The bright citrus flavor was such a hit that they disappeared within minutes, and I've been perfecting the recipe ever since. My secret is always using fresh lemons for both juice and zest as it makes all the difference in flavor intensity.
Ingredients
- All purpose flour: creates the perfect tender crumb structure
- Lemon zest: provides intense aromatic citrus flavor throughout the batter
- Baking powder: gives just the right amount of lift for a light texture
- Salt: balances the sweetness and enhances the lemon flavor
- Granulated sugar: adds sweetness and helps create a moist texture
- Butter: provides richness and that unmistakable buttery flavor
- Eggs: bind everything together and contribute to the tender crumb
- Vanilla extract: adds depth and complexity to the lemon flavor
- Lemon juice: brings bright tanginess to both cake and glaze
- Buttermilk: creates an incredibly moist texture with subtle tang
- Powdered sugar: in the glaze creates that perfect sweet finish
Step-by-Step Instructions
- Prepare The Oven And Pan:
- Preheat your oven to 350°F and thoroughly spray your mini loaf pan with nonstick cooking spray. Make sure to get the corners and sides well coated for easy removal later. This step is crucial for perfect presentation.
- Mix The Dry Ingredients:
- In a medium bowl, whisk together the flour, baking powder, salt, and lemon zest until thoroughly combined. The zest should be evenly distributed throughout the dry ingredients to ensure consistent lemon flavor in every bite of your finished loaves.
- Cream Butter And Sugar:
- In a large bowl, beat the butter and granulated sugar together until the mixture becomes light and fluffy, about 3 minutes. This step incorporates air into the batter, creating a lighter texture in the finished loaves. The mixture should turn pale yellow and increase slightly in volume.
- Add The Eggs:
- Add eggs one at a time, beating well after each addition until fully incorporated. This gradual addition prevents the batter from curdling and ensures a smooth, consistent texture. The batter will look slightly curdled at first but will come together.
- Combine Wet And Dry Ingredients:
- Alternating between the flour mixture and buttermilk, add about half the flour first and mix just until combined, then add half the buttermilk and mix again just until combined. Repeat with remaining flour and buttermilk. This method prevents overmixing which would develop too much gluten and create tough loaves.
- Bake To Perfection:
- Pour the batter evenly into your prepared mini loaf pan, filling each cavity about two-thirds full to allow room for rising. Bake for 20 to 25 minutes until a toothpick inserted in the center comes out mostly clean with just a few moist crumbs. Avoid overbaking as this will dry out your loaves.
- Cool The Loaves:
- Allow the loaves to cool in the pan for 5 minutes before transferring to a wire rack. This brief resting period helps the loaves set up enough to be moved without breaking, while the wire rack allows air circulation to prevent sogginess.
- Make The Lemon Icing:
- In a small bowl, combine powdered sugar, lemon juice, and lemon zest, stirring until completely smooth. The consistency should be thick enough to coat the back of a spoon but still pourable. If too thick, add a few drops more lemon juice.
- Glaze The Loaves:
- While the loaves are still slightly warm, spoon the lemon icing generously over each mini loaf. The warmth will help the glaze spread evenly and partially absorb into the tops of the loaves for added moisture and flavor throughout.
 Pin it
The lemon zest is truly the star ingredient in this recipe. I always make sure to zest my lemons before juicing them, and I only use the vibrant yellow part, avoiding the bitter white pith. My grandmother taught me this trick years ago, saying that the oils in the zest contain the purest lemon flavor, and now I can never make a citrus dessert without it.
 Pin it
Storage Tips
These mini lemon loaves stay fresh at room temperature in an airtight container for up to 3 days. The moistness from the buttermilk helps them remain tender longer than many other quick breads. For extended storage, refrigeration will keep them fresh for up to a week, though the texture is best when allowed to come to room temperature before serving.
For longer storage, wrap each cooled, unglazed loaf individually in plastic wrap, then place in a freezer bag for up to 3 months. Thaw overnight in the refrigerator and add fresh glaze before serving for the best flavor and texture. The glaze does not freeze well, so always add it after thawing.
Flavor Variations
While classic lemon is delightful, these mini loaves welcome creative adaptations. Try adding 1/2 cup of fresh blueberries to the batter for a beautiful color contrast and complementary flavor. Folding in 1/4 cup of poppy seeds creates a traditional lemon poppy seed loaf with delightful texture. For a more complex citrus profile, replace half the lemon zest with orange or lime zest.
During the holidays, adding 1/2 teaspoon of dried lavender to the sugar before creaming with butter infuses a subtle floral note that pairs beautifully with the lemon. For a more decadent version, try drizzling white chocolate over the glazed loaves for an eye catching finish and delicious flavor combination.
Serving Suggestions
These mini lemon loaves shine as part of a weekend brunch spread alongside fresh berries and whipped cream. For afternoon tea, slice each loaf horizontally and spread with a thin layer of lemon curd or cream cheese for an elegant treat that pairs perfectly with Earl Grey.
For dessert, warm a slice slightly and top with a small scoop of vanilla ice cream and fresh berries. The contrast between the warm loaf and cold ice cream creates a memorable dessert experience. These versatile little cakes also make wonderful additions to lunch boxes or picnic baskets for a sweet surprise.
Frequently Asked Questions
- → How do I ensure the loaves are moist?
To keep the loaves moist, avoid overmixing the batter and bake just until a toothpick comes out mostly clean. Using buttermilk also adds moisture and tenderness.
- → Can I substitute buttermilk?
Yes, you can make a buttermilk substitute by mixing half a cup of milk with half a tablespoon of lemon juice or vinegar and letting it sit for 5 minutes.
- → Can I make these ahead of time?
Yes, the loaves can be made a day ahead. Store them in an airtight container and add the icing just before serving for the best taste and texture.
- → What type of lemon is best for this recipe?
Fresh lemons are recommended to get natural zest and juice, which provide the most vibrant flavor.
- → How should I store the mini loaves?
Store the loaves in an airtight container at room temperature for up to 2 days or in the fridge for up to a week. Glaze them fresh before serving if stored for longer.