
 Pin it
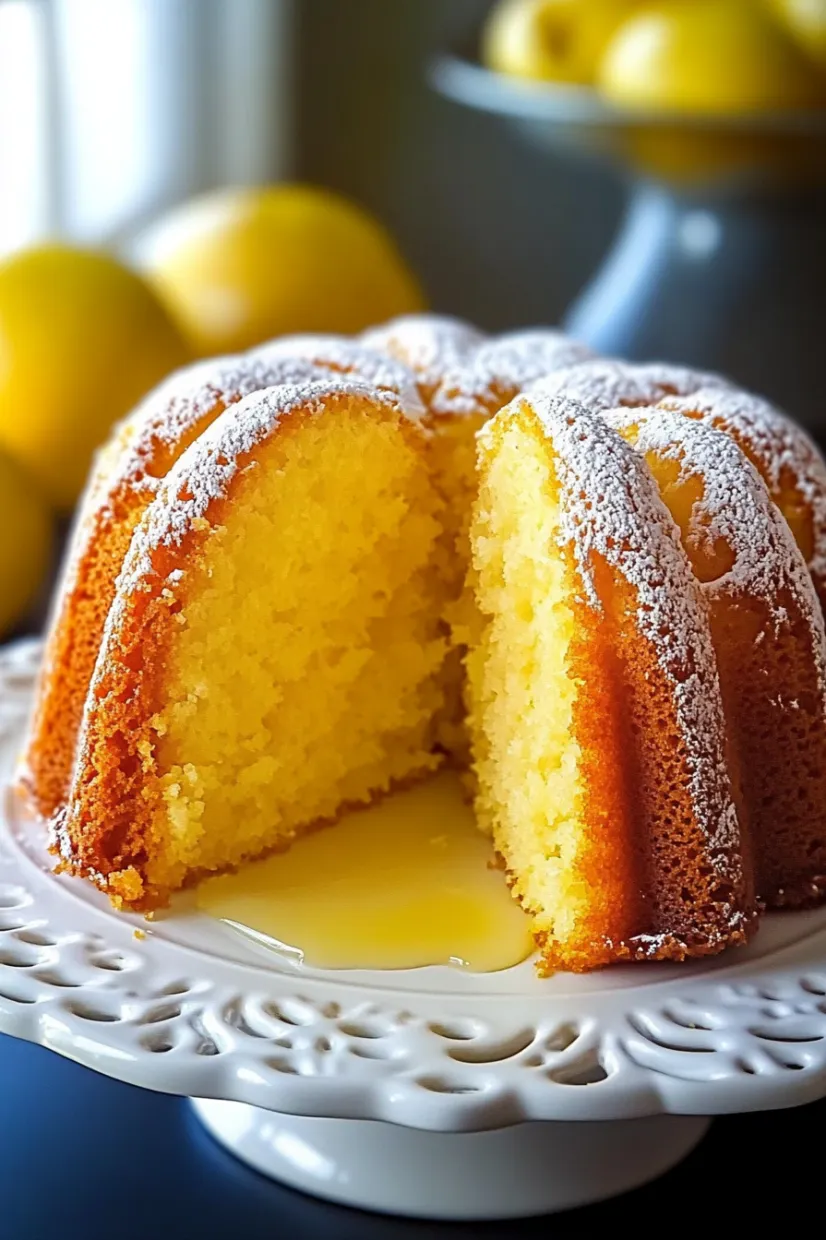
This vibrant lemon cake delivers sunshine in every bite, balancing perfectly between tangy citrus notes and delicate sweetness. The bundt shape creates an impressive presentation while the luscious glaze adds an irresistible finishing touch that seeps into the cake for extra moisture and flavor.
I first made this lemon cake for my sister's spring brunch and watched as guests returned for second slices before finishing their first plates. Now it's my signature dessert whenever I need something foolproof yet impressive.
Ingredients
- All purpose flour: Provides the perfect structure while keeping the crumb tender
- Baking powder and baking soda: Work together for the ideal rise and texture
- Unsalted butter: Creates richness and allows you to control salt content
- Granulated sugar: Balances the tartness of lemons perfectly
- Room temperature eggs: Incorporate more air for a lighter texture
- Sour cream: Adds incredible moisture and subtle tanginess
- Fresh lemon juice: Provides the bright flavor that defines this cake
- Lemon zest: Contains essential oils that intensify the citrus flavor
- Vanilla extract: Adds depth that complements the lemon beautifully
- Powdered sugar: Creates a smooth glaze without any grittiness
- Melted butter: Adds glossiness and prevents it from being too sweet
Step-by-Step Instructions
- Prepare Your Equipment:
- Start with proper preparation by thoroughly greasing every crevice of your bundt pan. A silicone pastry brush helps reach all the nooks. The flour dusting creates a thin barrier that ensures your cake releases perfectly after baking. This step is absolutely crucial for a beautiful presentation.
- Create The Foundation:
- When creaming butter and sugar, patience is key. The full 3 4 minutes allows the sugar crystals to create tiny air pockets in the butter that expand during baking. You will notice the mixture becoming notably lighter in both color and texture. This stage builds the foundation for your cake's texture.
- Build The Batter:
- Adding eggs one at a time allows each to fully incorporate before adding the next. This prevents the mixture from breaking or separating. When alternating dry ingredients with sour cream, begin and end with the dry mixture. Mix just until the flour disappears to prevent developing too much gluten, which would make your cake tough.
- Perfect The Bake:
- The cake is done when a toothpick inserted into the thickest part comes out with a few moist crumbs but no wet batter. The cooling process is crucial. The initial rest in the pan allows the cake to set just enough, while inverting it prevents condensation from making the bottom soggy. Complete cooling ensures the glaze adheres properly.
 Pin it
The lemon zest is truly the secret weapon in this recipe. I always zest my lemons before juicing them, using a microplane to capture just the yellow outer layer while avoiding the bitter white pith. The aromatic oils released during this process fill my kitchen with the most intoxicating fragrance, instantly brightening my mood no matter the weather outside.
Storage Instructions
This lemon cake maintains its moisture remarkably well when stored properly. Place leftover cake in an airtight container at room temperature for up to 3 days. The flavor actually intensifies slightly after the first day as the lemon notes meld with the other ingredients. For longer storage, refrigerate for up to one week, but allow slices to come to room temperature before serving for the best texture and flavor experience.
Ingredient Substitutions
No sour cream on hand? Greek yogurt works beautifully as a one to one replacement, maintaining the moisture while adding a similar tanginess. For a dairy free version, substitute coconut oil for the butter and coconut yogurt for the sour cream. The subtle coconut undertones actually complement the lemon wonderfully. When lemons aren't available, orange or grapefruit can create delicious variations with their own unique character.
Serving Suggestions
Transform this lemon cake into an extraordinary dessert by serving warm slices with a scoop of vanilla bean ice cream or fresh berries. For a more elegant presentation, add candied lemon slices to the top before the glaze sets. When serving at a gathering, arrange slices on a decorative platter with fresh mint leaves and edible flowers for a stunning visual impact that hints at the bright flavors within.
 Pin it
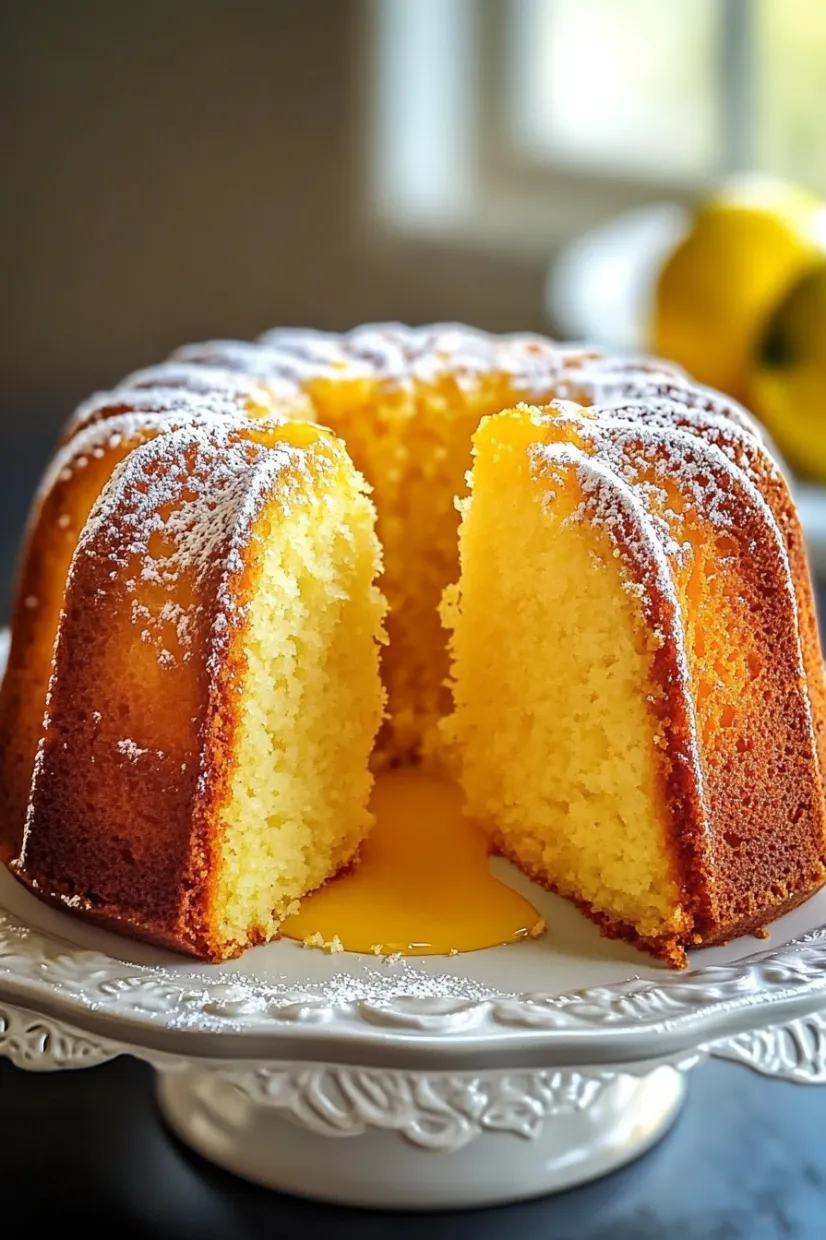
The Perfect Glaze
The glaze consistency is crucial for this cake. It should be thick enough to cling to the cake but thin enough to drizzle smoothly. Start with the base recipe, then adjust by adding more powdered sugar to thicken or additional lemon juice to thin. Apply the glaze when the cake is completely cool but the glaze is still warm for the smoothest application. For a professional looking finish, place the cake on a wire rack over parchment paper before glazing to catch any drips.
Frequently Asked Questions
- → How do I prevent the cake from sticking to the bundt pan?
Use butter or non-stick spray generously to grease the bundt pan and dust with flour, ensuring all surfaces are coated.
- → Can I substitute sour cream in this cake?
Yes, you can replace sour cream with plain yogurt for a similar moist texture and tangy flavor.
- → How do I know the cake is fully baked?
The cake is done when a toothpick inserted into the center comes out clean or with a few dry crumbs.
- → Can I make this cake ahead of time?
Absolutely! The cake can be baked a day in advance and stored in an airtight container. Glaze it just before serving.
- → What is the best way to store leftovers?
Store leftover cake in an airtight container at room temperature for up to 3 days, or refrigerate for longer freshness.